EasyManuals Logo

OTARI Status 18R User Manual

Default Icon
250 pages
To Next Page IconTo Next Page
To Previous Page IconTo Previous Page
Page #151 background imageLoading...
Page #151 background image
5.6.2 Setting Incoming Time Code
Before automation can be used, the incoming time code rate on the Status console
must be set to match the time code rate coming from the audio source.
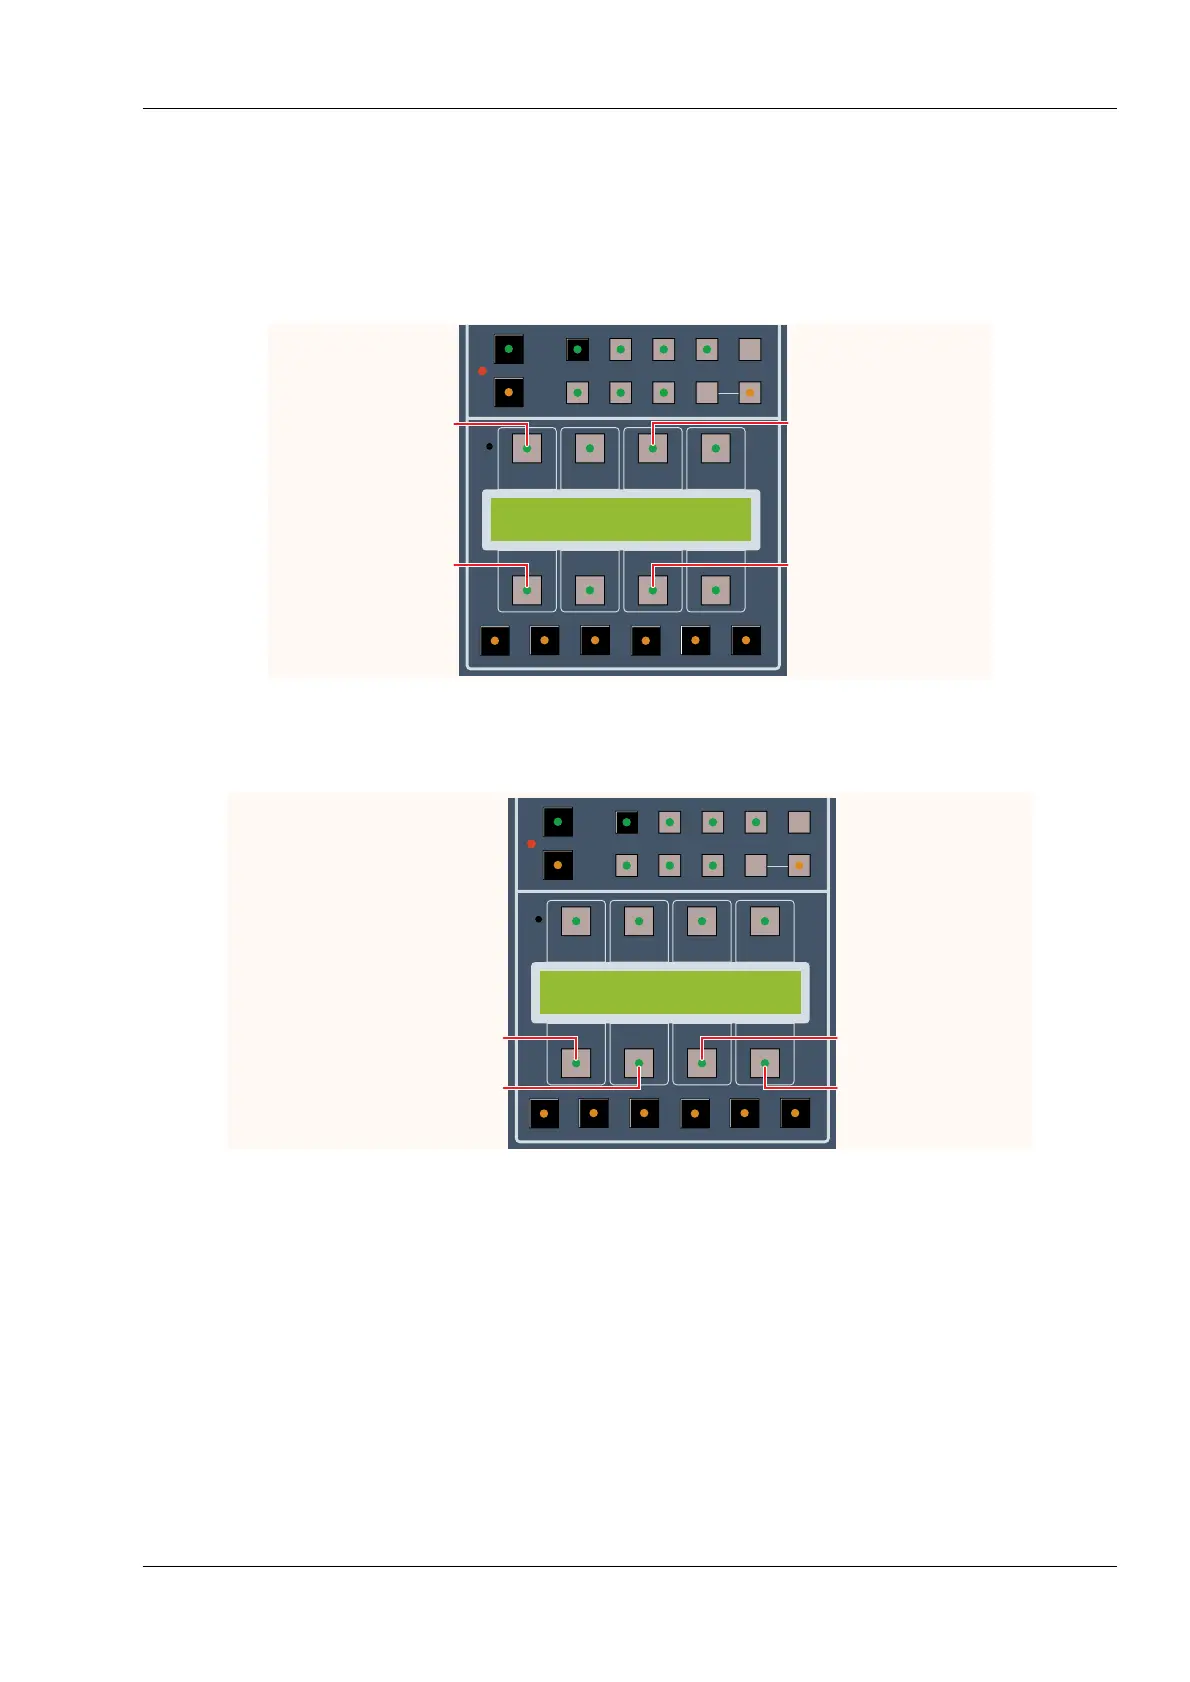
On The Console:
1. Hold Shift and press the LCD Menu Automation button.
2. Press the lit key above TCIN.
3. Press the lit key below RATE repeatedly until the applicable time code frame
rate appears.
The choices are 24, 25, 29 (29.97), and 30 frames per second. The time code
reader automatically senses Drop Frame time code.
4. Press Automation to return to the Automation Menu.
If you want to change how time code is displayed on the Eagle screen, click the
pull-down menu next to the time code number in the Time Code window.
Selects LTC or VITC
Input
Sets incoming
time code rate
Displays
Diagnostics Page
Returns to
Automation Options Menu
Meter Solo Group Recall Automation Misc
One
Many
F1
None Selected
F2 F3 SoftKey Toggle
Module
Undo
Set
Transparent
Swap Last
State
Auto
Select
Shift
-RATE- -SRC-
29 LTC DIAG DONE
Press to set
time code in option
Meter Solo Group Recall Automation Misc
One
Many
F1
None Selected
F2 F3 SoftKey Toggle
Module
Undo
Set
Transparent
Swap Last
State
Auto
Select
Shift
TCIN GLIDE RT
TCGEN FDRFIX
Press to set
Auto Glide rate
Press to reset the Eagle
screen faders to the same
position as the console
faders (for VCA faders).
Displays the Time Code
Generator Options
STATUS 18R Operation and Maintenance Manual Section 5 - Eagle Automation
August 1999
5 - 29

Table of Contents

Questions and Answers:

Question and Answer IconNeed help?

Do you have a question about the OTARI Status 18R and is the answer not in the manual?

OTARI Status 18R Specifications

General IconGeneral
BrandOTARI
ModelStatus 18R
CategoryMusic Mixer
LanguageEnglish