Model 976 7.1 Channel Preamp/Processor
33
Chapter 4 Overview
Power
Now that your Model 976 is properly
connected and con gured, you’re ready
to enjoy it! We designed the Model 976
to be simple and intuitive, so for most of
its operations you probably don’t need
to read the manual. However, it’s worth
browsing through the operation instruc-
tions so that you don’t miss out on any
of the Model 976’s useful features.
Although you’ve already used the
menus and on-screen display to set up
the Model 976, many of its settings can
be changed “on the y,” directly from
the remote, without going through the
menus.
Operation
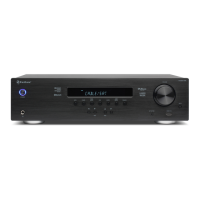
To turn the Model 976 on and o :
Chapter 4 Contents
33 Power
33 Selecting a Source
34 Volume Control
34 Muting
34 Changing the Surround Mode
35 Switching to Stereo
36 Adjusting Tone Controls
36 Adjusting Lip Sync Delay
36 Activating Night Mode (DRC)
37 Adjusting Channel Levels
38 Engaging EQ
38 Listening With Headphones
38 Setting Sleep Timer
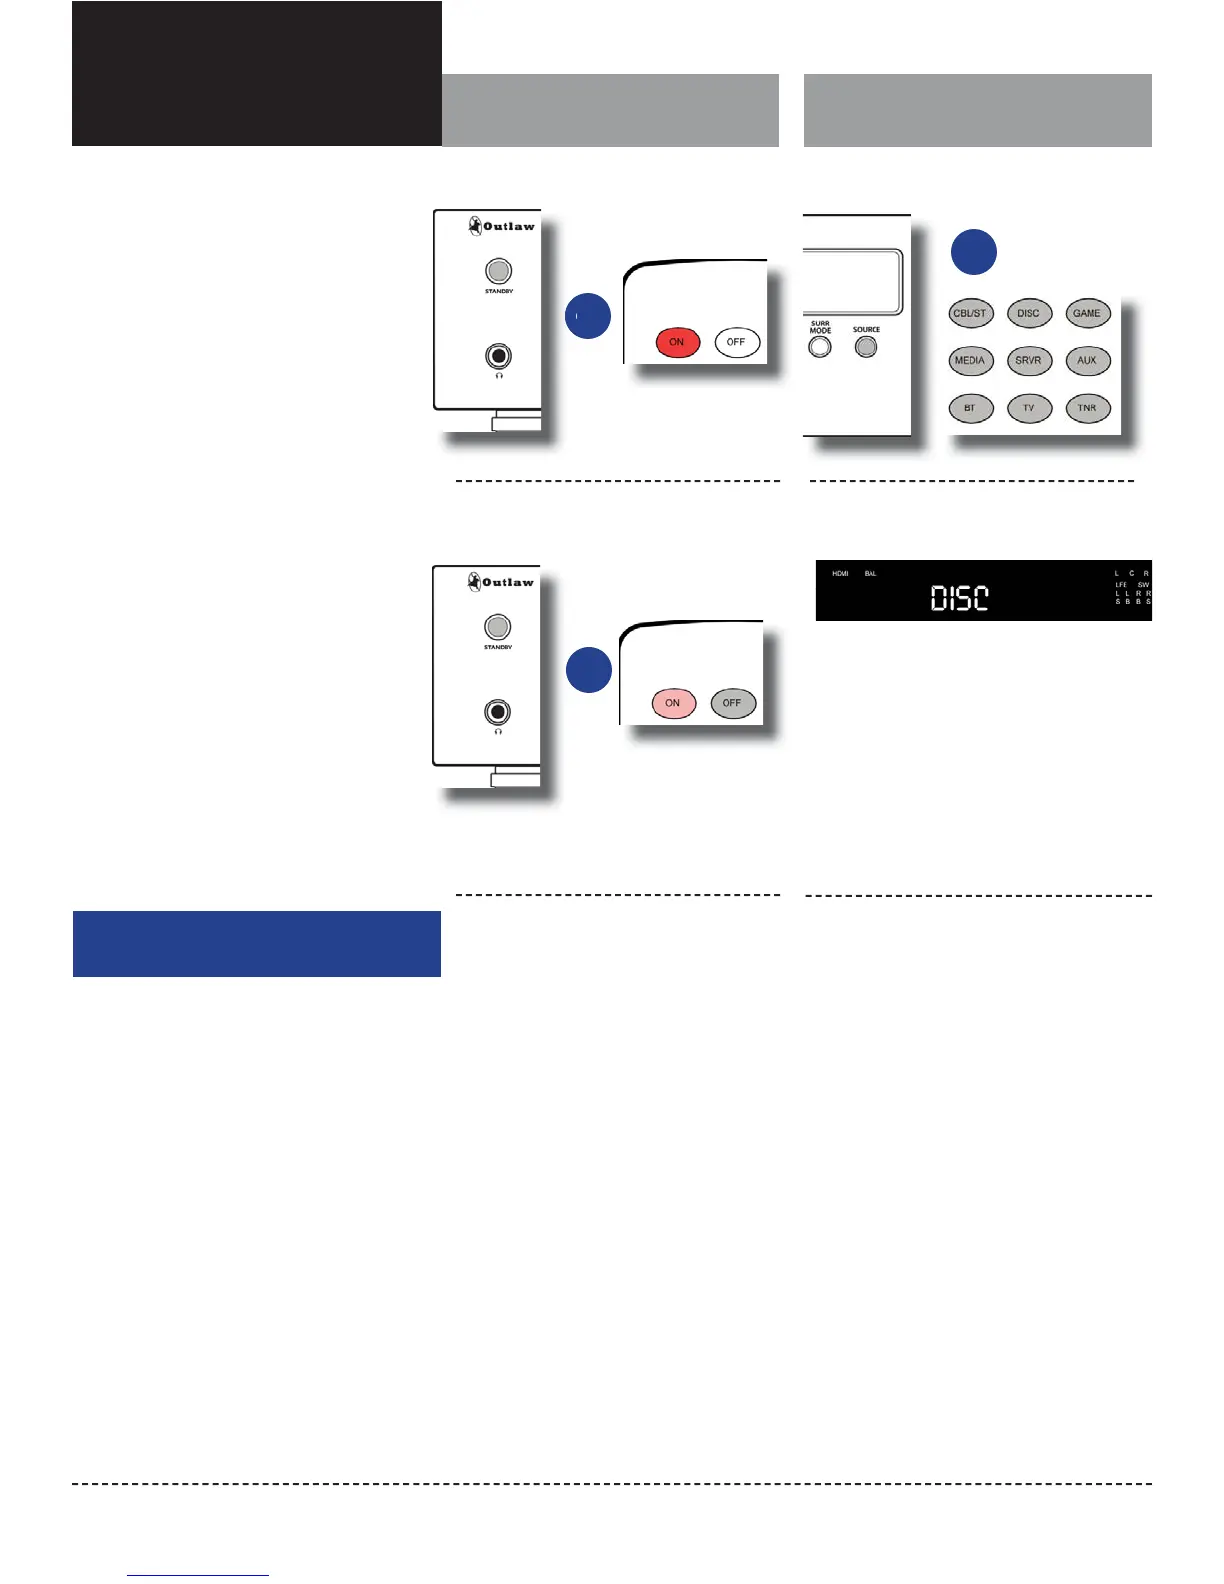
The Model 976 lets you select from as many as
nine sources, which are labeled Cable/Sat, Disc,
Game, Media, Server, Aux, TV, Bluetooth, and
Tuner. The rst seven of these can be con gured
to carry signals from any audio or audio/video
source device you wish. To nd out how to con g-
ure those inputs, see page 26.
To select a source:
Press one of the dedicated source buttons (Cbl/St,
Disc, Game, Media, Srvr, Aux, BT, TV, or Tnr) on the
remote control, or press the INPUT button on the
front panel to cycle through the input sources. The
front panel display will show the source you have
selected, as seen above.
1.
2.
To turn the unit on, press the STANDBY
button on the front panel or the POWER
ON button on the remote. The front panel
display will illuminate and the ring around
the STANDBY button will glow brighter.
To turn the unit o , press the STANDBY
button on the front panel again or press
the OFF button on the remote control. The
front panel display will go out and the ring
around the STANDBY button will dim.
Selecting a Source
Turn the Model 976 on
or
Turn the Model 976 o
or
Selecting an input
Front Panel Display
or