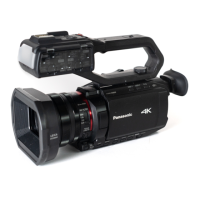
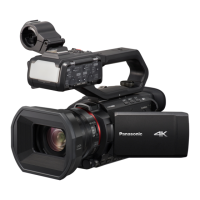
The AG-CX350 Book: Understanding advanced features
4-5. Synchronizing timecode for multi-cam operation
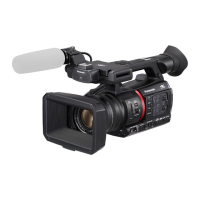
The AG-CX350 is equipped with a timecode IN/OUT terminal (common use for IN and OUT).
The following describes workflow know-how when using time code synchronization feature with
two AG-CX350 units.
Preparation
1. Connect TC PRESET IN/OUT terminals on both master and slave units with a BNC
cable.
2. Make sure that the settings of following menu items are the same for both units.
1.
MENU > SYSTEM > FREQUENCY
MENU > SYSTEM > REC FORMAT
Setting for master unit
1. Set MENU > RECORDING > TC/UB > TC IN/OUT SEL item to “TC OUT”.
2. Set MENU > RECORDING > TC/UB > DF/NDF item to “NDF”.
The DF/NDF item is fixed to “NDF” when FREQUENCY setting is 23.98p, 24.00p, 25.00p,
50.00p, or 50.00i.
Setting for slave unit
1. MENU > RECORDING > TC/UB > FREE/REC RUN item to “FREE RUN”.
2. MENU > RECORDING > TC/UB > TC IN/OUT SEL item to “TC IN”.
NOTE:
The timecode synchronization may differ by 1
frame between the units because the
AG-CX350 has no genlock function.
While the slave unit is recording,
synchronization will not be performed. The
internal timecode generator will continue to
run and count up until recording has stopped.
When switching power source from battery
pack to AC adaptor, Do NOT remove the
battery pack until the power source indicator
changes to , otherwise the continuity of
the timecode count will not be maintained.
Connect TC OUT and TC IN terminal with a cable
 Loading...