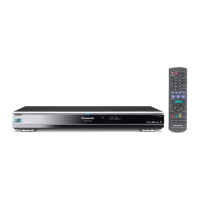
Photo
VQT3C84
57
[HDD]
1 While selecting “All” label:
Select “Add to Album” in “Edit”, then
press [OK].
2 Select the destination album, then press
[OK].
3 Press [OK].
[HDD]
1 While selecting album label and select multiple
events:
Select “Combine Events” in “Edit”, then
press [OK].
2 Select “Yes”, then press [OK].
[HDD]
1 While selecting album label:
Select “Remove from Album” in “Edit”,
then press [OK].
2 Select “Yes”, then press [OK].
[HDD]
While selecting album label:
Select “Enter Album Name” in “Edit”, then
press [OK].
(> 66, Entering text)
Select “Enter Event Name” in “Edit”, then
press [OK].
(> 66, Entering text)
[SD]
While selecting photo:
Select “Set up Protection” or “Cancel
Protection”, then press [OK].
appears when the protection is set.
≥Even if the protection is set, the photo may be deleted by
another unit.
1 While selecting “All” label:
Select “Delete Photos”, then press [OK].
2 Select “Yes”, then press [OK].
Add to Album
Combine Events
Remove from Album
Enter Album name
Enter Event Name
Changing protection
Deleting
DMRPWT500GL_eng.book 57 ページ 2011年2月17日 木曜日 午後1時17分
 Loading...