Photo
VQT3C84
58
Copying photos
2 Select the event or the photo, then
press the “Yellow” button.
A check mark is displayed. Repeat this step.
e.g., [SD]
≥Press the “Yellow” button again to cancel.
3 Select all necessary items, then press
the “Blue” button.
4 [BD-RE] [-R] [-R]DL] [CD]
Select the copying destination, then
press [OK].
5 When copy to HDD:
Select “Yes” or “No”, then press [OK].
≥If you select “Yes”:
Select the album, then press [OK].
≥You can categorise and manage the events and
photos on the HDD by copying to the album.
(> 54)
6 Select “Yes”, then press [OK].
Copying starts.
To stop copying
Press and hold [RETURN ] for 3 seconds.
≥ The name of the copied photos will be changed.
≥ If the number of files/folders to be copied exceeds the maximum
(> 101), copying will stop partway through.
Selecting and copying the
photos
[BD-RE] [-R] [-R]DL] [CD] [SD] [USB] > [HDD]
[HDD] [BD-RE] [-R] [-R]DL] [CD] > [SD]
1
∫ [HDD]
1 Press [FUNCTION MENU].
2 Select “Photo” in “Playback
Contents”, then press [OK].
∫ [BD-RE] [-R] [-R]DL] [CD] [SD] [USB]
1 Insert a disc, the SD card or USB
memory.
e.g., [SD]
2 Select “View Photos”, then press
[OK].
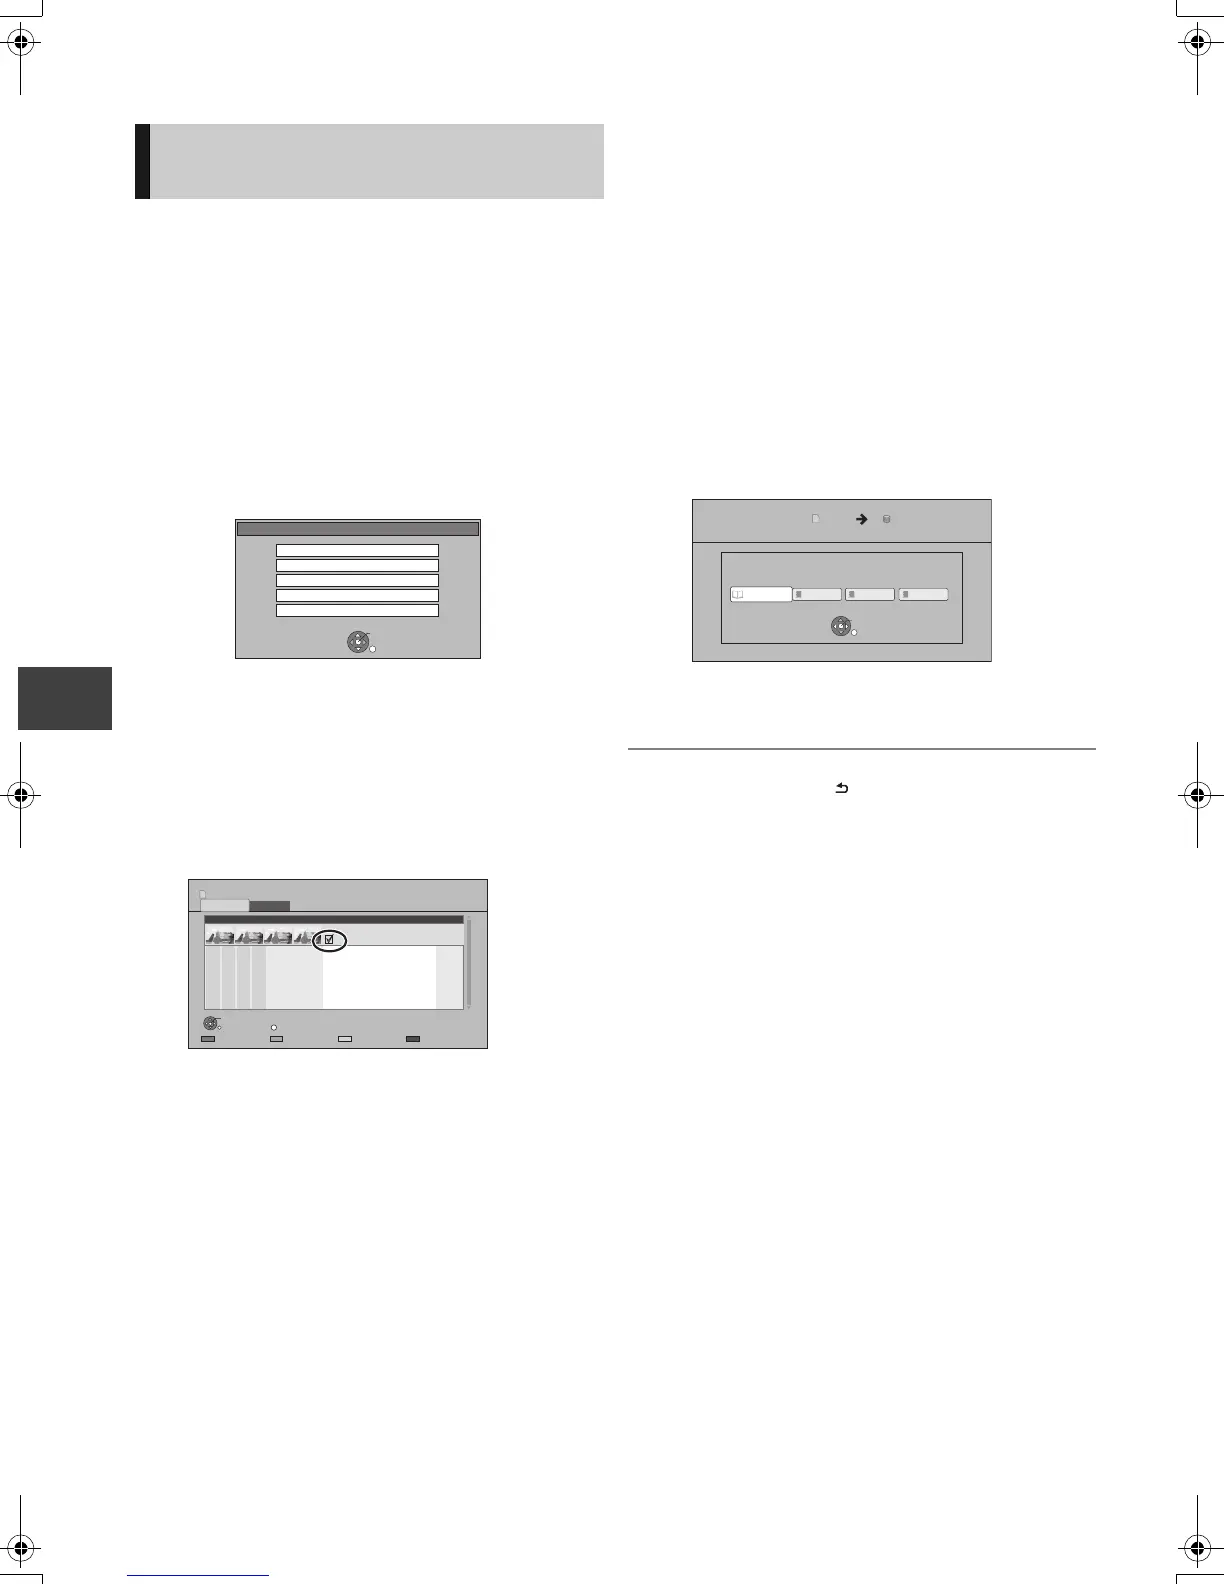
SD Card
OK
RETURN
SD card is inserted.
Play Video ( AVCHD )
View Photos
Copy Video ( AVCHD )
Copy New Photos
Copy Video ( MPEG2 )
Page
SelectSlideshow
PHOTO
OPTION
001_AAA
0001/0001
Copy
OK
RETURN
4
DIRECT NAVIGATOR
Folder Name Photos
2D
SD card
3D
HDD Album Selection
Please select the destination album.
Copy Photos
OK
RETURN
HDDSD Card
DMRPWT500GL_eng.book 58 ページ 2011年2月17日 木曜日 午後1時17分
 Loading...