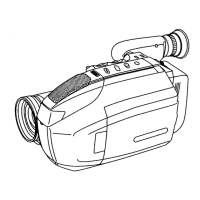
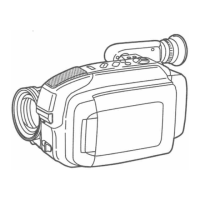
Camera Recording
D U"
n _ h[.p_i_! .tih [:-[..in.[:.t..[.]_[,II_[,mm
Set a recording start and stop time. Or, set
a 5 or 10 second interval recording to be
done each minute.
Before you begin...
• Connect Camcorder to power source.
Use AC Adaptor for longer recordings.
• Insert cassette with record tab (page 13),
• Set POWER to CAMERA.
4
-'10MIN. "-"20MIN. "--30MIN. _TO TAPE END "_1
INTERVAL*2 _- INTERVAL*I_J
10 SEC/MtH. 5 SEC/M|N.
"1 Interval 5 SEC/MIN:
Record 5 second each minute.
*2 Interval 10 SEC/MIN:
Record 10 second each minute.
Note:
• Start time may not be set ever 24 hours
from current time.
• Camcorder shuts off at tape end, or 12
hours after Interval Recording starts.
• To cancel, set POWER to OFF.
1
2
3
4
Press MENU for MENU mode,
Press UPA or DOWN• to select
.,..._=_lg_l_l l.,=;_,,,:._,;;;.,._E,_
TALLY LAMp ; ON
STN_BY RELEASE ; OFF
Press _J_PLAY. (Current time is
displayed.)
Each additional press of DISPLAY
increases start
time by 30 l im_a;l_,M
f RECTIME ; 10MIN. t
minutes. SELECT:PUSHV/&KEY
SET : PUSH DISPLAY K_EY
START : PUSH RECORDKEY
CANCEL: PUSH MENU KEY
10:20:00PM
Press DOWN • to select
r_._SPLAY repeatedly to
select one of the options shown at
the left.
Ir_Ts_lEE3gm;10MIN,
START : PUEH RL_ORD KEY
CANCEL:FUSH MENU KEY
lO:_:_J
To cancel the setup, press MENU
twice.
Press RECORD/PAUSE to place
Camcorder in stand-by mode.
_-C TIME; IOMIN.
10:20:00PM
Recording will be done as scheduled.
24