65 Programming Guide
Installer Quick Menu
Zones
Keypad Zone Number Assignment (Keypad Programming)
Delays
Time and Date
Step Action Details
1
+ [INSTALLER CODE] = flash. Programmed zones are lit (button or LED depending on keypad).
[MAINTENANCE CODE] may also be used.
2 [
ZONE NUMBER] 2 digits: 01 to 32
3 [E
NROLL OR ERASE ZONE] Wireless zone = open/close cover or press learn/tamper switch. Hardwired zone =
Press [ENTER]. To erase a programmed zone, press [SLEEP] for 3 seconds.
4 [
ZONE TYPE] Refer to page 19 for the zone type (zone definition).
5 Assign Partition
[1] and/or [2] + [
ENTER]
Assign the zone to one or both partitions and press [ENTER]. By default, all zones are
assigned to partition 1. Goes to next available zone.
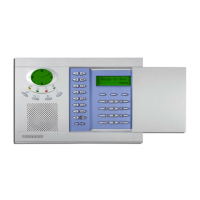
Notes Partition 2 status LEDs, display the signal strength of the selected wireless zone
(4 LEDs = best signal; 1 LED = weak signal; No LEDs = hardwired panel/keypad zone)
Step Action Details
1 [ENTER] + [INSTALLER CODE] [ARM] + [STAY] = flash. [MAINTENANCE CODE] may also be used.
2
Press and hold (3sec)
[
ARM] + [STAY] = on.
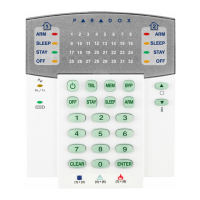
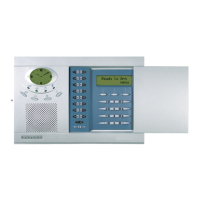
3 [ZONE NUMBER] + [ENTER]* K32 / K32LCD / K32I = 2 digits: 01 to 32
K636 / K10V/H = 1 digit: 1 to 0(10)
* To erase a keypad zone number, press [CLEAR], then [ENTER].
Step Action Details
1
+ [INSTALLER CODE] = flash. [MAINTENANCE CODE] may also be used.
2
3 [1] = Entry Delay 1 (default = 045 sec.)
[2] = Entry Delay 2 (default = 045 sec.)
[3] = Exit Delay (default = 060 sec.)
[4] = Bell Cut-Off (default = 004 min.)
4 [000] to [255] Entry/Exit Delay = seconds / Bell Cut-Off = minutes
Step Action Details
1
+ [
INSTALLER CODE] = flash. [MAINTENANCE CODE] may also be used.
2
+ [5]
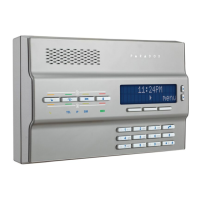
4 [
HH:MM] Enter time. If HH = 13 or more, skip to step 6.
5 [
TIME FORMAT] Enter time format ([1] = 24hr; [2] = AM; [3] = PM).
6 [
YYYY/MM/DD] Enter date.
 Loading...