5 Quick Start
10
pco.edge User Manual V1.03 © PCO AG, Germany
5 Quick Start
Note: In order to get familiar with your new camera & software it might be
helpful, if you first aim at an object that is easy to focus and that can be
seen at standard light conditions.
5.1 Preparation
installation is finished (see chapter 4)
an appropriate lens is attached (remove cap!)
or the camera is attached properly to the microscope,
spectrograph or other scientific device
camera is connected to the power supply
camera is connected to the PC (connect cable “A” with
connectors “A” on PC and “A” on camera, cable “B” respectively)
computer is on
camera is on and ready (green blinking LED)
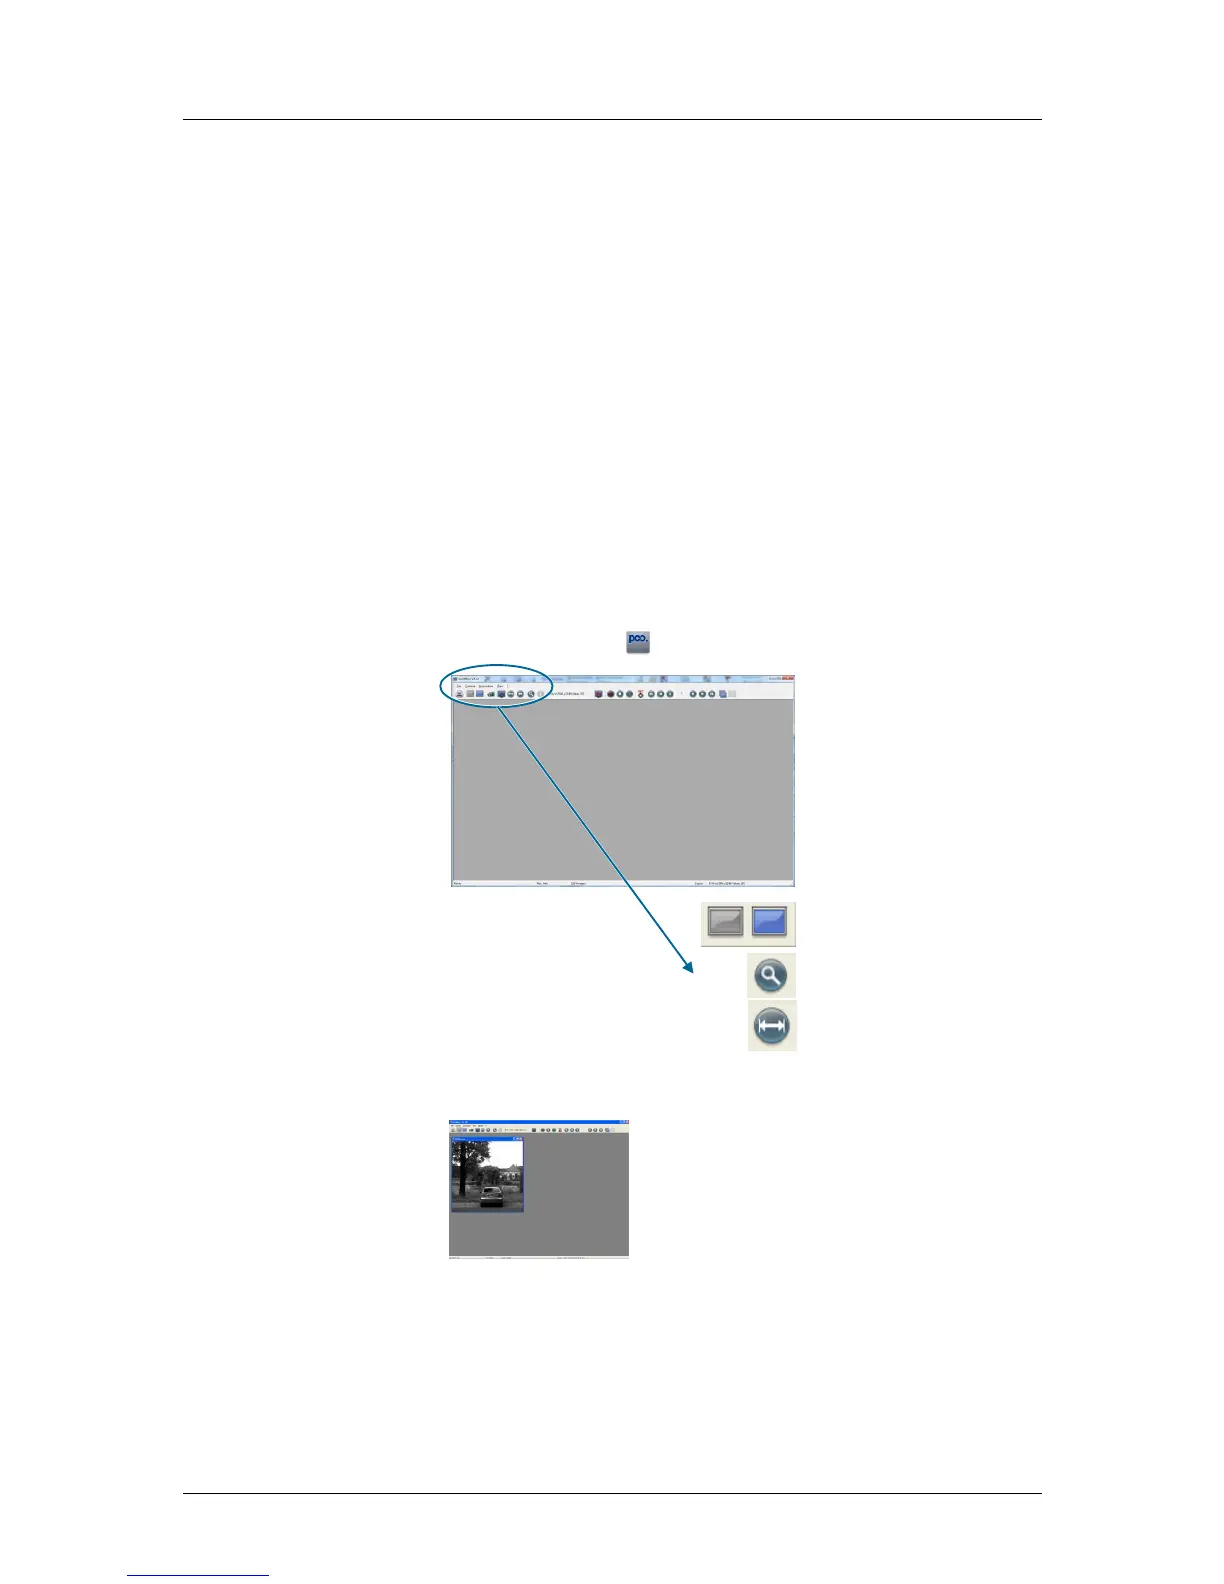
5.2 Start
start Camware
open view window
- if not already open -
start “live preview”
apply “auto range peak”
you may adjust aperture and focus
You should now clearly see the object in the
window.
If you need to change exposure time (e.g. the image is still either
too dark or too bright), please go to chapter 6!
If you want to record and save images, please see chapter 6 and
chapter 7 for detailed information!