Chapter 2 Installing PenMount 6000 Control Boards
2.3. RS-232 & USB Boards (6000 Series)
All PenMount 6000 control boards use both RS-232 serial interface and USB interface
except 6300 which only supports USB connection. There are currently four models in the
6000 Series. The general procedure for board installation is similar, though hardware
connection and configuration varies for each board.
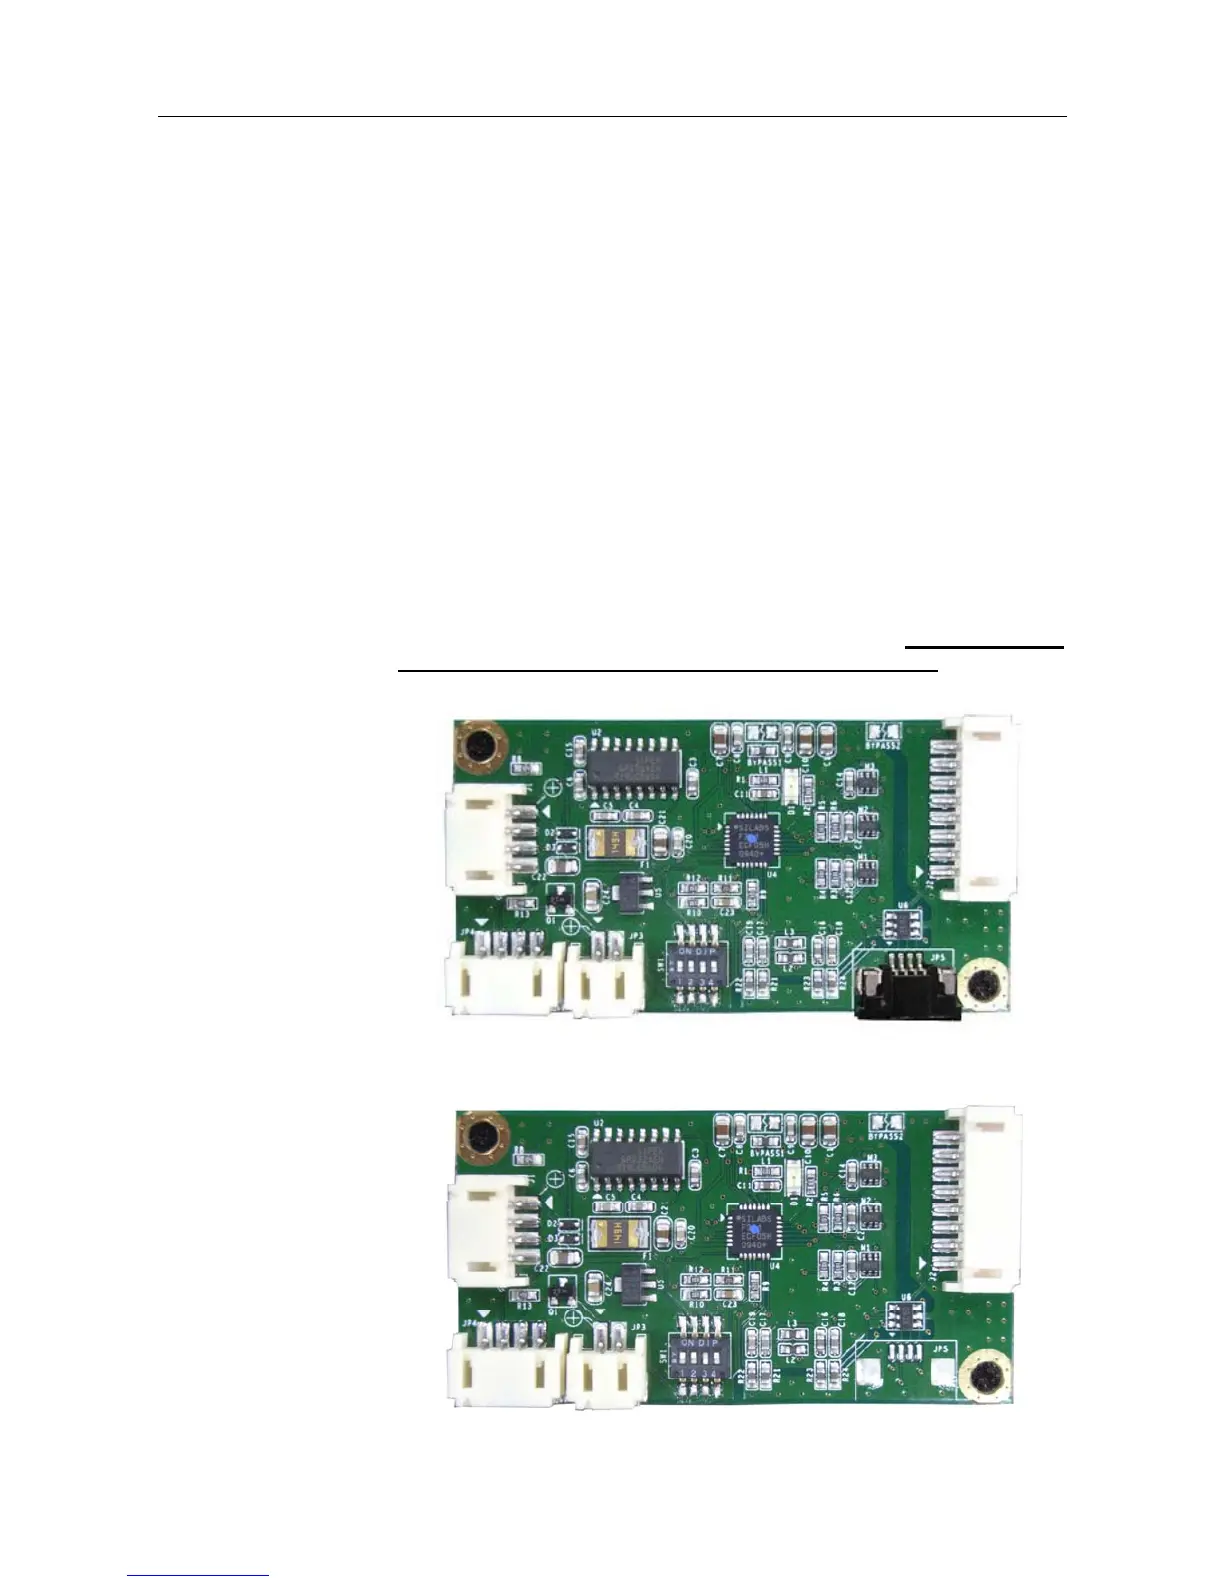
2.3.1. Install A PenMount 6200A & 6200C Control Board
PenMount 6200x control boards are touchscreen control boards that use both
RS-232 and USB interfaces and supports 4-wire, 5-wire, and 8-wire
touchscreens. The size of the board is 62.0 x 33.0 mm and it has five
connectors and four dipswitches on-board. Follow the steps below to install
the 6200x control board.
1. Power down your computer and display and open your display or system
case. Find space on your system and attach the control board to your
system with screws. The control board has industry standard 3.5 φ screw
holes.
2. For other installation details and dipswitch settings, see
2.2.1. Connect A
6200A Control Board (for both RS-232 & USB Interface)
on page 4.
PenMount 6200A Touchscreen Control Board Upside
PenMount 6200C Touchscreen Control Board Upside