Chapter 4 Driver Software Functions
1. Configure your computer hardware and the Control Board ID Dipswitch –
refer to your control board’s hardware description in Chapter 2. Install
PenMount 6000 Control Boards.
2. Install the PenMount Windows Universal Driver (for
2000/XP/2003/VISTA/7) in each computer – see Chapter 3. Install
Drivers for 6000 Boards for details.
3. Use driver’s Calibration function to calibrate each computer’s
touchscreen. You must calibrate each touchscreen before configuration
is complete.
Note: Be sure to set the Control Board ID Dipswitches. Do not use the same
setting on different control boards; otherwise the hardware will not
operate correctly.
4.5. Rotation
There are currently a number of software packages on the market that support rotating
monitors 0°, 90°, 180°, and 270°. However you will not be able to use a touchscreen
unless it is matched to the appropriate rotation. Our rotation configuration function allows
you to easily match the touchscreen when you rotate your monitor.
If you use a rotating monitor you will need a display card such as from nVidia, Intel, SMI
or ATI and software such as Portrait Pivot Pro. For software operation and features,
please refer to your software manual.
Configuring the rotation function is easy. Select this option and a ‘point’ appears for you
to touch. Once the point is touched the software driver understands which degree you
plan to rotate your display. The rotation function supports 90, 180 and 270 degrees
rotation.
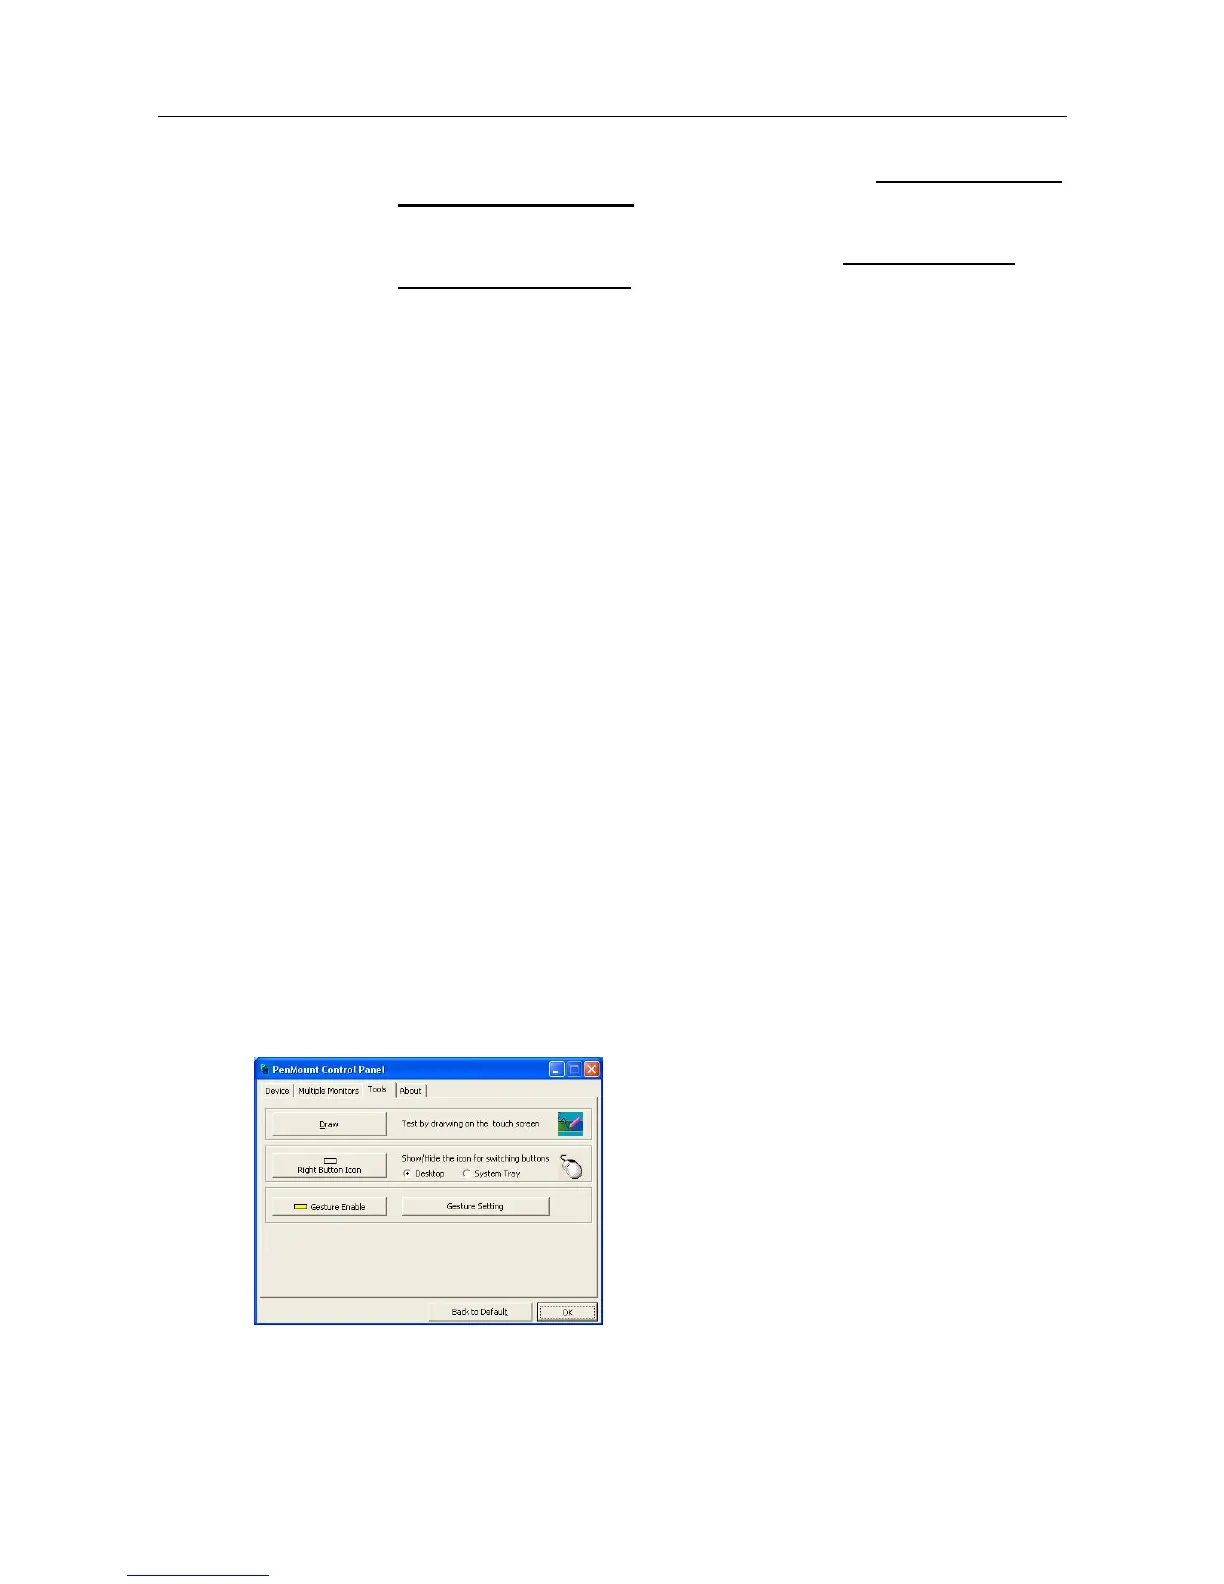
4.6. Draw
Tests or demonstrates the PenMount touchscreen operation. The display shows touch
location. Click Draw to start. Touch the screen with your finger or a stylus and the
drawing screen registers touch activity such left, right, up, down, pen up, and pen
down.