23
English
Note:
– During rewinding or fast forwarding of a tape, it
is also possible to select another source (CD,
TUNER or AUX, for example).
General Information on
Recording
● For recording, use only tape of IEC type I
(normal tape) or IEC type II (Cr0
2
).
● The recording level is set automatically, regardless
of the position of the Volume, Incredible
Surround, BASS/TREBLE, and so forth.
● The tape is secured at both ends with leader
tape. At the beginning and end of the tape,
nothing will be recorded for six to seven
seconds.
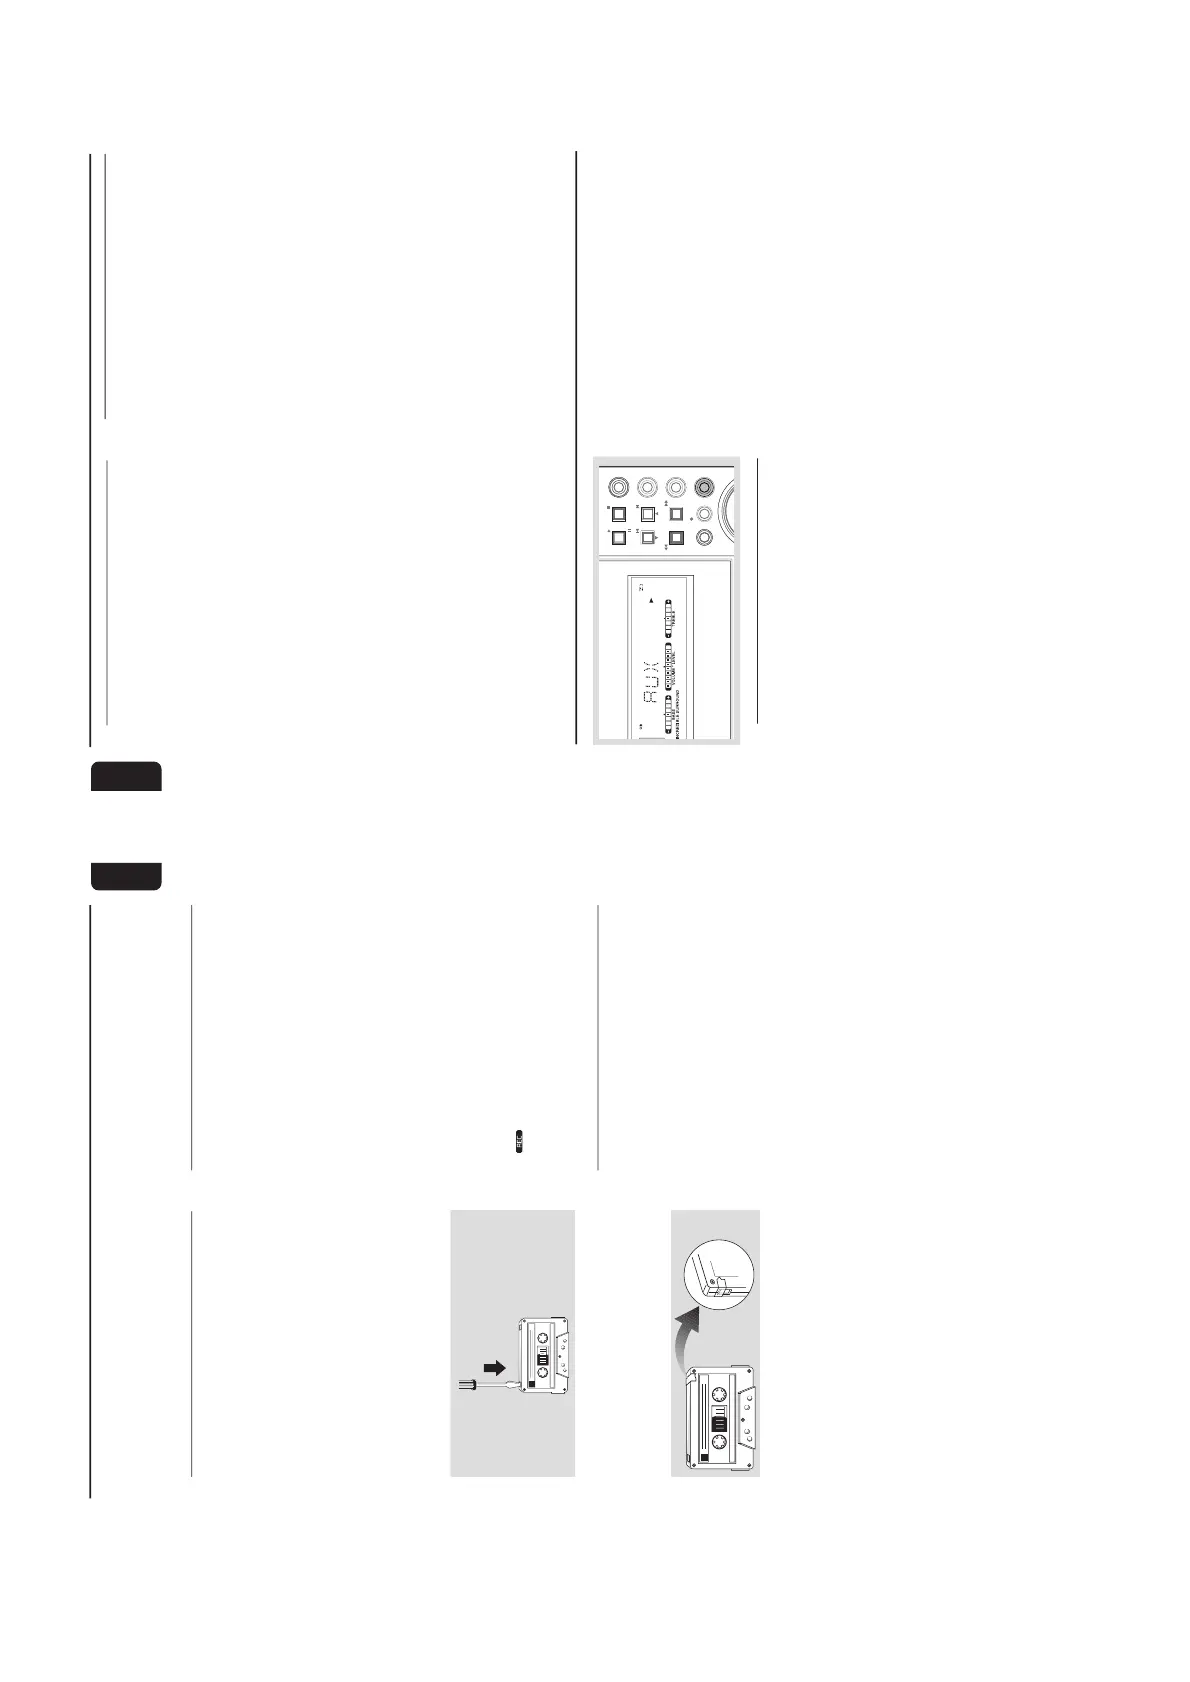
● To prevent accidental recording, break out the
tab on the left shoulder of the tape side you
want to protect.
● If “
CHECK TAPECHECK TAPE
CHECK TAPECHECK TAPE
CHECK TAPE” is displayed, the protection
tab has been broken. Put a piece of clear
adhesive tape over the opening. Do not cover
the Cr0
2
tape detection hole when covering the
tab opening.
IMPORTANT!
Recording is permissible if copyright or
other rights of third parties are not
infringed upon.
Preparation for Recording
1
Press TAPE to select tape mode.
2
Load a recordable tape into the tape deck.
3
Press í or ë to select the recording tape side.
➜ A appears on the display for the reverse
side.
➜ B appears on the display for the forward
side.
4
Press AUTO REV. on the remote control
repeatedly to select a recording mode.
➜ å for recording on one side only.
➜
∂ ∂
∂ ∂
∂ for recording on both sides.
5
Prepare the source to be recorded.
3CDC – load the disc(s).
TUNER – tune to the desired radio station.
AUX – connect external equipment.
When recording is in progress
➜
starts flashing.
● It is not possible to change tape side.
● It is not possible to listen to another source.
● It is not possible to activate the timer function.
One Touch Recording
1
Press 3CDC, TUNER or AUX to select the
source.
2
Start playback of the selected source.
3
Press 0 REC to start recording.
To stop recording
● Press Çon the system.
Note:
– One Touch Recording is not possible in TAPE
mode, "
SELECT SOURCE
" will be displayed.
Ta pe Operation/Recording
24
English
Ta pe Operation/Recording
CD Synchro Recording
1
Press 3CDC to select the disc.
● Press í or ë to select the desired track to
start recording.
● You can programme the tracks in the order you
want them to be recorded (refer to “CD
Operation - Programming the disc tracks”).
2
Press 0 REC to start recording.
➜ The disc will start playback automatically.
To select another track during recording
1
Press PAUSE Å (ÉÅ) to interrupt recording.
2
Pressí or ë to select the desired track.
3
Press PLAYÉ (ÉÅ) to resume recording.
To stop recording
● Press Ç.
➜ Recording and disc playback will stop
simultaneously.
Digital Recording via Digital Out
For CD digital recording, please refer to the
instruction manuals for the CD recorder, digital
audio equipment and so forth.
Listening to External Sources
1
Connect the audio out terminals of the external
equipment (TV, VCR, Laser Disc player, DVD
player or CD Recorder) to the AUX/CDR IN
terminals of your system.
2
Press AUX/CDR repeatedly to select CDR
mode or normal AUX mode.
➜ "
CDRCDR
CDRCDR
CDR" or "
AUXAUX
AUXAUX
AUX"will be displayed.
● If the sound from the external source is
distorted, select CDR mode for listening.
External Sources
Notes:
–You are advised not to listen to and record from
the same source simultaneously.
– All the interactive sound control features (IS or
BASS/TREBLE, for example) are available for
selection.
– Refer to the operating instructions for the
connected equipment for details.
For Recording, please refer to “Tape
Operation/Recording”.