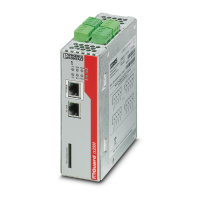
FL MGUARD SMART2
105656_en_05 PHOENIX CONTACT 217
10.4 Preparing the configuration
10.4.1 Connection requirements
– The FL MGUARD SMART2 must be switched on, i.e., it must be connected to a com-
puter (or power supply unit) that is switched on via a USB cable in order for it to be sup-
plied with power.
– For local configuration: The computer used for configuration:
– Must be connected to the LAN port of the device
– Or must be connected to the device via the local network
– For remote configuration: The device must be configured so that remote configura-
tion is permitted.
– The device must be connected, i.e., the required connections must be working.
10.4.2 Local configuration on startup (EIS)
As of firmware version 7.2, initial startup of mGuard products provided in Stealth mode is
considerably easier. From this version onwards, the EIS (Easy Initial Setup) procedure en-
ables startup to be performed via preset or user-defined management addresses without
actually having to connect to an external network.
The device is configured using a web browser on the computer used for configuration.
According to the default setting, the device can be accessed via the following addresses:
The device is preset to the “multiple Clients” stealth configuration. You need to configure a
management IP address and default gateway if you want to use VPN connections (see
Page 221). Alternatively, you can select a different stealth configuration or use another net-
work mode.
NOTE: The web browser used must support SSL encryption (i.e., HTTPS).
Table 10-3 Preset addresses
Default setting Network
mode
Management IP #1 Management IP #2
FL MGUARD SMART2 Stealth https://1.1.1.1/ https://192.168.1.1/
 Loading...