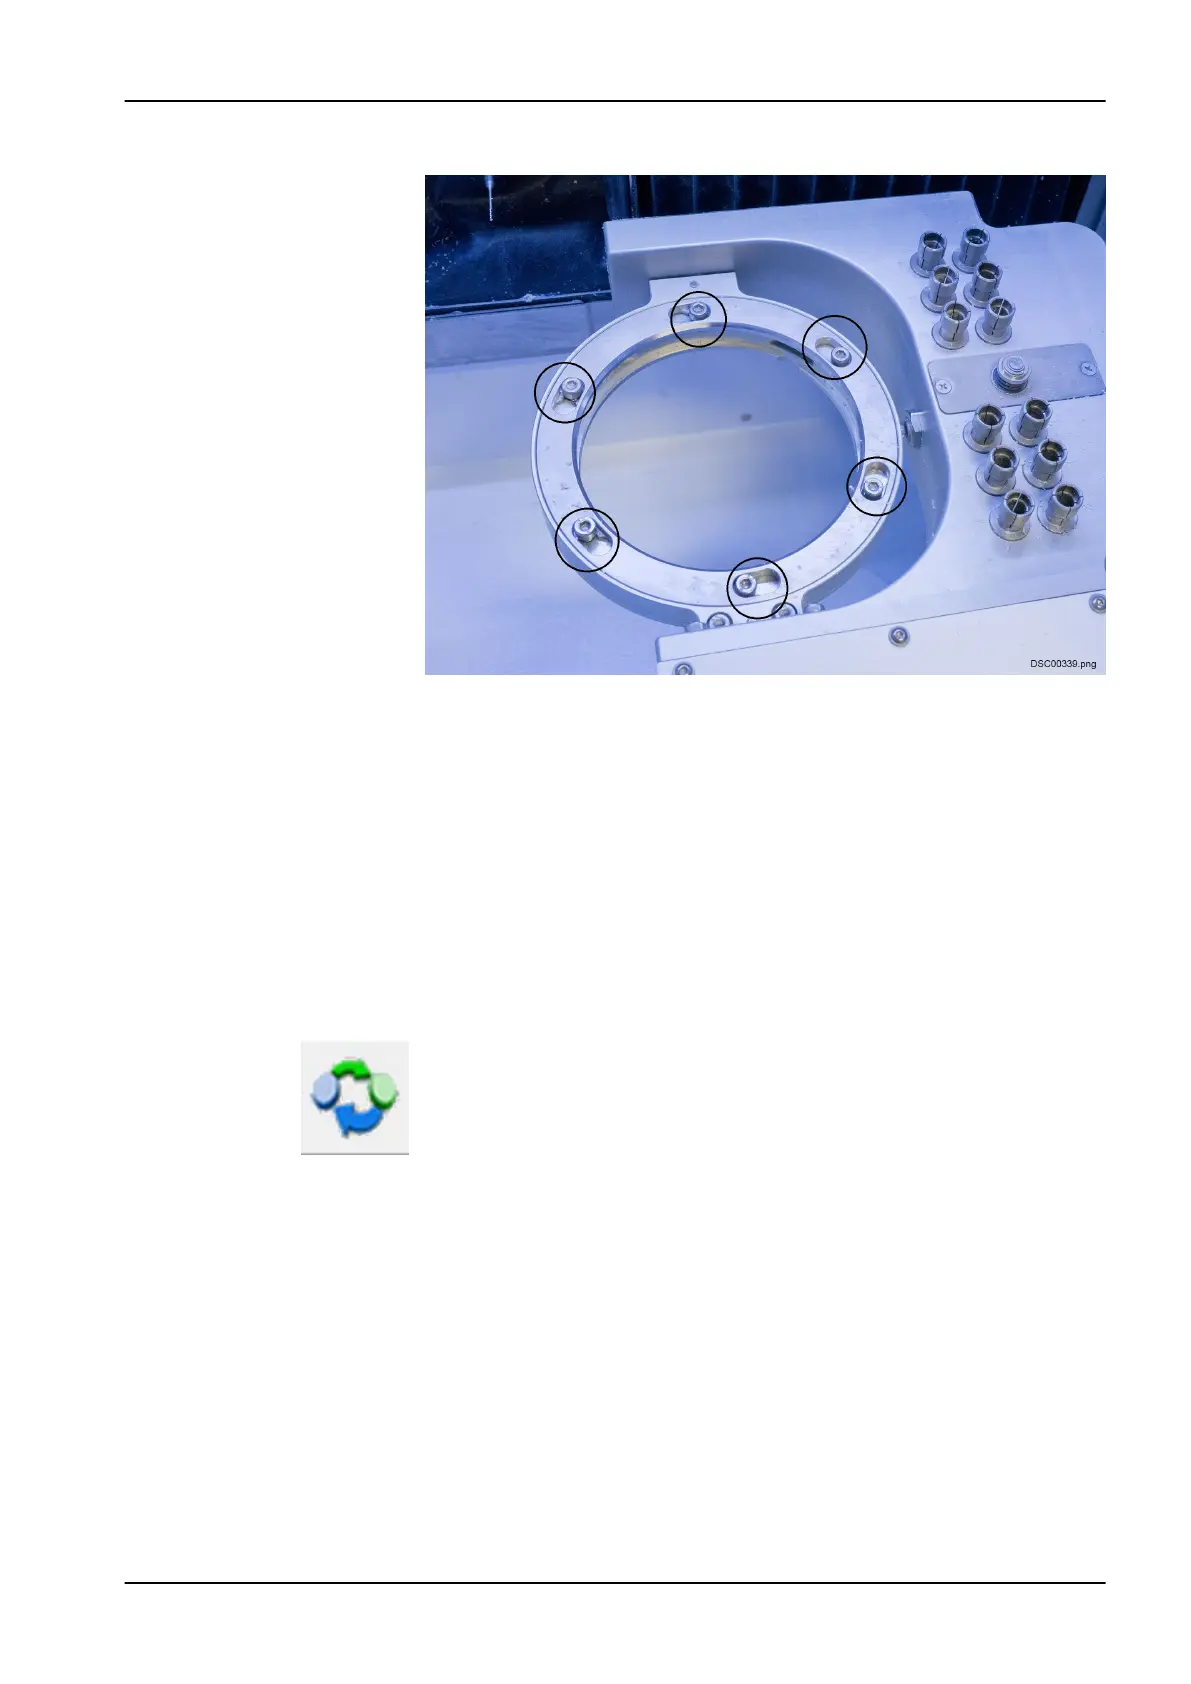
4. Loosen the clamping screws of the clamping ring (do not remove).
5. Remove the clamping ring by turning this in a clockwise direction to the
right
6. Remove the workpiece in it, if present
7. Insert the workpiece in the workpiece adapter.
8. Make sure the workpiece is correctly aligned.
9. Insert the clamping ring and turn it counter-clockwise, until it stops
turning.
10. Tighten the clamping screws of the clamping ring until hand-tight.
11. Check the secure seating of the workpiece.
8.10 Removing workpiece
1. Drive the unit to the blank change position by touching this button.
2. Stop all drives and the milling spindle.
3. Open the lid by pressing the lid button.
8 Operating milling unit
User's manual Planmeca PlanMill 50 S 53