• Remove the cone
• Grease the cone
• Clean the collet chuck holder with the felt cone provided
• Replace the entire coolant
11.5 Calibrating milling system
A couple of calibration bodies are milled to check the zero point and axis
calibration of the milling unit. As a factory setting, all the calibrations are
made, but those must be checked and adjusted, if needed.
11.5.1 Attaching workpiece
1. Select the correct workpiece.
CAUTION
Not every workpiece is suitable for milling a calibration body. Only use
suitable workpieces for this purpose.
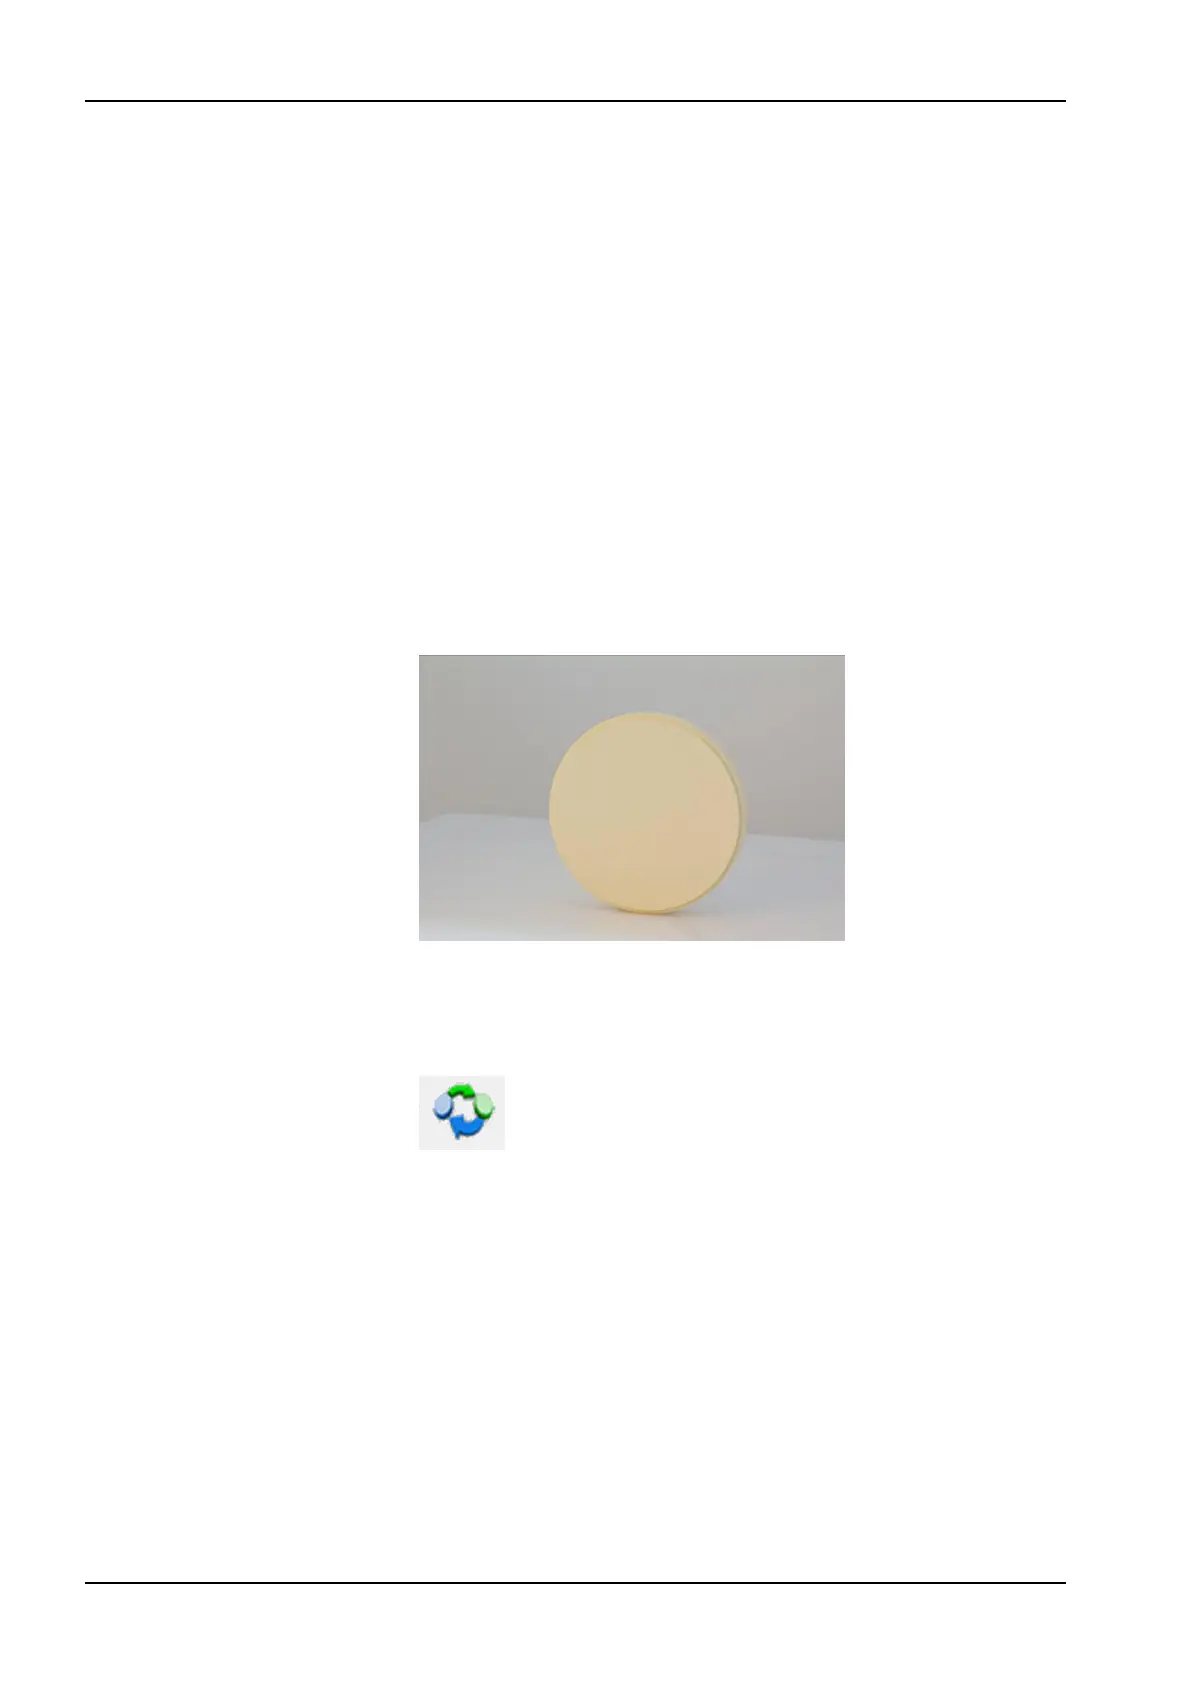
For calibrations, use the Calibration disc (part number 10036901).
The workpiece is available in the delivery package.
2. Stop all drives and the milling spindle.
3. Turn the workpiece holder to horizontal position (Special position 1) by
pressing the approach to special position 1 button:
4. Push Cover button in the front side of the milling unit and open the lid.
11 Preventive maintenance
88 Planmeca PlanMill 50 S User's manual