PN-0908073 Rev. 11 25-92
PS 164-2
THE ART OF WELDING
5. Operation of the PS 164-2
5. 1. Fundamental procedures
5. 1. 1. Switching on
With the installation properly connected (see chap-
ter 4), turn the switch FA 1 to the position 1. After
a short period the power source is ready to be used,
the screen should be lit.
Note: The remote control must be connected
to the PS 164-2 in order to make the power
source work.
If a problem should occur, please refer to Chapter
6.2.2 "Maintenance and Troubleshooting".
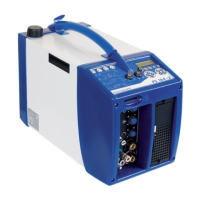
5. 1. 2. Positioning the welding head on the workpiece
Please read the manual supplied with each welding
head before positioning a POLYSOUDE welding head
on a workpiece. Once the welding head is positioned,
you can drive the electrode exactly where you want
the cycle to start by using the head rotation buttons
BT 10 and BT 11 on the remote control pendant.
With some closed welding heads,
the cycle can only be started with
the electrode in home position.
This action is comprised of two stages: during the
fi rst two seconds the rotation speed is reduced to
20 % of the maximum speed, afterwards the rotation
speed becomes 100 %. This allows both quick and
accurate positioning of the electrode.
In the case of welding heads fi tted with a home po-
sition contact, the manual rotation stops when the
head is in the "open" position. By releasing the but-
ton and pressing it again the rotation can be contin-
ued. This command is very useful because a closed
welding head can only start in the "open" position.
Fig. 5.1 - Buttons for manual rotation of the welding
head on the remote control pendant
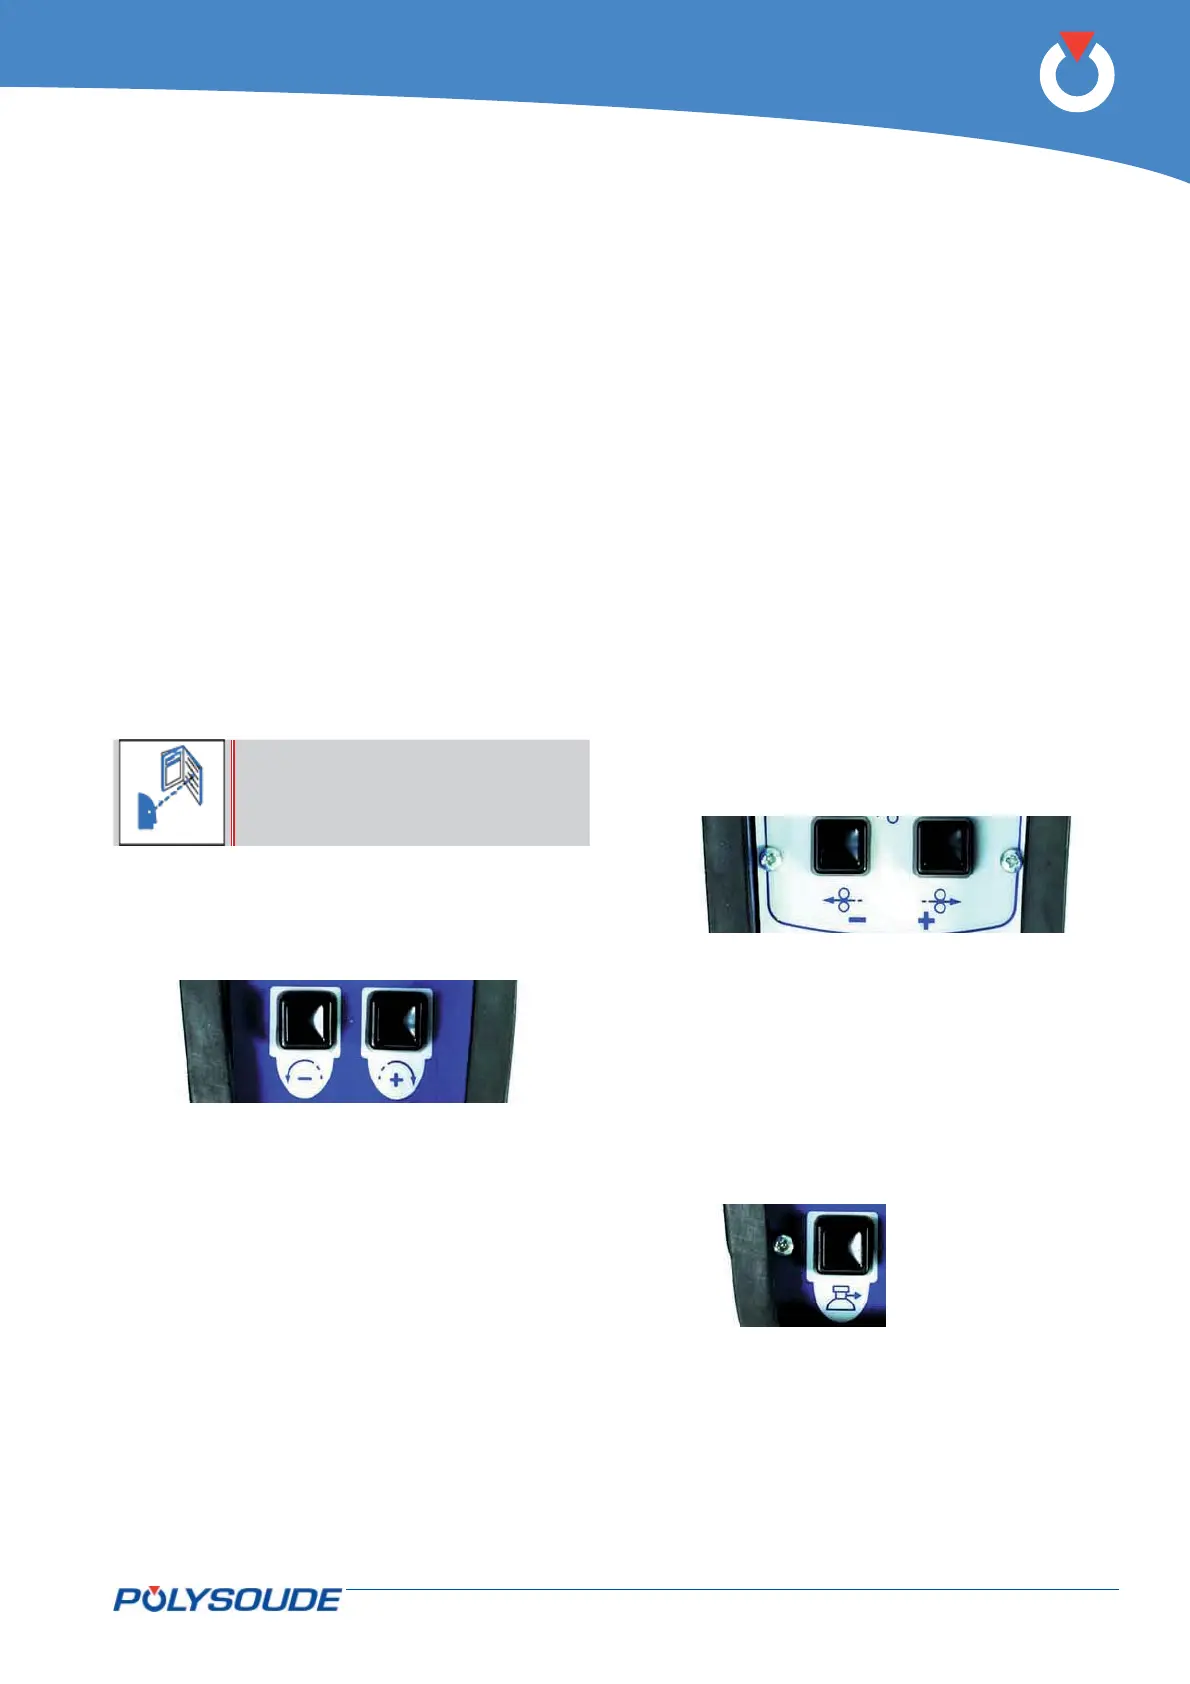
5. 1. 3. Wire setting
Combined with the "Auto / Manual Wire" switch
(BT 12), the two buttons BT 13 and BT 14 on the
remote control pendant permit precise positioning of
the wire.
If the switch BT 12 is in the "Auto" position, press-
ing one of these buttons advances (BT 13) or re-
tracts (BT 14) the wire. This action is comprised of
2 speeds: during the fi rst 2 seconds the wire moves
at a reduced speed of 20 % of the maximum speed,
afterwards it moves at 100 %. This allows both rapid
and precise positioning of the wire.
If the switch is in the "Manual" position, the function
of the wire retract button BT 14 remains as stated
above. However, by pressing the wire advance but-
ton for a fi rst time the wire is advanced at a high
speed, a second pressing of the button causes the
wire to stop. This function is particularly useful when
loading the wire into the wire guide sheath.
Fig. 5.2 - Buttons for wire positioning on the remote
control pendant
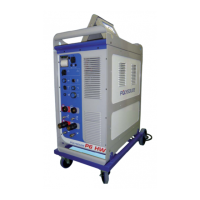
5. 1. 4. Adjustment of the gas fl ow
The gas fl ow has to be adjusted with a fl owmeter at
the gas source. The push button BT 16 energises the
gas valve.
Fig. 5.3 - Gas test button