Appendix PPT VISION, Inc.
6-2 A-Series Hardware Guide
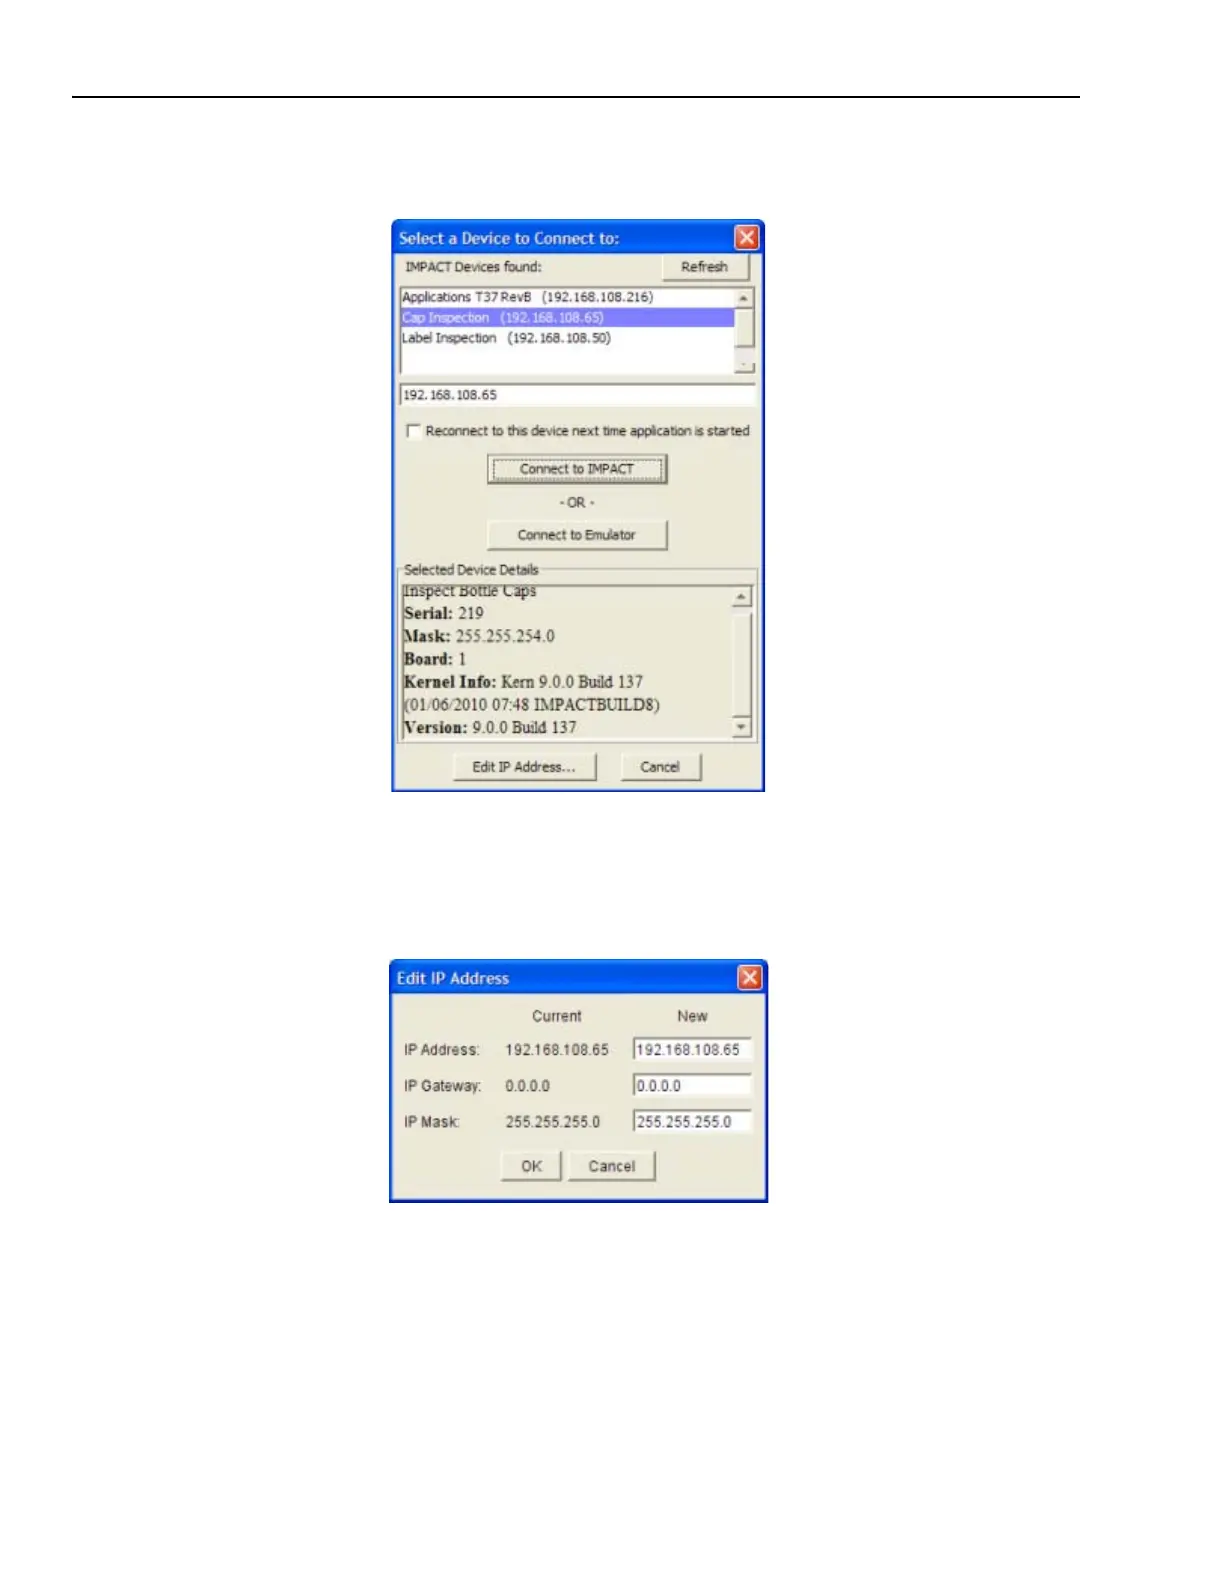
1. Start VPM. When the “Select a Device to Connect to” dialog is displayed, click on the desired camera in the list of
PPT Devices found. If the camera is not in the list, be sure the camera power is on and that it is connected to the
client computer, then click the Refresh button.
2. Click the Edit IP Address button at the bottom of the dialog.
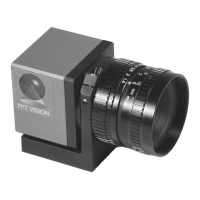
3. In the “Edit IP Address dialog,” enter the desired IP address and IP mask. Leave the IP Gateway unchanged.
Remember, to be able to communicate with the client computer, an PPT camera’s IP mask must correspond cor-
rectly to the client computer’s Subnet mask, and the address must match the client computer’s address in the first
three sets of numbers.
4. Click OK.