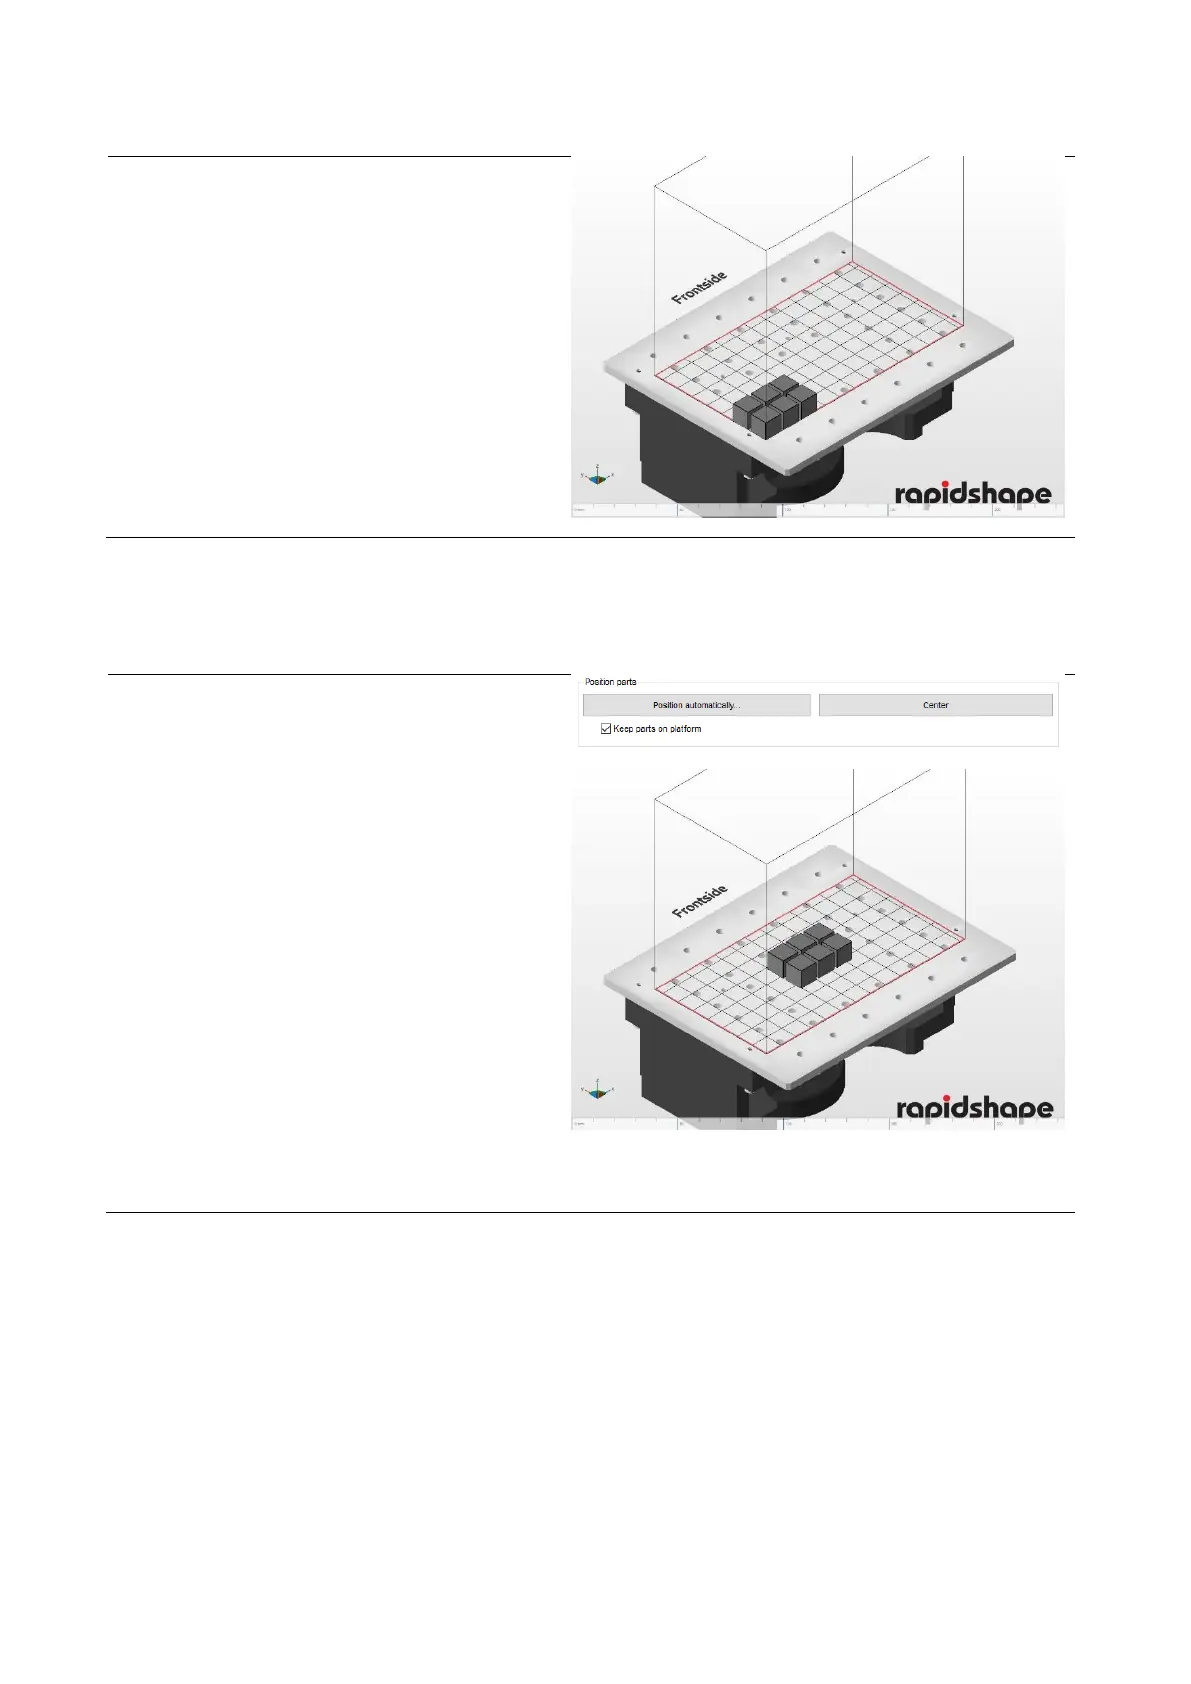
(5) When the file has been fully loaded, the
model will be displayed on the building
platform.
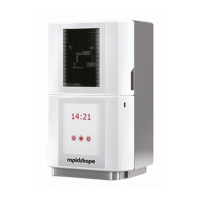
(1) Mark all the models on the building
platform.
(2) Click on the button “Center“. The models
will be positioned in the middle of the
platform.
(3) Checkmark “Keep parts on platform“. This
way, the models will be positioned directly
onto the platform.
(If you do not checkmark, the component
can be moved into Z-direction.)
Attention! Components, which are not
directly positioned onto the platform,
cannot be printed. (Exception: Usage of
support structures)
(4) When clicking on “Position
automatically…“, the minimum distances
between the components and other
settings can be set.
6.7.10 Checking supports
Depending on the printing jobs, support structures may be necessary in order to perform the job. Support
structures can be created and adjusted manually in netfabb: