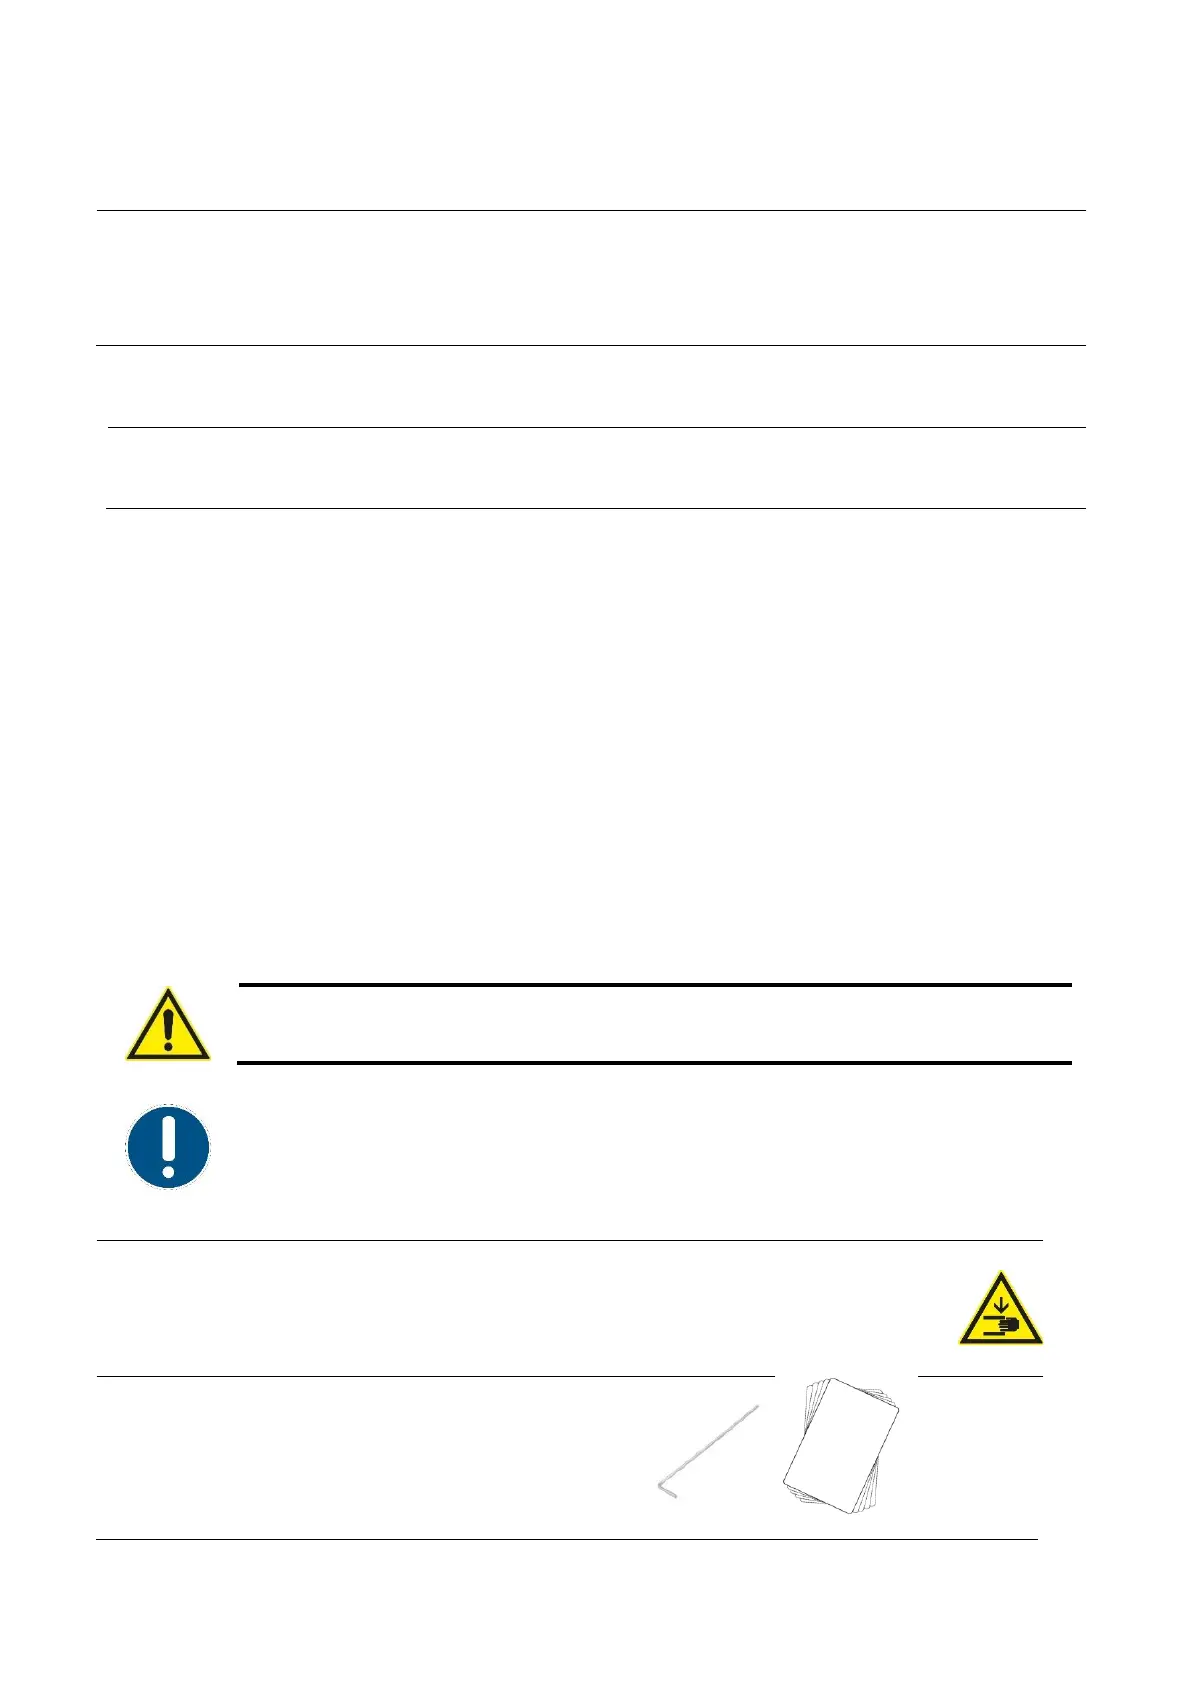
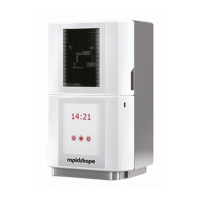
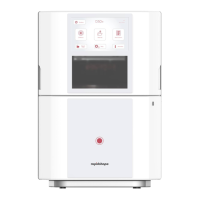
Rapid Shape Operating Instructions
(1) Start the machine.
(2) Remove the material reservoir and the building platform.
(3) Insert the calibration plate.
(4) Put on the UV protection goggles.
(5) Put the ACCS sensor ready for use.
(1) Insert the ACCS sensor’s USB plug into the USB port at the machine’s front.
(2) Main menu: Select -> “Calibration”.
(3) Follow the several steps displayed on the screen.
7.8 Menu "Info"
Here you can find all the required information about the machine, e.g.
- Firmware states
- Version information
- IP address
7.9 Menu "More Functions“
The menu "More Functions" provides a range of handy and easy-to-use menu items.
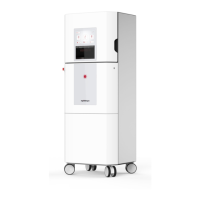
7.9.1 Verifying/setting parallelism
Caution
Can lead to minor or moderately serious injuries. Low risk of hazard.
In order to prevent components from becoming loose off the building platform, it’s
essential that the building platform is set parallel to the projection area. How to set the
building platform parallel will be described step by step in the following.
Preparation
- Machine started up
- Build platform fitted
- Calibration plate slided in
- Build platform in reference position (top)
Required tools:
- Allen key 2.0mm
- Allen key 3.0mm
- Playing cards from starter kit
(alternative: Small sheets of
paper /business cards)