Wuhan Raycus Fiber Laser Technologies Co., Ltd.
User Guide of RFL-C3000XZ~RFL-C12000XZ
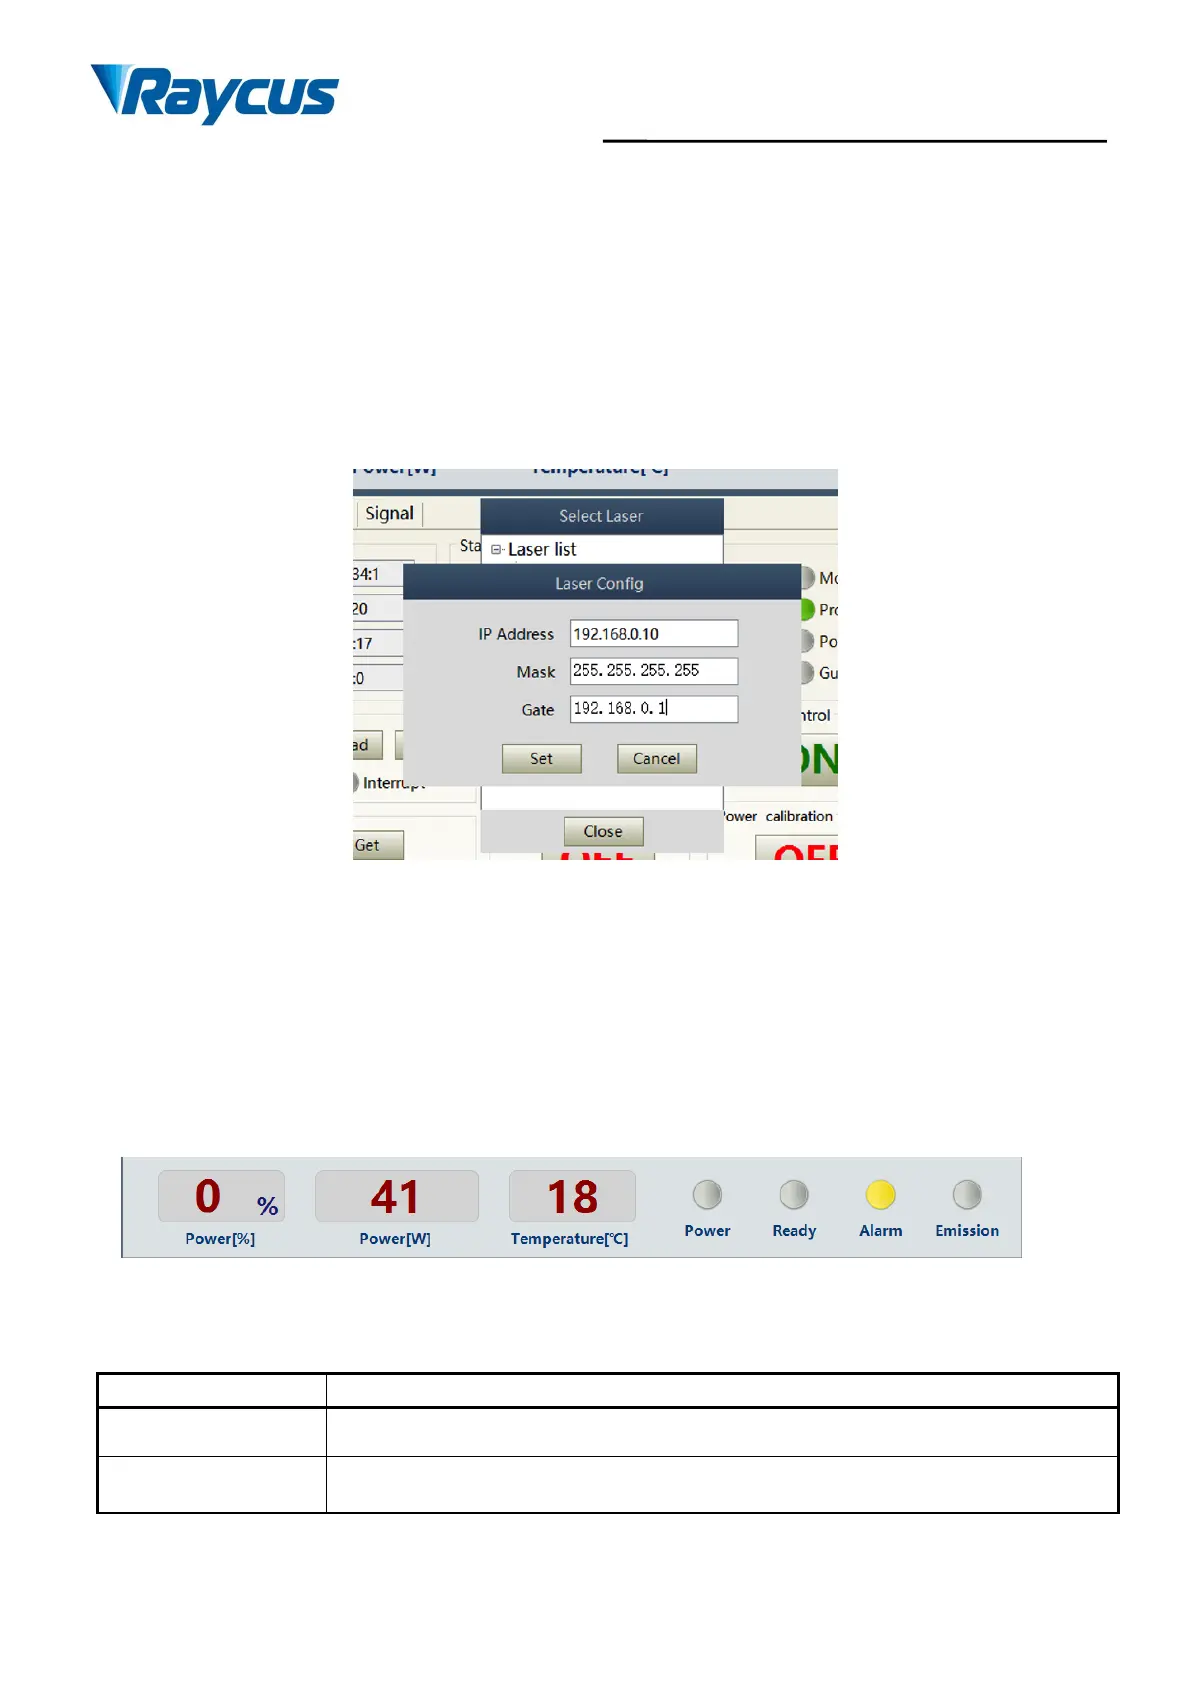
In the pop-up “Laser Configuration” window, enter the IP address of the laser Users want to modify,
click “Set”, and a “Setup successful” prompt box pops up. After Users click “Confirm”, the prompt box
disappears. Click the “Cancel” button on the “Laser Configuration” interface, the “Laser Configuration”
window disappears, and the IP address is successfully modified. See Figure 36 and 37 for specific steps.
After modifying the laser IP address, the laser will disconnect from the network. At this time, power
on again, click “Select Laser”. In the IP address list in the pop-up “Laser Configuration” window, double-
click the laser IP address users just modified. The connection display is normal, as Figure 37.
Figure 37 Modify the IP address of laser
8.3 Main Working Status Display
The uppermost part of the main interface of the laser is the main status display area of the laser, which
mainly displays the current laser emitting power percentage, actual emitting power, current laser
temperature and other information. See Table 12 for details.
The laser’s main status display is as Figure 38 and Table 12.
Figure 38 A diagram of the laser'smaindisplayarea
Table 12 The laser main display content and meanings
current setting percentage of power in real time
Average laser emission power in real time (W)