Version Number: RBM2000P-20210517A1
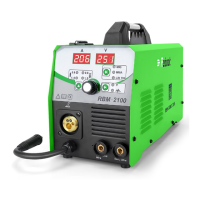
5. Voltage indicator.
6. INDUCT indicator.
7. Select welding mode
MMA/ MIG CO2/ MIG MAX/ PULSE MIG ALMg/ PULSE MIG ALSi
8. Knob 8.
Long press it to feed the wire quickly.
Press once to select the “A” indicator and “MENU” indicator.
When the “A” indicator light is on, turn it to adjust the current; when the “MENU” indicator light is on,
turn it to change the menu item.
9. Knob 9.
Long press it to check whether the protective gas is provided normally.
Press once to select the “V” indicator and “INDUCT” indicator.
When the “V” indicator light is on, turn it to adjust the current; when the “INDUCT” indicator light is on,
turn it to change the menu item.
10. MIG Welding torch connector
11. Positive Terminal
Positive Terminal. Welding current flows from the power source via heavy duty bayonet type terminals. It is
essential, however, that the male plug is inserted and turned securely to achieve a sound electrical
connection.
12. Negative Terminal
Negative Terminal. Welding current flows from the power source via heavy duty bayonet type terminals. It is
essential, however, that the male plug is inserted and turned securely to achieve a sound electrical
connection.
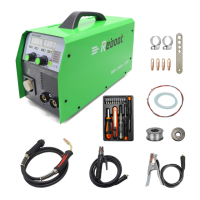
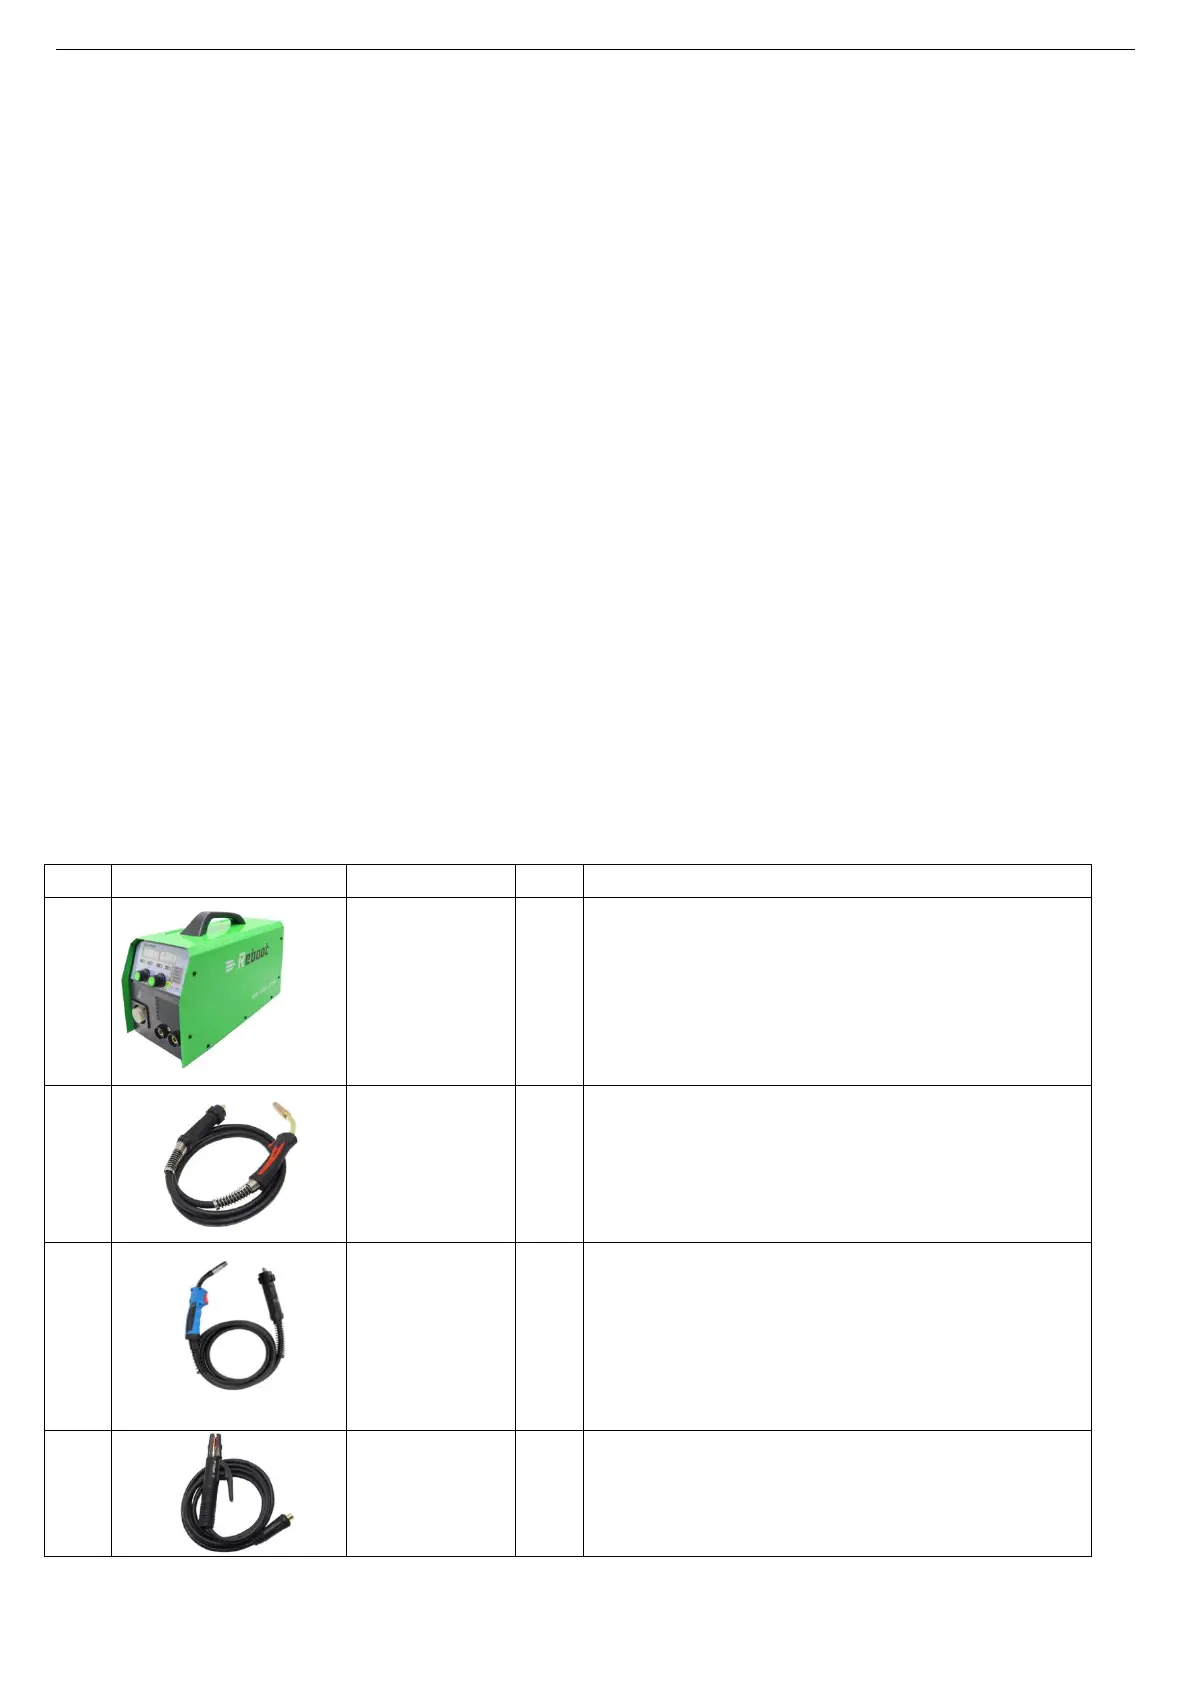
Part 2: Introduction to the product and configuration list
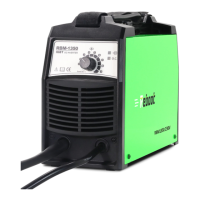
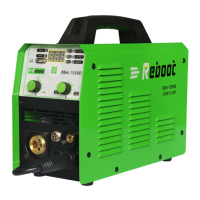
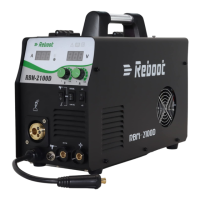
Please check outside of the whole machine no
scratch and break , it can power on normally.
2.5M, MB 24 MIG welding torch, European central
plug.
Graphite liners, special for welding aluminum.
Optional accessories, need to be purchased
separately.
3M, MB 15 MIG welding torch, European central
plug. Carbon steel wire guide tube, special for
welding carbon steel welding wire and stainless
steel welding wire
2.5m 25MM2 cable, 300A copper American welding
holder +10-25mm2 European quick plug.
 Loading...