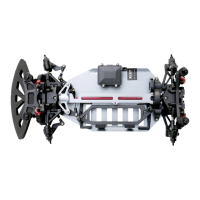
65
12. Cleaning and maintenance
a) General information
Before cleaning or maintenance, turn off the speed controller and completely disconnect the drive rechargeable
batteries from it. Allow all parts to cool down completely (e.g. engine and speed controller).
Afteryouhavenishedusingthevehicle,removealldustanddirt(e.g.usingacleanlong-hairedbrushandavacuum
cleaner). Compressed air aerosols can also help to remove dirt.
Do not use cleaning sprays or conventional household cleaning chemicals. These may damage the electronic
components and discolour the plastic parts or chassis.
Never wash the vehicle with water, e.g. with a high-pressure cleaner.
Useasoft,slightlydampclothtowipethechassis.Donotrubtoormly,asthismayresultinscratchmarks.
b) Before and after each use
Enginevibrationsandimpactsduringdrivingmaycausecertainpartsandscrewttingstobecomeloose.
Check the following before and after each use:
• Allwheelnutsandscrewttingsmustbesecure
• Fixingthespeedcontroller,on/offswitch,andreceiver
• Check the condition of the tyres and ensure that they adhere to the wheel rims
• Check that all cables are attached (they must not touch the moving parts of the vehicle)
Check the vehicle for any signs of damage before and after each use. If there are any signs of damage,
discontinue use immediately.
Only use genuine spare parts when replacing worn vehicle parts (e.g. tyres) or defective vehicle parts (e.g.
a broken suspension arm).
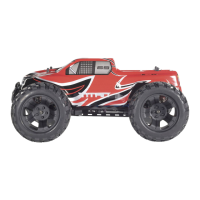
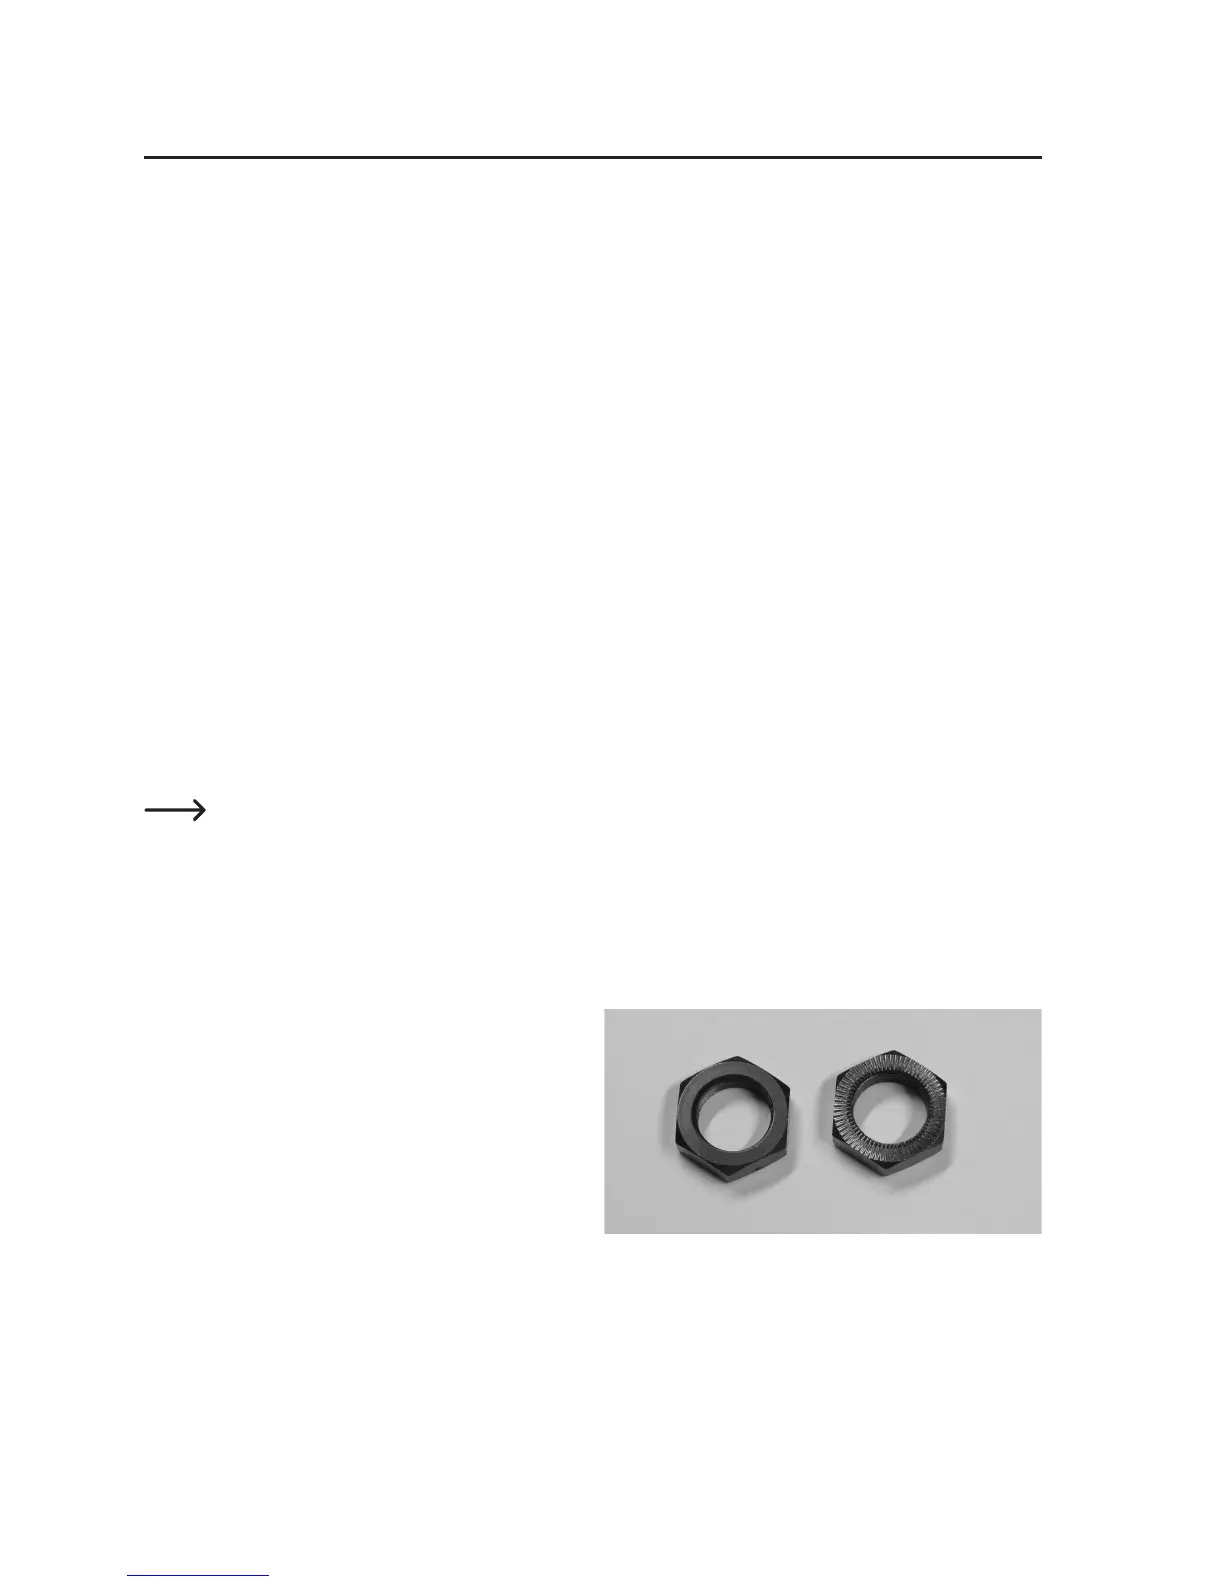
c) Changing a tyre
A suitable wrench is required to change the tyres.
Ensurethatthenutisutedononesidewhentightening
the wheel.
The uted side must face towards the wheel/wheel rim
and is designed to stop the nut from becoming loose.
Do not apply force when tightening the nut.