44 | P36E-10 Zero Clearance Direct Vent Gas Fireplace
|
44
installation
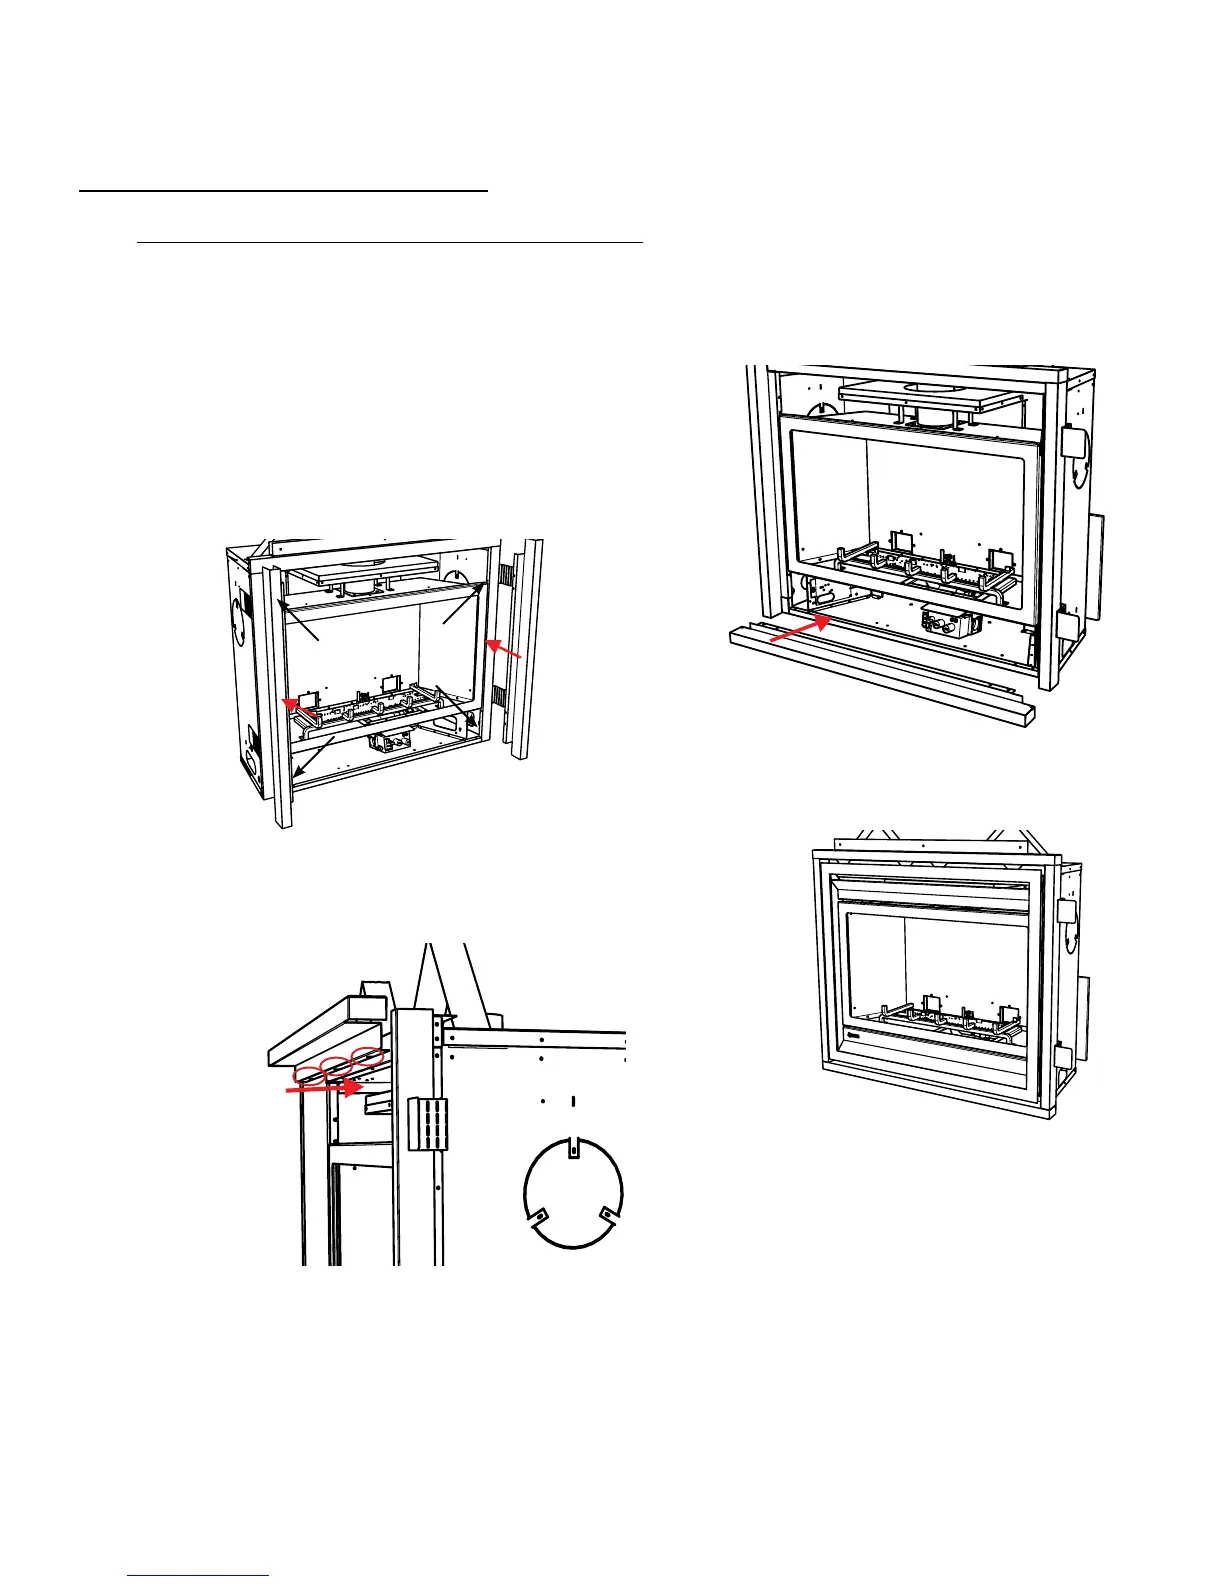
VIGNETTE FINISHING TRIM INSTALLATION
*If nishing the unit Flush with Vignette Finishing Trim - remove top nailing strip from unit if installed–use nailing strip supplied with top trim piece. Side
nailing strips are bent around side trim piece in ush nish application. See nailing strip section in manual for details.
NOTE: Remove the safety screen, Vignette Faceplate and glass
door prior to installing the Finishing Trim.
1. Install the Finishing Trim sides as shown in the diagram, line up
the holes in the side trim with the holes in the firebox side.
2. Secure with 2 screws each side.
3. Loosen the 3 screws in the top inside edge of the firebox.
4. Slide the Finishing Trim Top over the Side Trim pieces and fit the
bottom bracket slots over the screws. Tighten the 3 screws to
secure.
5. Hook Vignette Faceplate brackets into place.
7. Hook Vignette Faceplate brackets into place (see specific instruc-
tions in unit manual).
6. Install the lower finishing trim (if required)–secure with four
screws.
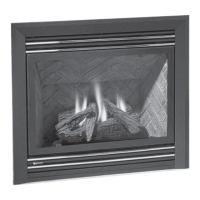
Completed install
*If finishing the unit Flush with Vignette Finishing Trim - remove top nailing strip from unit if installed–use nailing
strip supplied with top trim piece. Side nailing strips are bent around side trim piece in flush finish application.
Secure with 2 screws
each side
Important: See clearance/framing requirements on next
page when using the Vignettte Finishing trim