65
Calibrating the tools
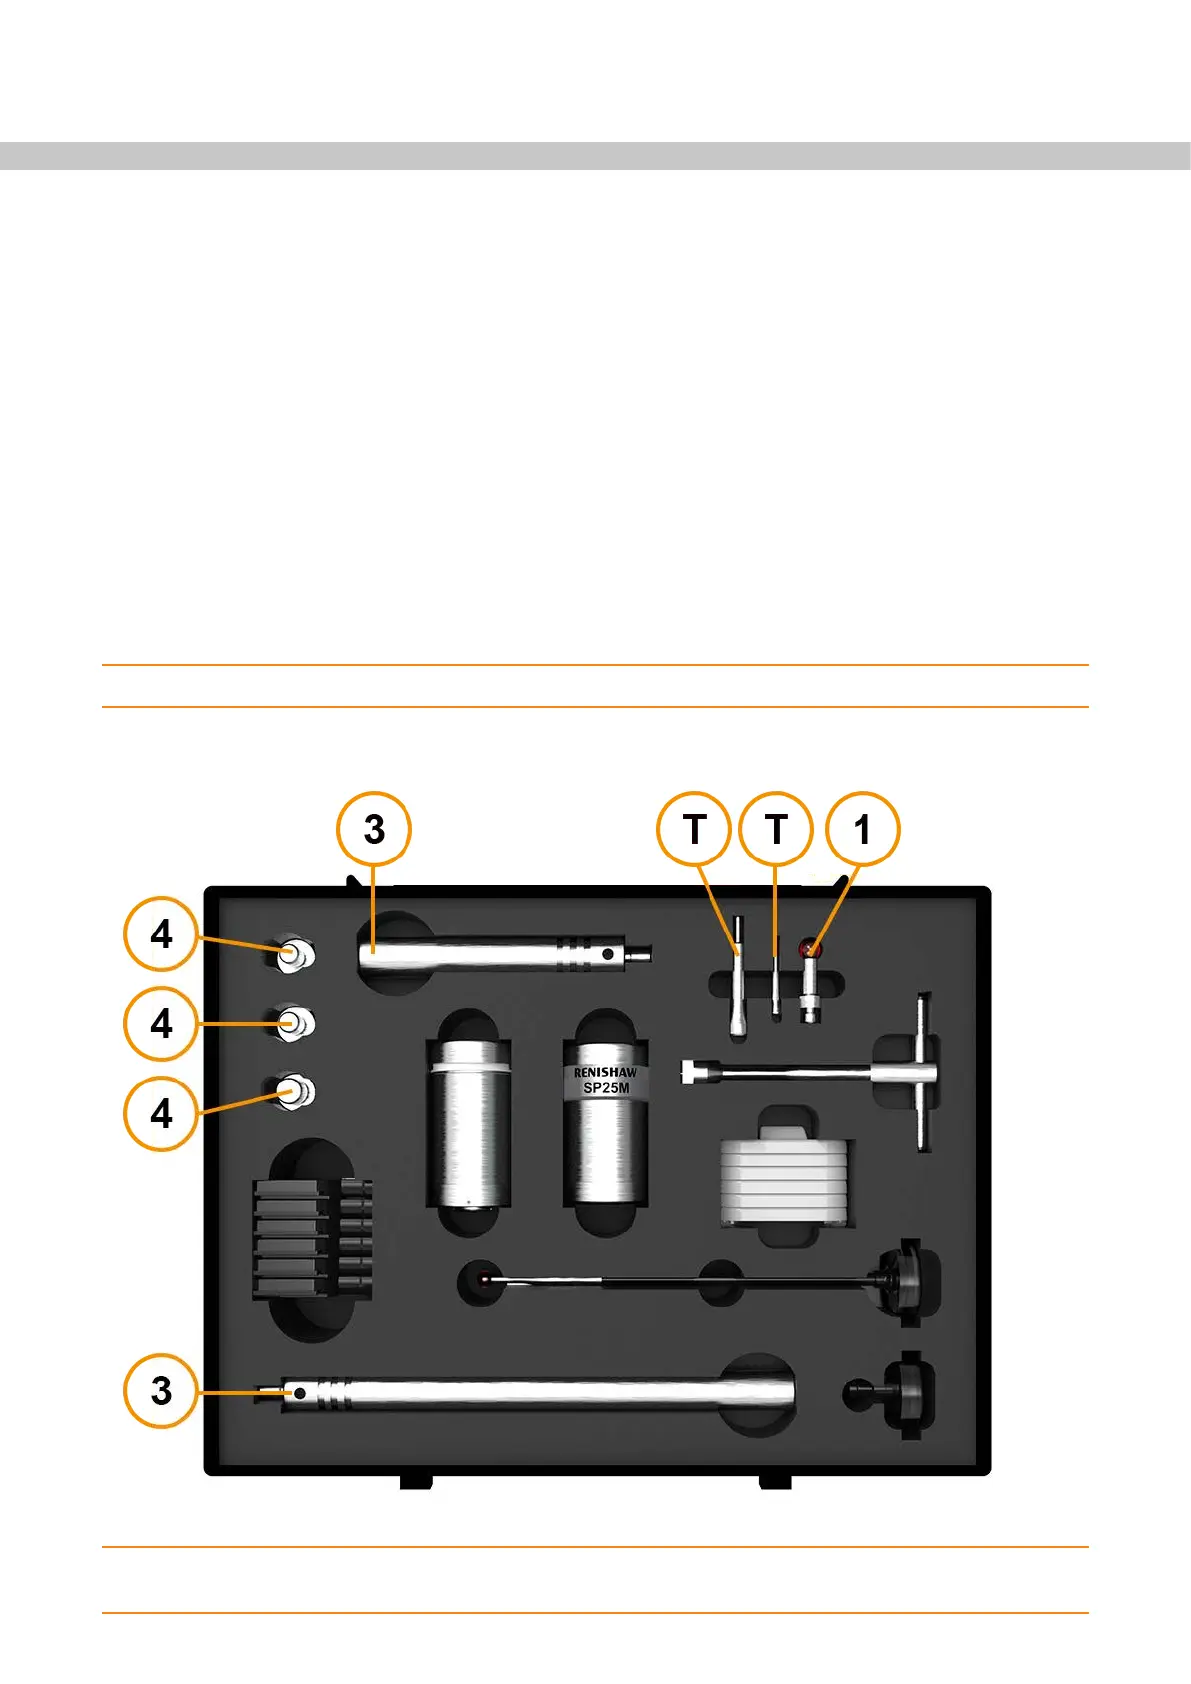
The first time you run the system, you need to assemble the calibration artefact and fit it to the fixture plate
before calibrating the RefTool and locating the EQR-6 autochange rack.
The probing tools must be calibrated so that the system knows the location and size of each of the styli. Failure
to calibrate the probe will result in an error between the actual contact point (touch point) of the probe’s stylus
and the position reported by the system. The resultant error will appear as an inaccuracy in the measurement.
Calibration of the probe allows the system software to automatically compensate for the location and size of the
styli during the measurement procedure.
During normal use, the amount of calibration required does not change, however, it is important that the probe
is calibrated in the following circumstances:
• When a probe system is to be used for the first time.
• When a new environment has been created or imported into EquatorServer.
• When it is suspected that the stylus has become damaged/distorted or the probe has collided with the part
or fixture.
• At regular intervals to compensate for mechanical changes of your machine.
NOTE: Calibration is known as “re-qualifying” in MODUS.
NOTE: The stylus tools are specifically designed to yield when excessive tightening force is applied.
This prevents damage to the threads of the stylus and the probe.
Assembling the calibration artefact
 Loading...