En-11
Room temperature control for wired remote controller sensor
Depending on the installed environment, correction of the wire remote temperature sensor
may be required.
Select the appropriate control setting according to the installed environment.
To change this setting, set Function 42 to Both “01”.
Ensure that the Thermo Sensor icon is displayed on the remote controller screen.
(♦... Factory setting)
Function number
Setting
value
Setting description
92
(For cooling)
93
(For heating)
00 No correction 0.0°F (0.0°C) ♦
01 No correction 0.0°F (0.0°C)
02 -1°F (-0.5°C)
More
Cooling
Less
Heating
03 -2°F (-1.0°C)
04 -3°F (-1.5°C)
05 -4°F (-2.0°C)
06 -5°F (-2.5°C)
07 -6°F (-3.0°C)
08 -7°F (-3.5°C)
09 -8°F (-4.0°C)
10 +1°F (+0.5°C)
Less
Cooling
More
Heating
11 +2°F (+1.0°C)
12 +3°F (+1.5°C)
13 +4°F (+2.0°C)
14 +5°F (+2.5°C)
15 +6°F (+3.0°C)
16 +7°F (+3.5°C)
17 +8°F (+4.0°C)
Setting record
• Record any changes to the settings in the following table.
Setting Setting Value
Heat Insulation condition (building insulation)
Room temperature control for indoor unit sensor
Cooling
Heating
Room temperature control for wired remote controller sen-
sor
Cooling
Heating
After completing the Function setting, be sure to disconnect the power and reconnect it
again.
■
Remote controller custom code setting
Use the following steps to select the custom code of the remote controller. (Note that the
air conditioner cannot receive a signal if the air conditioner has not been set for the match-
ing custom code.)
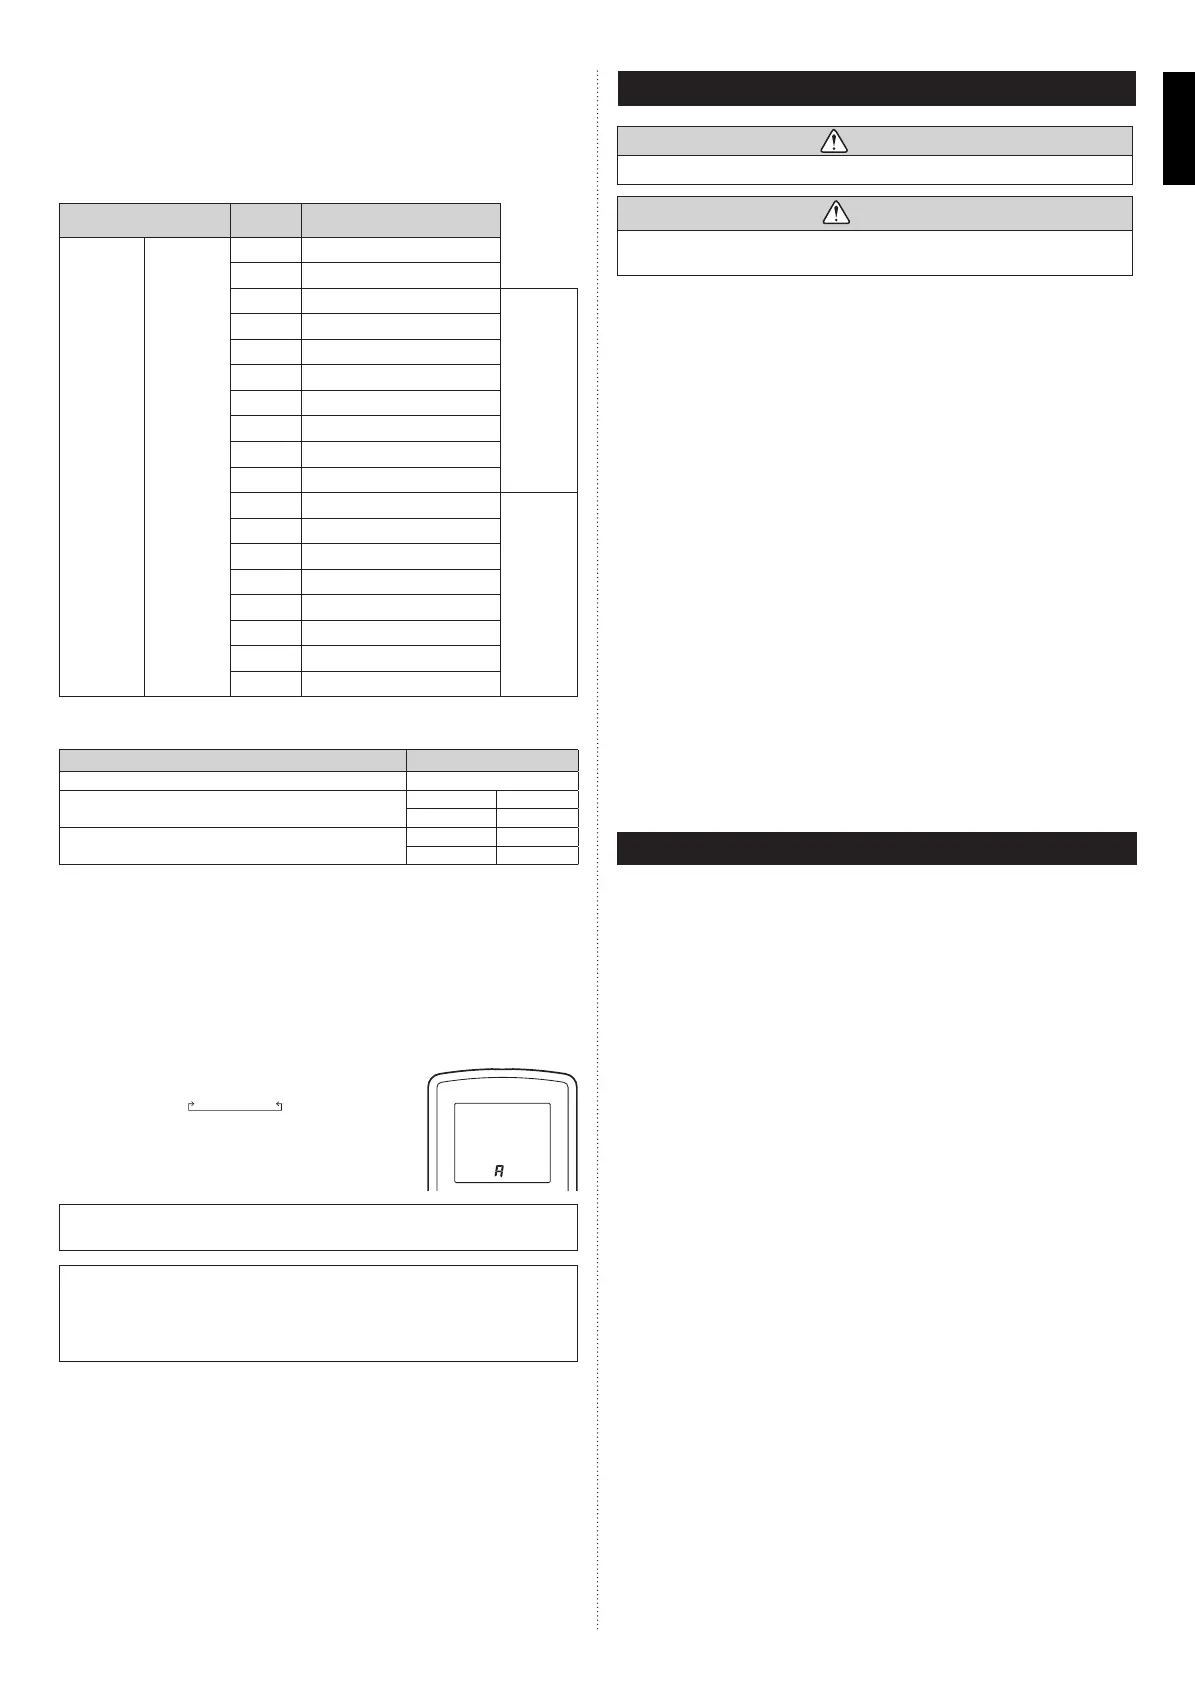
(1) Press the “START/STOP” button until only the clock is displayed on the remote control-
ler display.
(2) Press the “MODE” button for at least 5 seconds to display the current custom code
(initially set to A).
(3) Press the “SET TEMP.” (▲) (▼) button to change the cus-
tom code between
A↔B↔C↔D
. Match the code on the
display to the air conditioner custom code.
(4) Press the “MODE” button again to return to the clock dis-
play. The custom code will be changed.
If no buttons are pressed within 30 seconds after the custom code is displayed, the
system returns to the original clock display. In this case, start again from step 1
Depending on the remote controller, the custom code may return to custom code A
when the batteries are replaced. In this case, if you use a code other than A, reset the
code after replacing the batteries.
If you do not know the air conditioner custom code setting, try each code (A→B→C→D)
until you find the code which operates the air conditioner.
12. TEST RUN
WARNING
Do not turn on the power until all installation work is complete.
CAUTION
Always turn on the power 12 hours prior to the start of the operation in order to
ensure compressor protection.
Check items
(1) Is operation of each button on the remote control unit normal?
(2) Does each lamp light normally?
(3) Do airfl ow direction louvers operate normally?
(4) Is the drain normal?
(5) Do not have an abnormal noise and vibration during operation?
Do not operate the air conditioner in test run for a long time.
[Operation method]
Depending on your installation, choose from the following:
By the wireless remote controller
To start test run, press the “START/STOP” button and the “TEST RUN” button on the
remote controller.
To end test run, press the remote controller “START/STOP” button.
By the indoor unit
To start test run, press the “MANUAL AUTO” button of the indoor unit for more than 10
seconds (forced cooling).
To end test run, press the “MANUAL AUTO” button for more than 3 seconds or press
the remote controller “START/STOP” button.
By the wired remote controller
For the operation method, refer to the installation manual and the operating manual of
the wired remote controller.
The Operation indicator lamp and Timer indicator lamp will simultaneously fl ash during the
test run mode.
Heating test run will begin in a few minutes when HEAT is selected by the remote control-
ler [reverse cycle model only].
13. CUSTOMER GUIDANCE
Explain the following to the customer in accordance with the operating manual:
(1) Starting and stopping method, operation switching, temperature adjustment, timer, air
fl ow switching, and other remote control unit operations.
(2) Air fi lter removal and cleaning, and how to use the air louvers.
(3) Give the operating manual to the customer.
9318739237_IM.indb 119318739237_IM.indb 11 11/30/2016 9:59:22 AM11/30/2016 9:59:22 AM
 Loading...