18
GA--A 181
5.4.2 Changing the sonotrodes
The sonotrodes are connected to the transducer through the fine thread
on the adapter flange. To ensure a reliable transmission of the sound en-
ergy generated in the transducer to the sonotrode, neither the thread nor
the flange surfaces of the sonotrode or transducer must have any resi-
dues or damage on them, and the threaded connection must be suffi-
ciently tight.
Disassembly:
Z Use the supplied quarter inch open--ended wrench on the sqare of the
adapter and loosen the sonotrode by turning counter clockwise (CCW).
Then unscrew the sonotrode by hand.
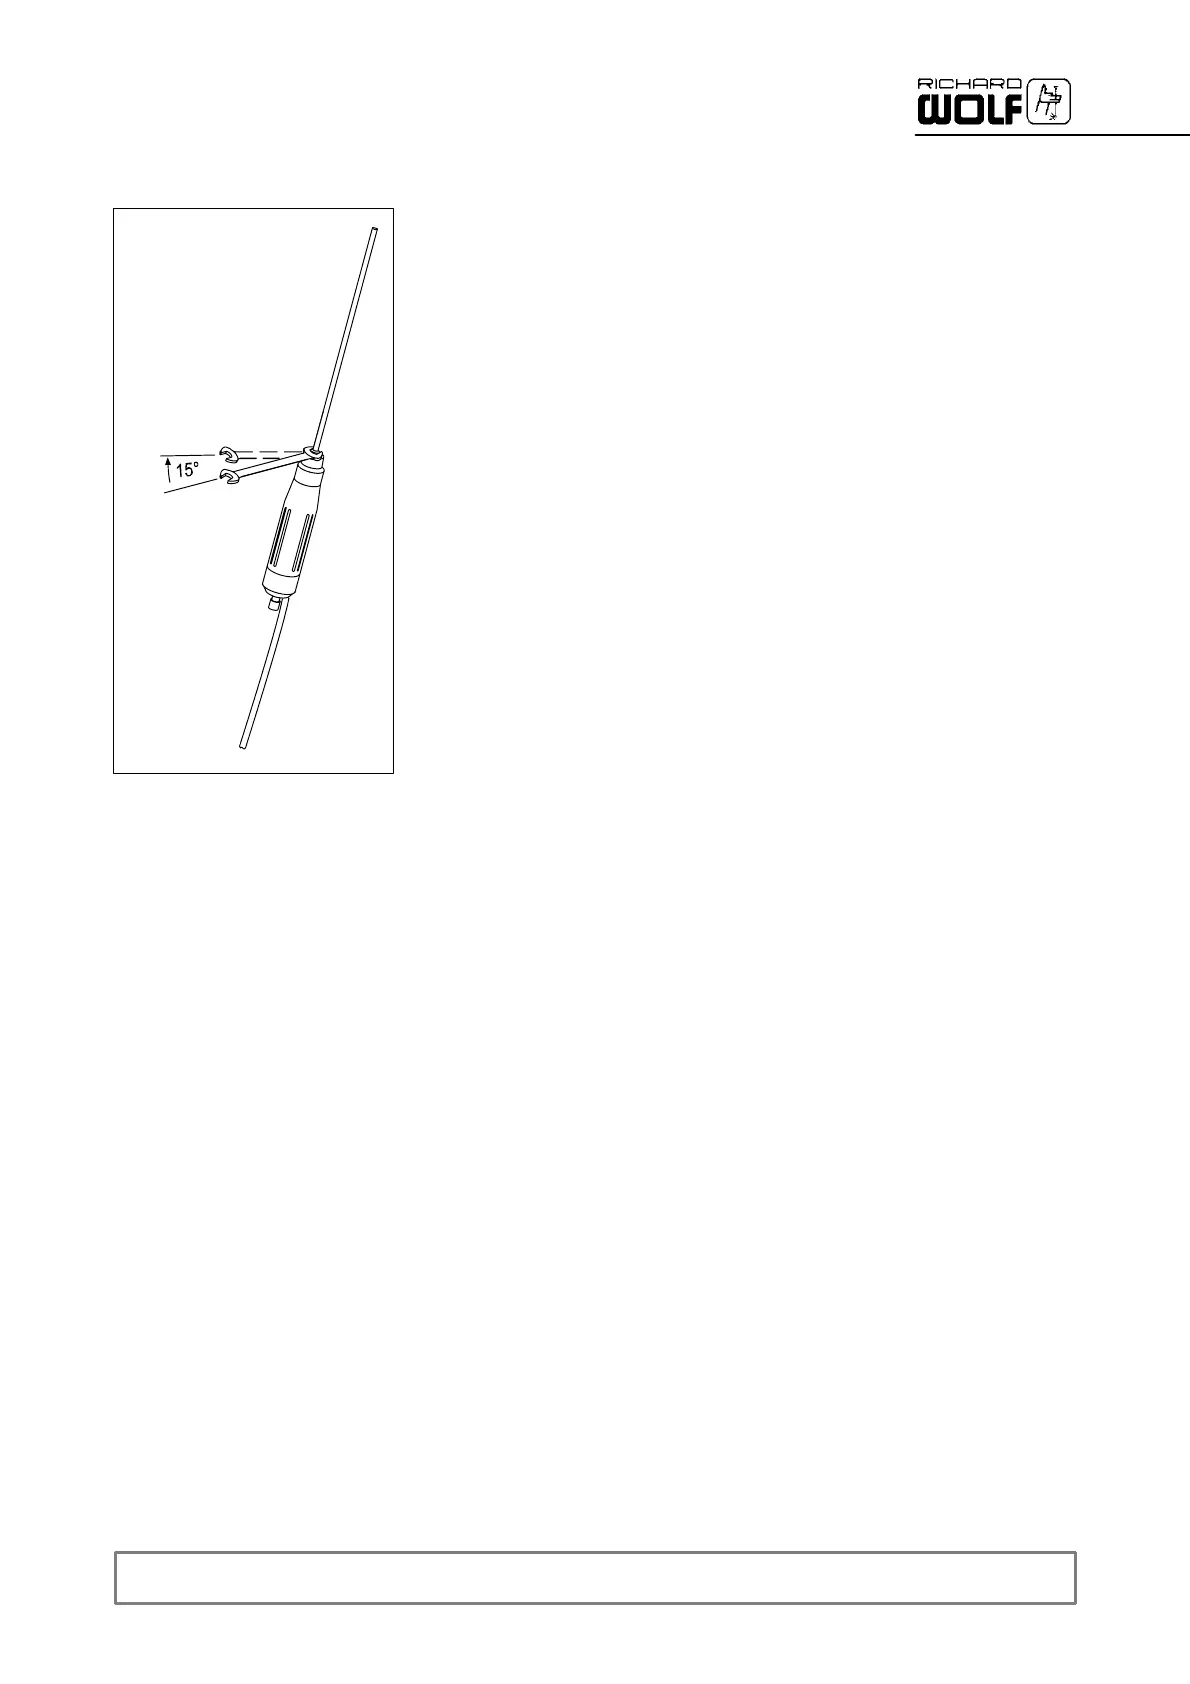
Assembly:
Z Screw the new sonotrode into the transducer thread by hand, by turn-
ing clockwise (CW) as far as it will go. Then apply the quarter inch
open--ended wrench to the square of the adapter flange and carefully
tighten the connection by approx. 15_.
' The connection must be tight but the thread should not be tightened
with excessive force.
.
NOTE!
If the sonotrode makes a rattling noise or if the sonotrode has insufficient
drilling power, check that the screw connections are tight and the flange
surfaces of the sonotrode and the transducer are clean.