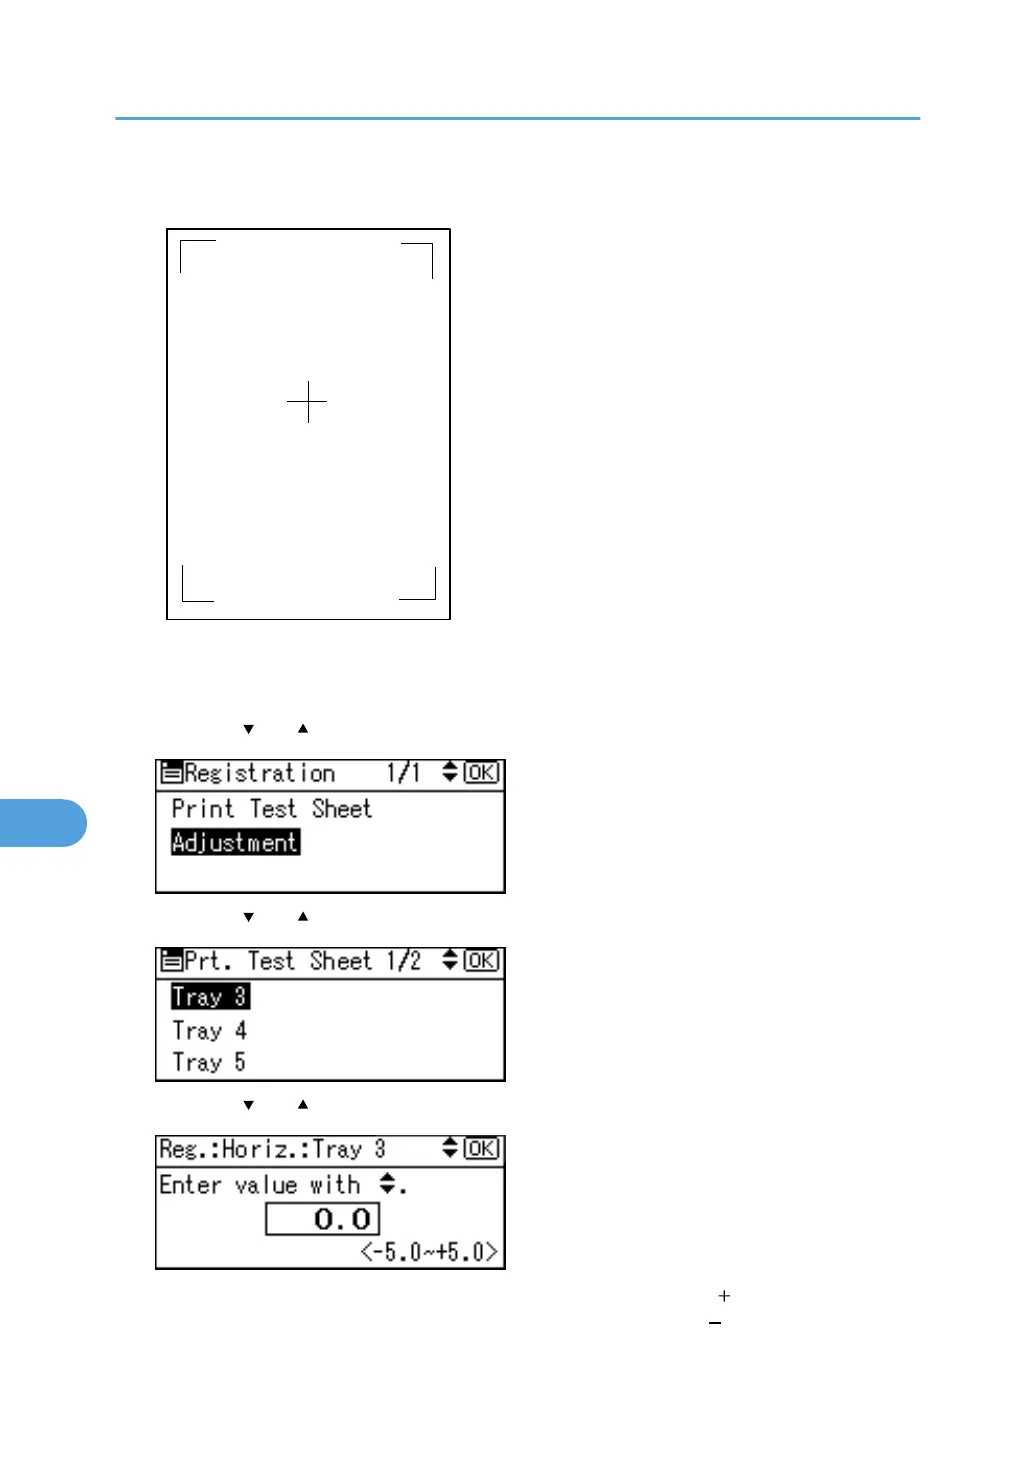
6. Print the test sheet to preview the settings.
Use this sheet to confirm the current print position.
7. Press the [Escape] key to return to the registration menu.
8. Press the [ ] or [ ] key to select [Adjustment], and then press the [OK] key.
9. Press the [ ] or [ ] key to select the tray you want to adjust, and then press the [OK] key.
10. Press the [ ] or [ ] key to change the registerd value (mm).
Increase the value to shift the print area in the direction indicated by the “ ” symbol in the diagram
below. Decrease to shift the print area in the direction indicated by the “ ” symbol.
8. Adjusting the Printer
168

 Loading...


