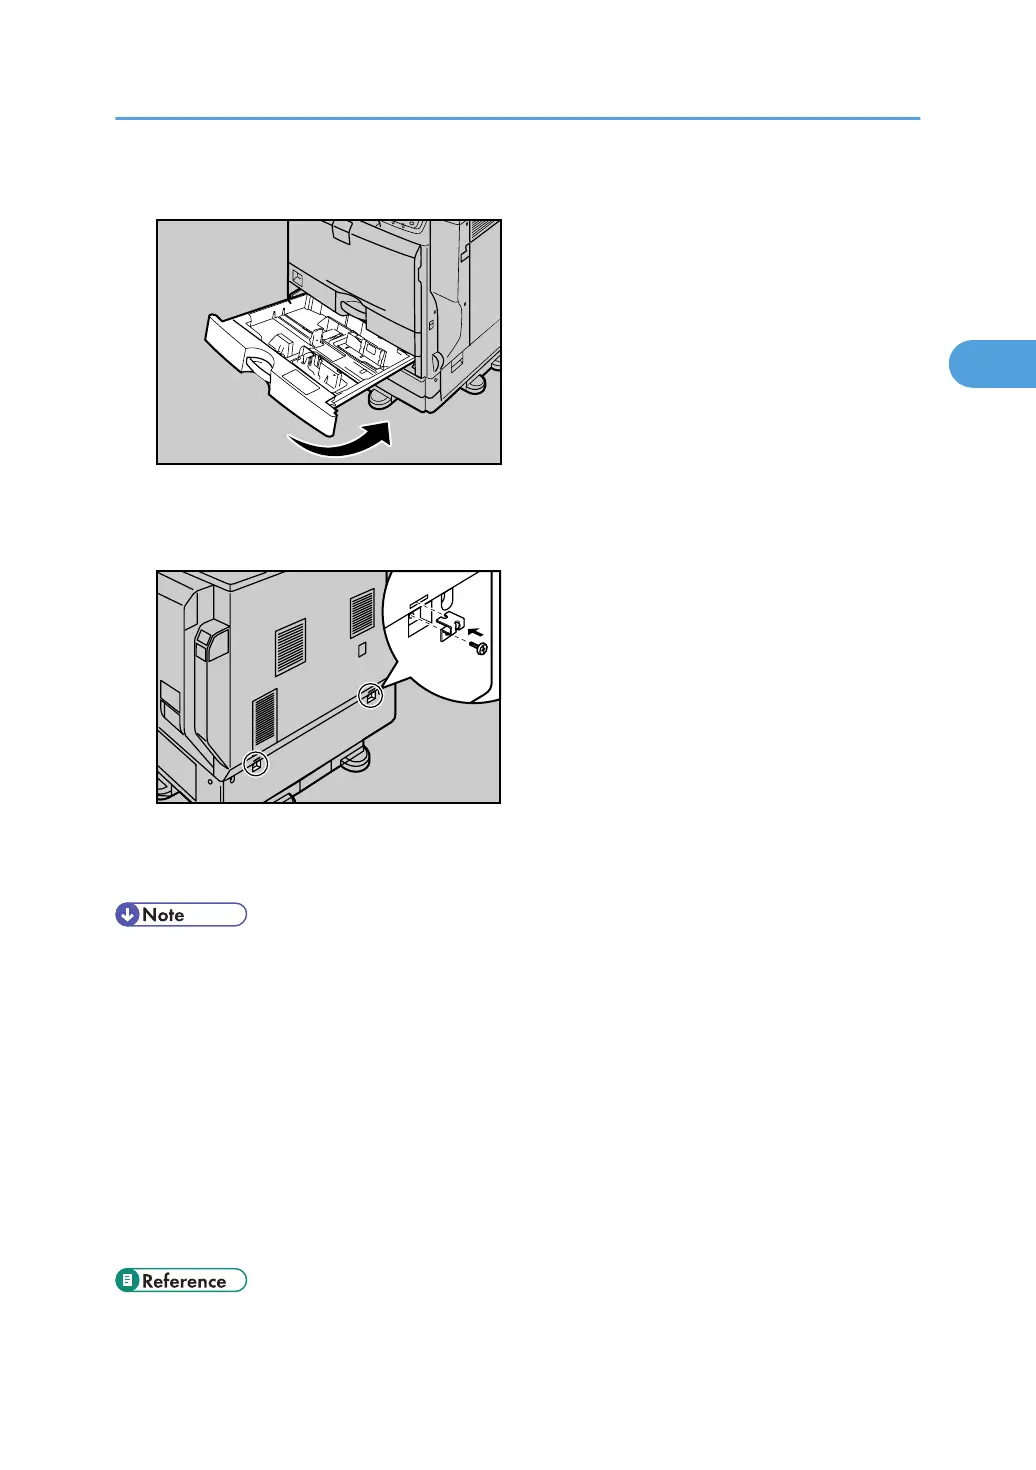
10. Lift the front of the tray, and slide it carefully into the printer until it stops.
11. On the rear of the unit, attach two brackets using the remaining screws.
Tighten the screws firmly using a coin.
12. Plug in the power cable, and then turn on the printer.
13. Print the configuration page to confirm that the unit was attached correctly.
• To confirm whether the optional paper feed unit was correctly attached, print the configuration page,
and check "Connection Equipment" on the configuration page. If the unit was attached correctly, the
following will be displayed:
• 500-sheet paper feed unit: Single Tray
• 1000-sheet paper feed unit: Twin Trays
• 2000-sheet paper feed unit: LCT
• If the tray was not installed properly, repeat the procedure from step 2. If it cannot be installed correctly
even after reattempting installation, contact your sales or service representative.
• If the print area is not centered correctly, see p.167 "Adjusting Printing Position".
• For information about printing the configuration page, see "Test Printing", Quick Installation Guide.
• "Test Printing", Quick Installation Guide
Attaching the Optional Paper Feed Unit
33

 Loading...


