51
The Print Table height is adjusted automatically by pressing the <MENU> button on the LCD
screen followed by <Maintenance>, and press the Auto Adjust Height button. First place the
material to be printed on the print table, use of the table hoop is recommended. Pressing the Auto
Adjust Height button, the table will drop down and move backward into the printer.
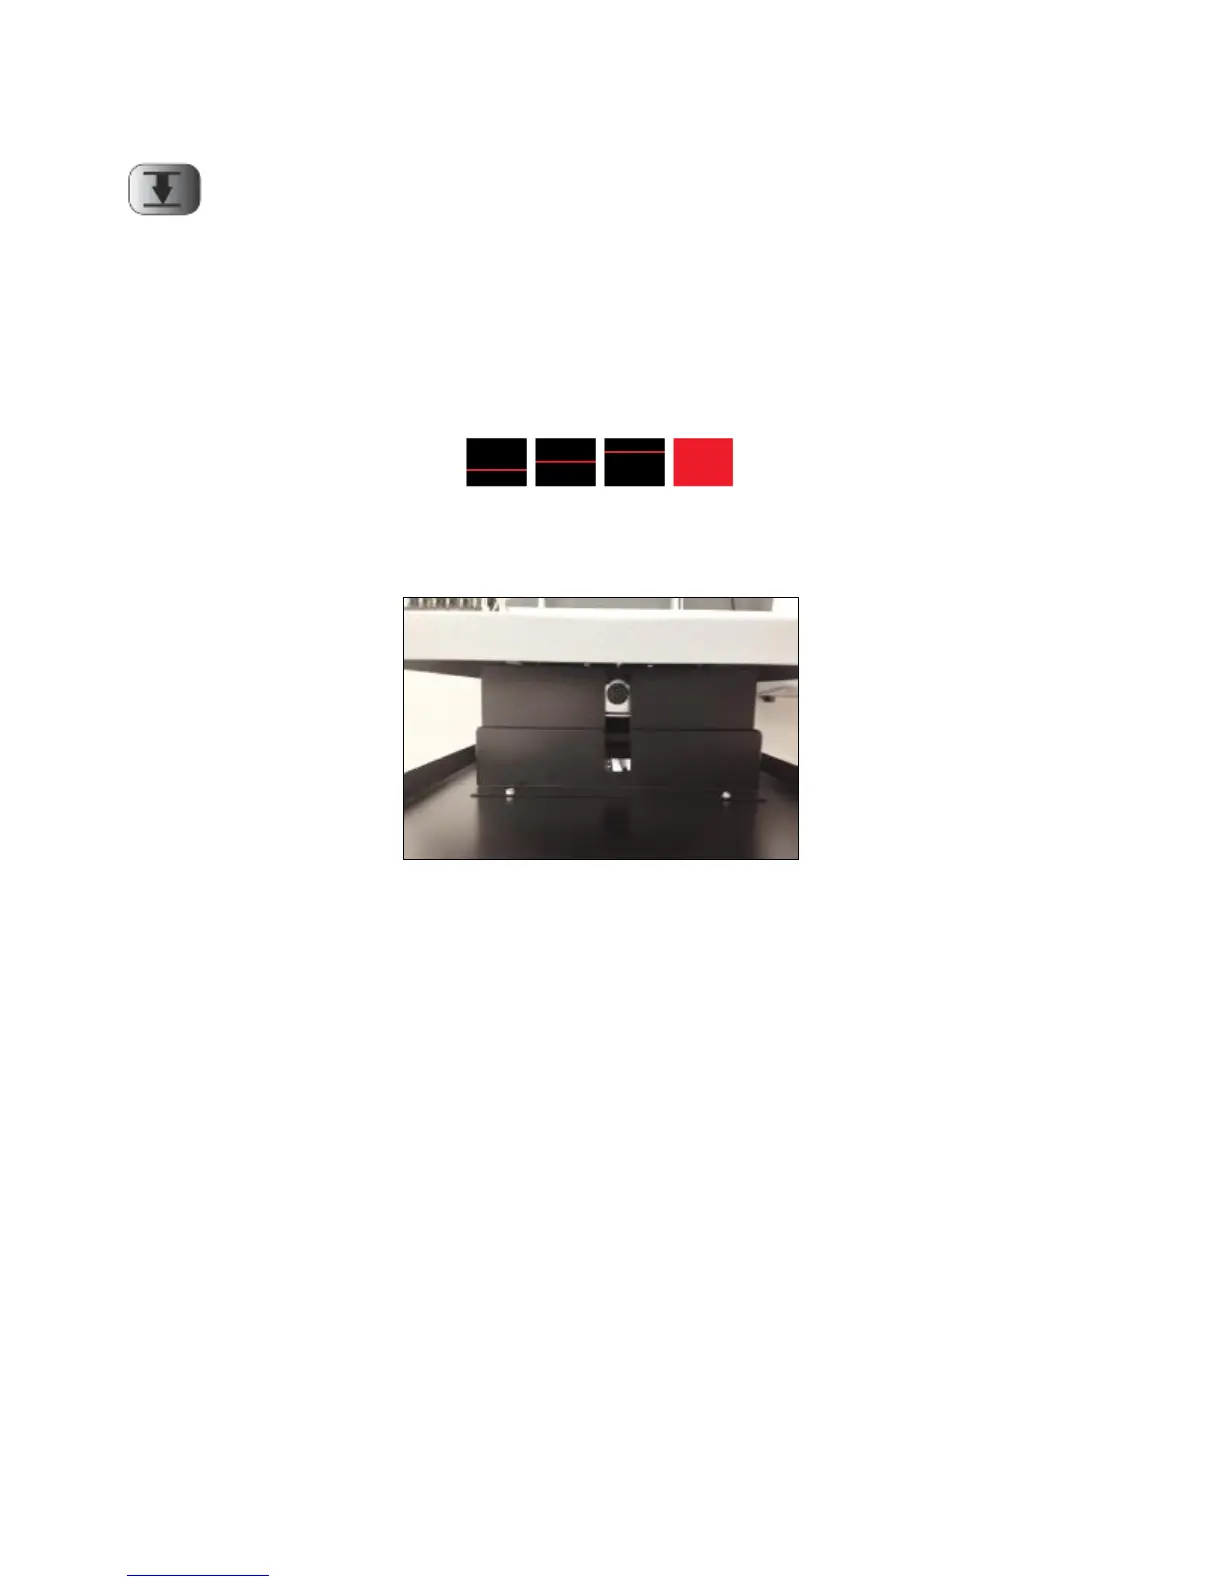
Please select the desired area where the graphic will print to adjust the table height, top portion,
halfway, bottom portion or full table (solid red). When it has moved in to the desired location, the table
will raise up which triggers the height adjustment laser sensor and then back down to the correct height.
If you are doing a run of the same type garments it is not necessary to repeat the height adjustment for
each garment.
Manual Adjustment - You can also manually adjust the table height by turning the height adjustment
knob located under the front edge of the print table. (Figure 4.5-1).
Figure 4.5-1: Manual Table Height Adjustment Knob
Basic Printing Operation
Prepare the print file using your image editing software and send it to the printer through your Ri 3000
or Ri 6000 AnaRIP program. Refer to Chapter 6.3: Using the Ri 3000 and Ri 6000 AnaRIP Program for
Printing Light Garments.
The actual printer operation is a quite simple and straightforward process. However, for those who are
not familiar with at least one graphics application, it may be challenging to use a graphics program at the
beginning. We recommend that the operator be somewhat familiar with at least one graphics
application program by taking a RICOH Ri 3000/Ri 6000 training course. Of the more popular graphics
programs, Photoshop Elements may be a simpler and lower cost program which one can learn to use
with very little study. This program however is limited in its ability to do design work, but its simplicity
allows a quick start for those who are new to graphics programs.
Load the garment on the Print Table, and spread it flat. If the garment is not flat, the printer’s
Obstruction Sensor laser will detect it and will stop printing until the obstruction or wrinkles are
removed. Place the Hoop over the garment to secure the garment if desired. For most garments, the
use of a Hoop is recommended.
Use the AnaRIP software to position, size and adjust your image file and send the print job from the

 Loading...


