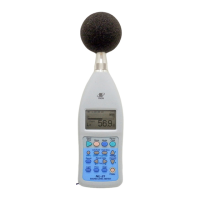
21
Preparations
Setting the Date and Time
The unit incorporates a clock which allows recording the date and time along
with measurement data on the memory card or on the unit itself.
Set the date and time as described below.
1. Turn the unit on by pressing the Power key.
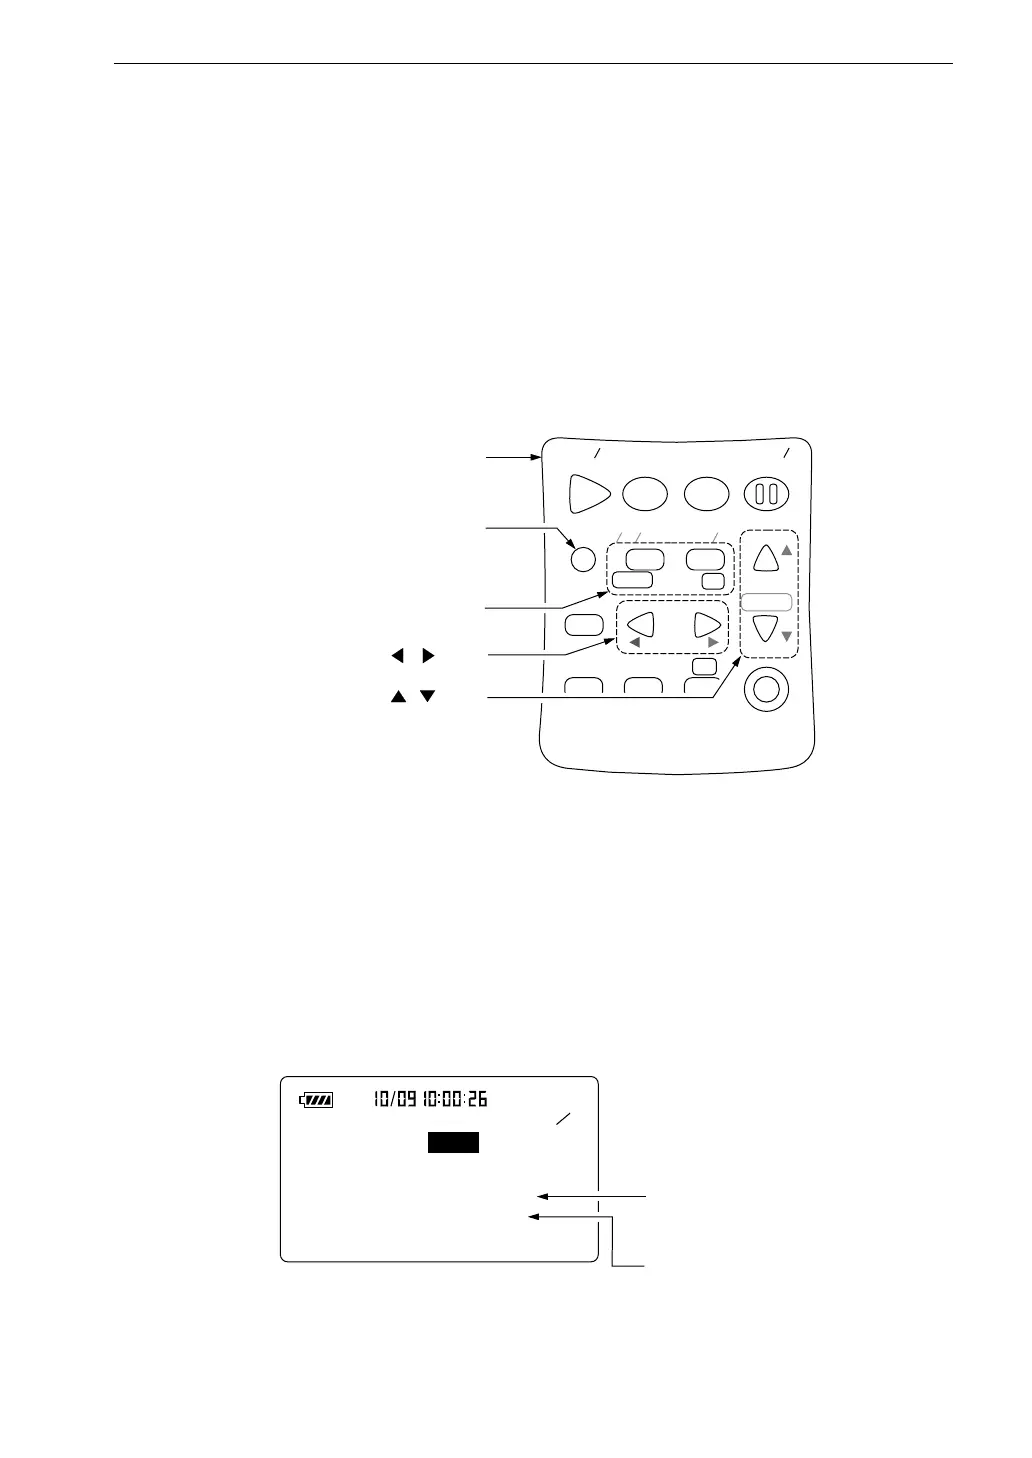
2. Press the Menu key.
S t a r t
S t o p S t o r e
M o d e
P a u s e
C o n t
F a s t S l o w
M e n u
P a g e
R a n g e
R e c a l l
F r e q
L i g h t P r i n t
P o w e r
S O U N D L E V E L M E T E R
R e c a l l
d a t a
D o w n
C a l a d j
C a l
U p
A C
F L A T
N L - 2 1
O p e r a t i o n k e y s
M e n u k e y
P a g e U p / D o w n k e y s
, k e y s
, k e y s
5 5
< M e m o r y >
C a r d f o r m a t : O f f
< T i m e s e t t i n g >
D a t e y / m / d : 2 0 0 0 / 1 2 / 2 5
T i m e : 1 1 : 2 2 : 3 3
C u r r e n t d a t e
( y e a r , m o n t h , d a y )
C u r r e n t t i m e
( h o u r s , m i n u t e s , s e c o n d s )
M e n u s c r e e n 5 / 5
The display changes to the menu screen.
3. Use the Page Up/Down keys to bring up the indication 5/5 on the top
right of the display.
When there is a card in the card slot