A number of arpeggio patterns equal to the number
of preset patches is available (128), but it’s also possi-
ble to create new patterns for different tunes and pur-
poses.
The steps for creating a new patch are similar to the
steps used for recording with a MIDI sequencer, but
note that the information stored is the sequence of
strings played, and so there are also some unique
operations.
Programming One Note at a
Time: The “Step” Method
The procedure used to input the string sequence for
an arpeggio by playing the strings while watching the
grid number display is called the “step” method.
Pedals 1 through 4 can also be used to add ties and
rests to the pattern. Step input is a method that
involves inputting each item of data on the grid one
by one, and so regular patterns of continuous notes of
the same lengths can be made.
In the example shown here, we’ll use step input to
make a new arpeggio pattern for patch H83. We’ll
make the pattern shown in the figure.
<<fig. 8-5>>
As you can see from the example, the fourth string is
used apart from the others to make an independent
rhythm. With the step method, the strings can be sep-
arated into groups or cycles for input. Here we’ll
divide these four strings into groups of one to three
strings, and input two cycles.
➼
The force with which strings are played during input is
reflected in the level and force of the arpeggio notes, and
is reproduced.
<An Example of Step Input>
1. After calling up H83, press [EDIT/PLAY] to enter
the Edit mode.
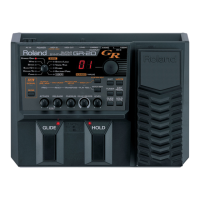
2. Set the EDIT TARGET dial to “ARPEGGIO/har-
mony” and the PARAMETER SELECT dial to “A”
or “B.”
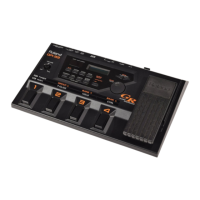
3. Press pedal 1 (BEGIN) to make the display
changes to “toP” (top) and start step input. (If “C”
or “D” had been selected in step 2, this action
would start the realtime input function, which will
be described later.)
Here’s how the pedals work during step input:
Pedal 1 (BEGIN/END)
Press this pedal again to end step input.
Pedal 2 (TIE)
This inputs a tie on the grid, continuing the note of
the previous grid mark.
Pedal 3 (REST)
This inputs a rest on the grid.
Pedal 4 (TO TOP)
This causes the current grid mark to become the
end of the pattern, and returns the grid input next
to the top. (This is used when performing step
input for separate strings for two or more cycles.
The determination of the end of the pattern is
valid only the first time this pedal is pressed.)
(VALUE) [-]
If you play the wrong string or press the wrong
pedal, press this to erase the latest operation and
back up by one.
4. We’ll start with the input for string 4. Pluck string
4 once and stop it immediately. The causes “G.01”
to appear on the display, which shows that the
information “sound string 4” has been input to the
first grid mark.
5. Press pedal 2 (TIE) once to advance to “G02” and
connect the notes. Internally, the staccato rhythm
changes to a longer one.
6. Pluck string 4 twice and stop it immediately to
advance to “G04” (this inputs a “bah-dada”
rhythm).
<<fig. 8-6>>
7. Repeat steps 4 through 6 three more times to make
the display advance to “G.16” and end the input
for string 4.
<<fig. 8-7>>

 Loading...
