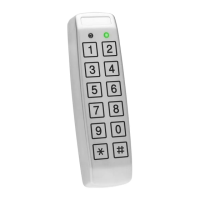
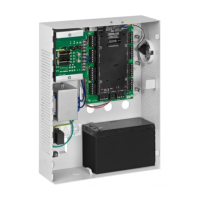
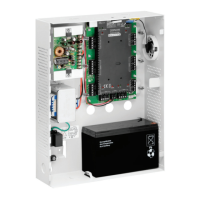
Mounting the Controller
14 AC-015 Hardware Installation and Programming Manual
4. Mounting the Controller
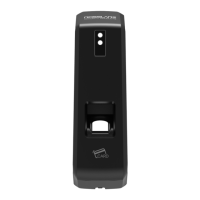
Before starting, select the location for mounting the AC-015
controller. The controller should be installed indoors and within the
premises to be secured. It is recommended that the controller be
installed where it cannot be seen for increased security, but still close
enough to the doors so that the controller’s annunciator (Door Bell,
Chime & Siren) can be heard. When selecting a location, take into
consideration how the controller will be attached to a PC for easier
programming and system maintenance.
To mount the controller:
If you are attaching the AC-015 to a US Gang Box, skip to
Step 2.
1. Find the mounting template label that is provided in your AC-015
packaging, and place it at the location that you wish to install the
controller. The template is designed to assist you through the
mounting procedure, showing you where you drill holes in the
wall to pass the wiring through and where the wall must be
drilled to insert the controllers mounting screws.
2. Drill a hole for cables as indicated on the wiring template. Two
hole sizes are shown to allow for the amount of cables needed,
depending on installation requirements or adding a backup
battery. Drill two screw holes for mounting the AC-015 to the
wall.
3. Remove the case screw from the controller (see Figure 1) and
remove the front case from the controller.
 Loading...