7 Installation
Installer reference guide
24
RVLQ05+08CAV4 + RHYHBH05AA + RHYHBH/X08AA +
RHYKOMB33AA
ROTEX HPU hybrid
4P355635-1 – 2013.05
7.3 Mounting the indoor unit
7.3.1 To install the indoor unit
1 Put the installation pattern (see box) on the wall and follow the
steps as shown below.
21 3
2 Fix the wall bracket to the wall with 2 M8 bolts.
2x
3 Lift the unit.
30kg
4 Tilt the top of the unit against the wall at the position of the wall
bracket.
5 Slide the bracket on the back of the unit over the wall bracket.
Make sure the unit is fixed properly. You can additionally fix the
bottom side of the unit with 2 M8 bolts.
6 The unit is mounted to the wall.
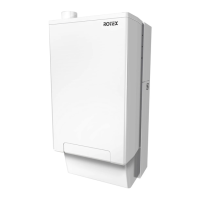
7.4 Mounting the gas boiler
INFORMATION
Removing the top plate of the indoor unit makes it easier to
install the gas boiler.
7.4.1 To install the gas boiler
1 Lift the unit from the package.
36kg
2 Remove the top plate from the indoor unit.
3 The bracket to mount the boiler on the heat pump module is
already mounted to the backside of the gas boiler.
4 Lift the boiler. One person lifts the gas boiler on the left side (left
hand on the top and right hand on the bottom) and another
person lift the gas boiler on the right side (left hand on the
bottom and right hand on the top).
5 Tilt the top of the unit at the position of the indoor unit mounting
bracket.

 Loading...