4
4
0
0
X
X
-
-
M
M
i
i
n
n
d
d
D
D
C
C
OPERATING INSTRUCTIONS
1. CHECKING THE CONFIGURATION
On the control panel, check that all LEDs corresponding to the required configuration are
lit; if not, change them.
(refer to § 7 “SYSTEM CONFIGURATION” and § 8 “CHANGING THE CONFIGURATION” )
2. CHECKING THE TIMER OPERATION
a. Check the correct operation of the control panel by selecting different exposure
times
b. Check the time on the display
c. Check that, when changing the selected tube head, the corresponding RX signal
lamp for external use (IF INSTALLED) turns on
3. CHECKING THE EXPOSURE
a. Set an exposure time of 1 sec
b. Take the timer’s "CONTROL BUTTON"
c. Using the extension cable of the “CONTROL BUTTON”, maintain a safe distance of
at least 2 meters from the tube head, so as to be able to constantly check the X-
ray exposure
d.
Press the “X-RAY”
key and keep it depressed until the acoustic signal (beep)
stops, and the yellow X-RAY OUTPUT SIGNAL
LED turns off
e.
At the end of the exposure, the green PAUSE INDICATOR
LED blinks
intermittently
f. On the display, check the actual exposure time
(refer to § 11 4.“EXPOSURE TIME (sec)” )
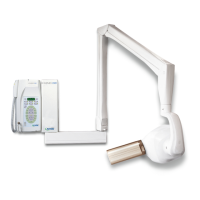
4. CHECKING THE TUBEHEAD OPERATION
Take several exposures on the tubehead installed and check that:
a. There are no errors
b. The LED of the selected tube head is lit
c. The "CONTROL BUTTON" LED is lit for the entire duration of the acoustic signal
10. CHECKING THE INSTALLATION