Section 8: Appendix
CG4 Series Operator Manual Page 8-3
8.1 OPTIONAL ACCESSORIES - CUTTER (cont’d)
8.1.3 Cutter replacement
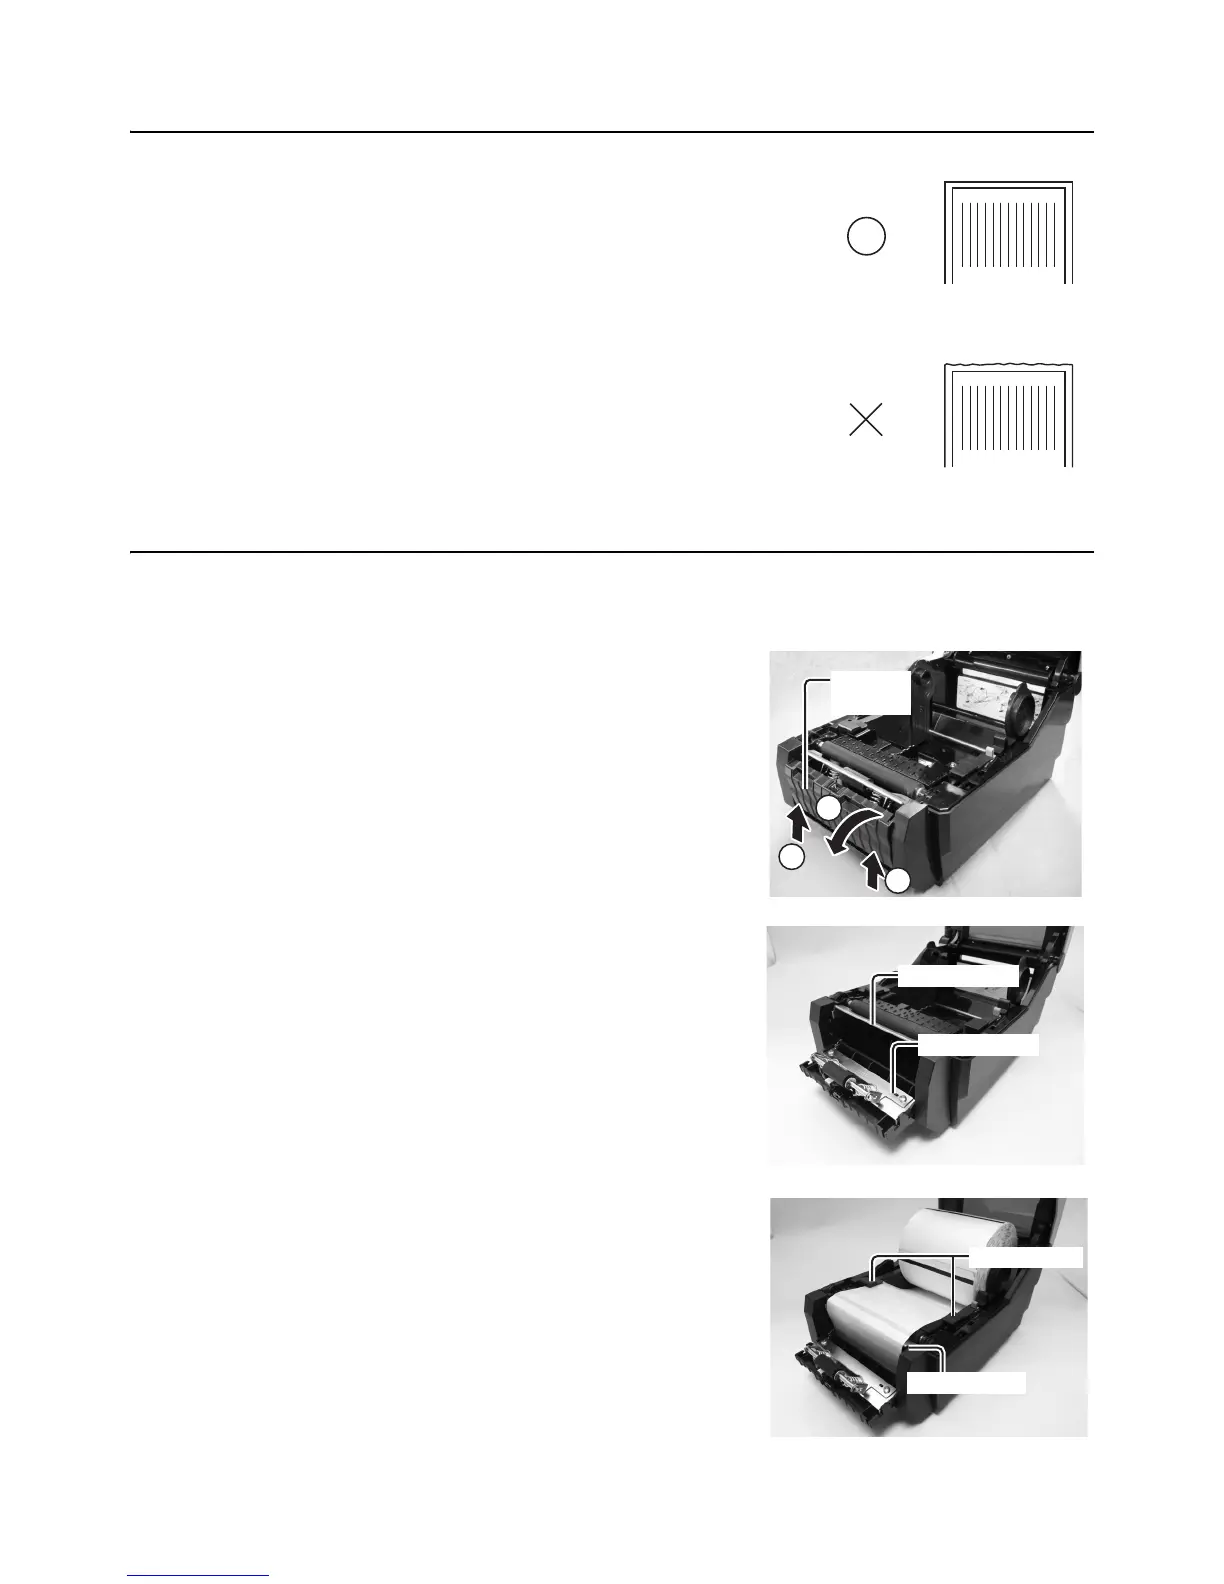
Over time, the cutter loses its cutting ability and begins to show
signs of wear.
Replace the cutter unit when the blade becomes blunt and cut
edges are rough. (Please contact an authorised SATO
Representative for replacement.)
8.2 OPTIONAL ACCESSORIES - DISPENSER
Dispenser should only be installed by SATO qualified servicing personnel.
8.2.1 To route the label when the dispenser is installed
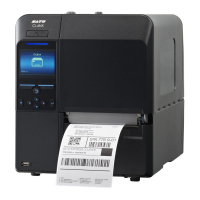
1.
With the power supply off, pull the cover open/close
latches
on both sides of the printer toward you to unlock
the top cover, and then open the
top cover. Make sure
that the cover rests firmly so that it will not fall forward
and injure your hands.
2. With your thumbs positioned on the two corners of the
pressure bracket, push the pressure bracket up and
pull it forward to open the
pressure bracket.
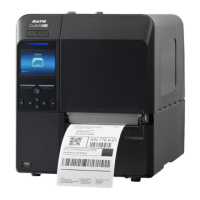
3. Peel off the first two leading labels from the liner (back-
ing paper) and then load the label roll on the
media
holder
.
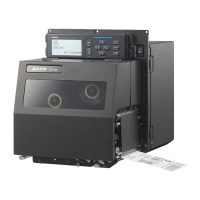
After pulling out the leading liner (backing paper), pass
the liner (backing paper) through the
media guides and
then pass over the
dispenser bar so as to cover it. Then
pass the liner (backing paper) under the
pressure
bracket
as shown.
Dispenser bar
Dispenser unit
Media guides
Dispenser bar