

A
Adam ThompsonSep 12, 2025
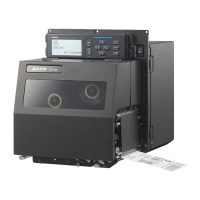
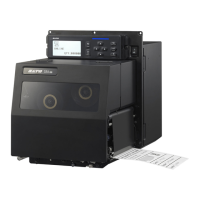
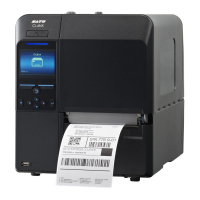
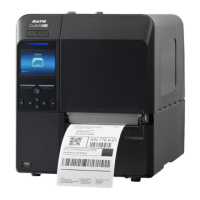
How to resolve a BCC check error on a SATO s84ex Label Maker?
- KkingkarenSep 12, 2025
If you encounter a BCC check error on your SATO Label Maker, it means the BCC code of the data to be sent is incorrect. Check the data to be sent and the communication settings. You can either continue printing from the point of the error using the LINE button, or clear the error and continue from where it stopped by sending the SUB command.