Page 21
5.2.2 Measurement with humidity and temperature sensor
To do so: Let the device adjust to the surrounding temperature for at least 30 minutes
(see "5.3 Adjustment behaviour of the sensor").
• Position your humimeter RH2 or sensor at a loca-
tion that is representative for the room climate.
» Make sure to avoid draft and unnatural tempera-
ture changes.
» Do not expose the device to direct sunlight.
» Let the device adjust to its surroundings for at least
30 minutes after changing its position.
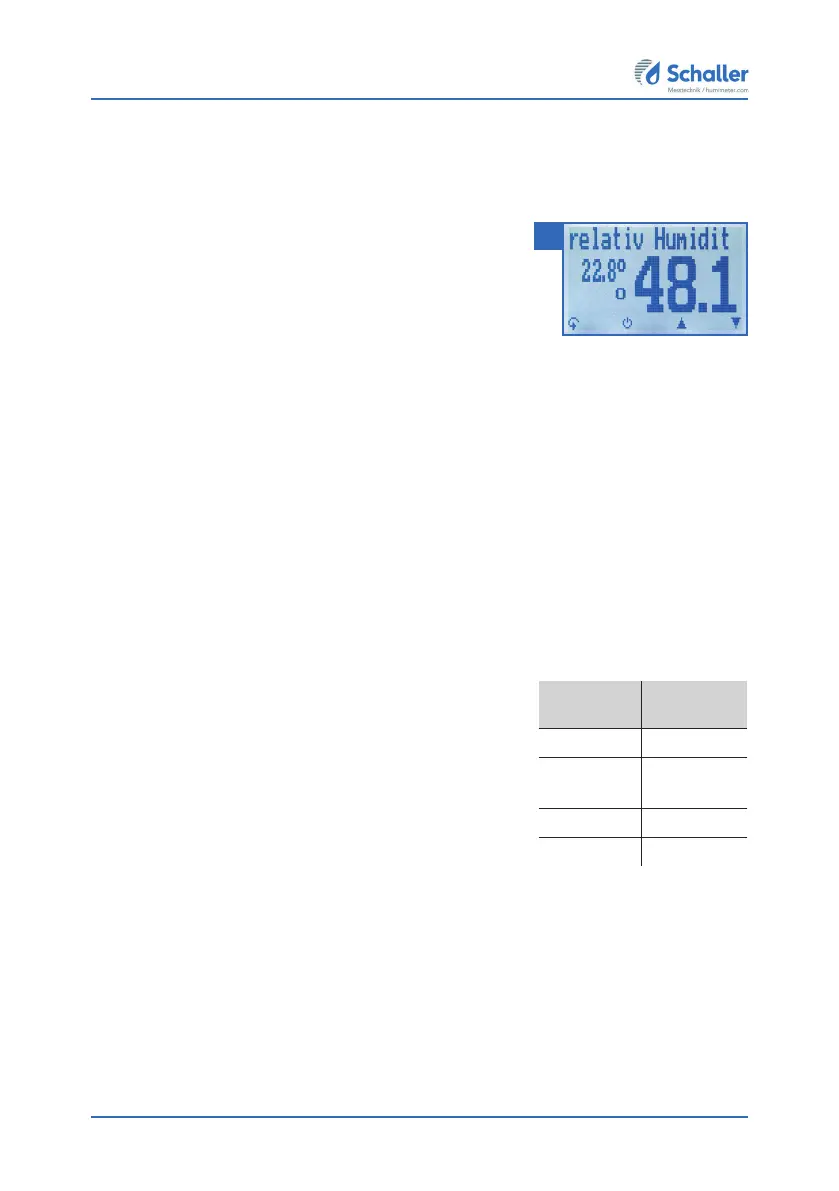
• Now take the measured values shown on the display of the device (figure 12).
» Once the reading has been taken, it can be saved on the device (see "6.2 Saving
your readings manually" or "6.3 Auto save function (time-based)").
5.2.3 Measurement with the water activity measuring chamber
The measurement with the water activity measuring chamber is described in a separate
operating manual.
5.2.4 Measurement with the IR temperature sensor
To do so: The product being measured must not be glossy or reflective.
• Hold the device with the sensor facing an object.
» The infrared temperature measurement depends on
the emission ratio of the product being measured.
» The emission ratio can be entered into the device
(see "10.3 Setting the emission ratio").
» The default setting on delivery is the emission ratio
of concrete and floor screed (0.950).
• The device will now instantly display the current
temperature of the illuminated object.
» The sensor has a 1:10 optics, which means a measuring area of 16 cm at a
distance of 1 meter.
» Once the reading has been taken, it can be saved on the device (see "6.2 Saving
your readings manually" or "6.3 Auto save function (time-based)").
12
material
emission
ratio
wood 0.940
concrete,
floor screed
0.950
asphalt 0.950
gypsum 0.925