ww w.scheppach.com
GB
|
33
• Loosen the parallel stop (5) with the clamping le-
ver (22). Adjust the desired angle. The adjusted
stop (5) with the clamping lever (22) after adjust-
ment. With the eccentric (33) the stop (5) can be
released and shifted.
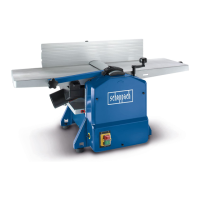
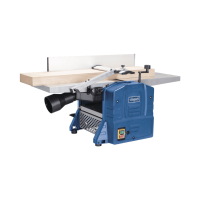
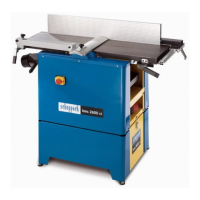
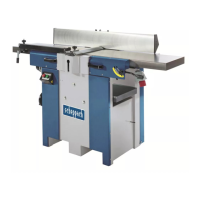
9.1.2 Surface planing mode (Fig. 9/10)
Attention! Watch out the right mounting of the chip
extractor (point 8.3)
•
lever (9) and slide the planer blade cover (7) as far
as the width of the workpiece requires. Then tight-
en the clamping lever (9) again.
•
knob nut (6) and set the planer blade cover com-
thick. The planer blade cover (7) covers the entire
blade roller! Tighten the star knob nut (6) again.
• Plug in the machines power cord (29. Press the
green button “I” to start the plane (1).
•
table (12). Slide the workpiece as far as possible
with the push stick (16) forwards towards the plan-
ing table (26) over the knives (24).
• -
chine. To do this, press the red button “0”. Then
• Remove the chips and dust from the feed table
(12), planing table (26) and knife block after the
machine has reached a complete standstill.
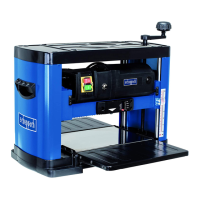
9.2 Thicknessing
m IMPORTANT!: Pull out the power plug before
work.
9.2.1 Adjustment (Fig. 4/11)
Place the crank handle (10) on the spindle (19) and
turn it to adjust the thicknessing table (20) to the re-
(C).
9.2.2 Thicknessing mode (Figure 4/11/12)
Attention! Watch out the right mounting of the chip
extractor (point 8.4)
• Plug in the machines power cord (29. Press the
green button “I” to start the plane (1).
• Place a workpiece on the thicknessing table (21).
Guide the workpiece towards the feed table (12).
• -
chine. To do this, press the red button “0”. Then
• Remove the chips and dust from the thicknessing
table (21) and knife block after the machine has
reached a complete standstill.
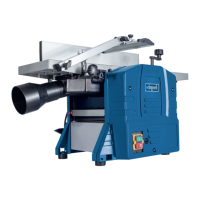
9.3 Changing the knives (Fig. 13/14)
• m IMPORTANT!:-
fore changing the knives.
• Pull the planing knife cover (13) forwards as far as
possible so that the entire knife block is exposed.
•
• Lift the knives (24) and knife block (27 from the
cutter block.
•
block and knife support.
•
them with the rectangle slots in both screw heads.
(With these two screws, height-adjustment of the
knife is done.)
• Place the knife block (27) onto the knife.
•
• Repeat these actions for the second knife.
• Then adjust the planer/thicknesser knives (24) ex-
onto the output table.
• the knife can be ad-
justed for height.
•
can see the height adjustment.
•
knives not higher than 3 mm.
• After a successful knife setting, all clamping
screws must be tightened (8.4 N/m).
Please mind:
• Sharp planer/thicknesser knives guarantee a clean
planing surface and put less stress on the motor.
• After three grinding actions, a maximum materi-
• The planer/thicknesser blades used on this ma-
chine are not suitable for rebating and dovetailing.
•
table. Cover the cutter block and block it with the
star grip screw.
m IMPORTANT!
knives there is a risk of injuries due to lack of control.
becoming detached. If the latch (22) or the screws
-
placed.
10. Cleaning, maintenance and
ordering of spare parts
Machine care
The planer/thicknesser requires little maintenance.
approx. ten operating hours, lubrication of the follow-
ing parts is recommended:
• Bearing of the infeed and output roller
 Loading...