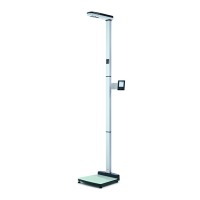
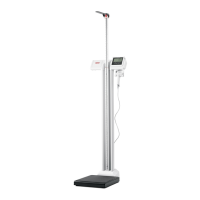
32 • secaconnect 103/seca 452
17-10-01-266-002a/07-2018B
Adding a seca measuring device The Add a device dialog window is automatically active when you open the
software in the browser. Configure the parameters described in the following
text according to the conditions and requirements of your network and your
institution. QR codes are generated once entries have been made in the
dialog field.
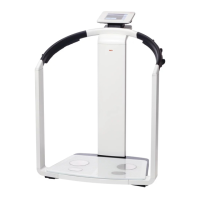
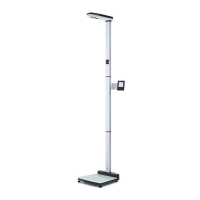
1. Enter the following data for the seca measuring device:
Parameter Description Values
Device name
Designation of the seca measuring
device
Recommended designation elements:
• seca model number
• Setup location
•Inventory number
• Connection type: WiFi/Ethernet
Timeout Clear patient
data
After expiration of the timeout,
temporarily stored patient data is
discarded.
•Min: 5 s
• Max: 3600 s
Timeout Transmisson
error
After expiration of the timeout, the
secaconnect 103 assumes that a
transmission error has occurred.
•Min: 5 s
• Max: 60 s
The secaconnect 103 attempts to reach the EMR
system twice. Error messages are issued after twice
the amount of time set here.
Identification mode Specify patient/user identification
•
On_with_Barcodes_Patient_User (recommended):
Scan patient ID and user ID
•
On_with_Barcodes_Patient: only scan patient ID
• On_without_Barcodes: for future system upgrades,
currently no function
Confirm measurement
at device
Specify whether a measurement must
be confirmed on the seca measuring
device
•
yes (recommended): Measurement must be con-
firmed using the “Confirm” button (may differ by
device) or with the scanner
•
no: Measurement is automatically sent to the EMR
system once a stable weight value (autohold) is
present
Server address
Address of the secaconnect 103
server
Enter the IP address of the server on which the
secaconnect 103 is installed.
Port
GPX listening port over which a seca
measuring device should
communicate with the
secaconnect 103
Enter a GPX listening port that was enabled in the
secaconnect 103 Configurator ➔ Configuring
seca connect 103