Installing the sensor cable
Page 46 FlexZone Product Guide
Installing armored FlexZone sensor cable
1. Carefully deploy the entire roll of armored sensor cable in a straight line on the ground beside
the installation location.
2. Condition the armored sensor cable (see FlexZone sensor cable conditioning
on page 26).
3. Secure the armored cable to the fence using stainless steel cable ties or wire ties.
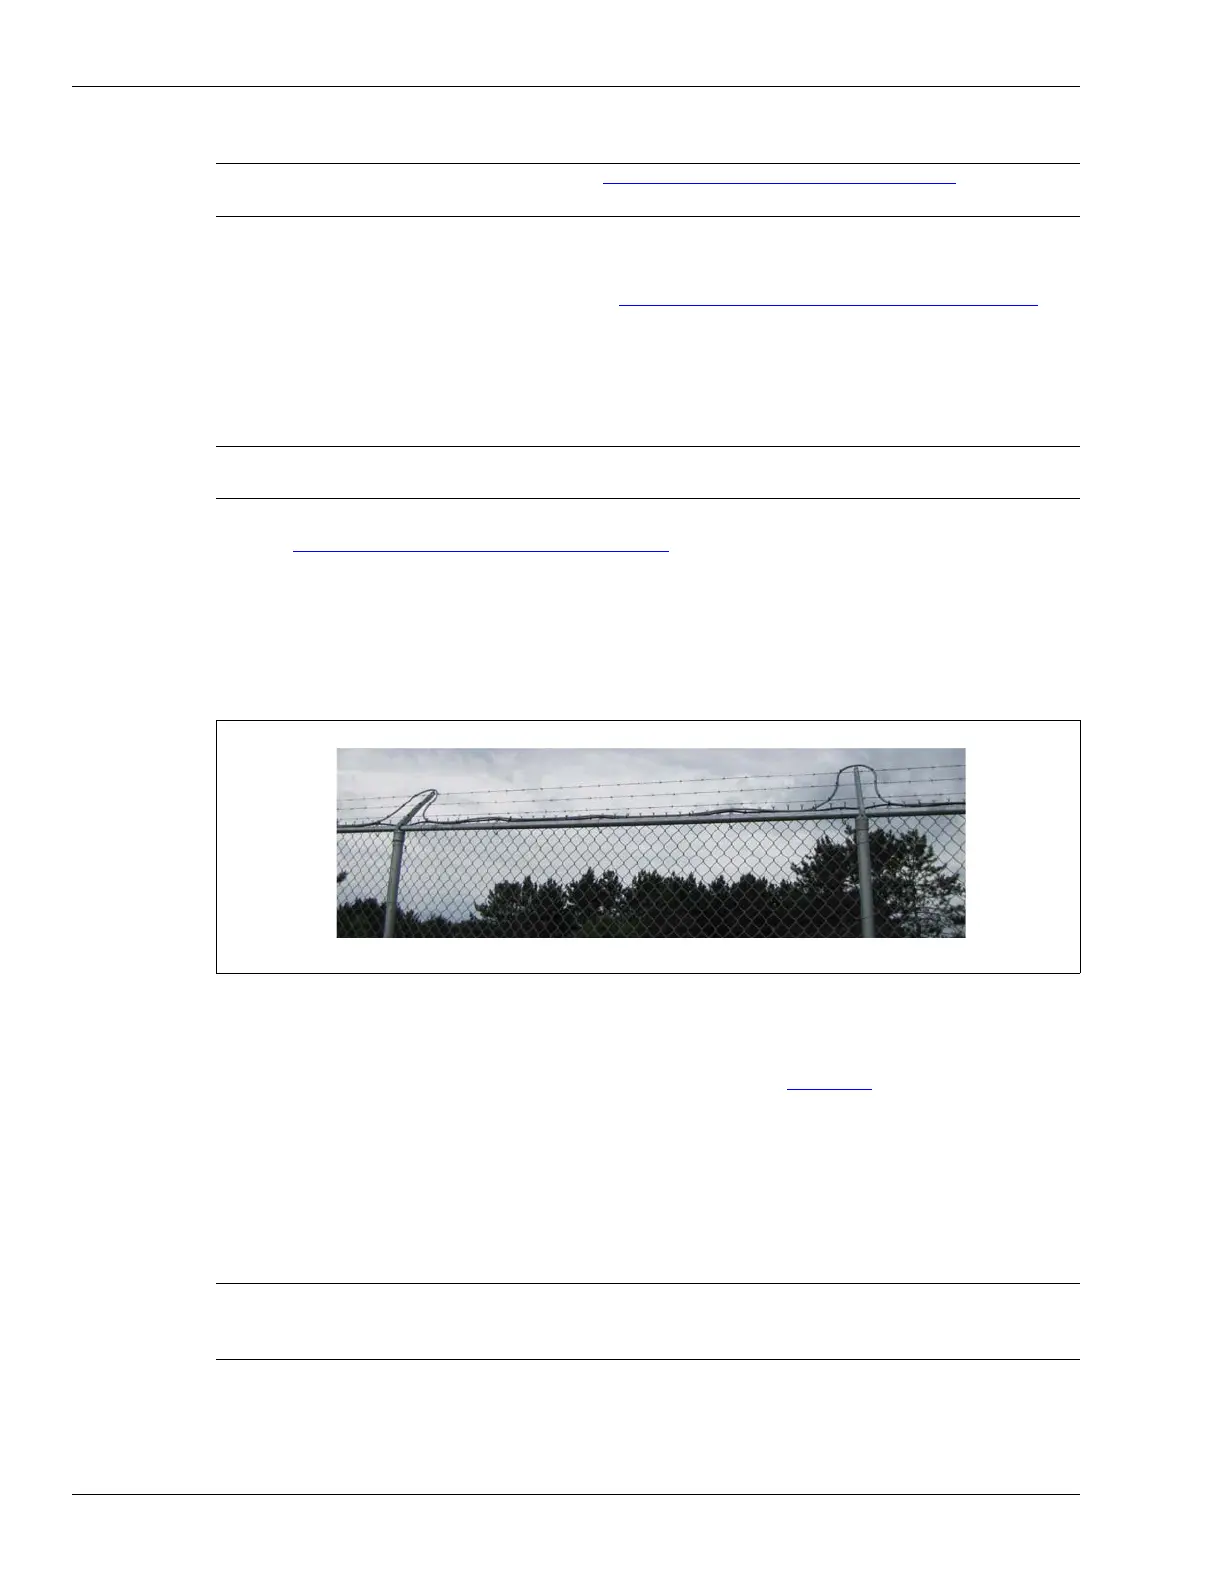
Installing cable on barbed wire
Refer to Climb-over deterrent hardware on page 10.
• Take care not to damage the sensor cable on the barbs during installation.
• Attach the sensor cable to the barbed wire using UV-resistant cable ties.
• Attach the cable to the top wire at two points to ensure the minimum bend radius is not
exceeded.
• Attach the cable on both sides of each outrigger and run the cable along the top of the fence.
On razor ribbon
• Attach the sensor wire to the outer perimeter of the coil (see Figure 4: ).
• Use stiffening wires to prevent the concertina from moving.
Splicing armored sensor cable
Armored sensor cable splices use the standard splice kit (P/N G6KT0101) and are protected by an
armored metal shell (G6KT0300).
Note Refer to Installing cable on chain-link
on page 34 for additional
details.
Note Senstar recommends the use of armored sensor cable for instances
where the cable is attached to barbed wire or razor ribbon.
Figure 51:
Armored cable installation on barbed wire
Note Senstar strongly recommends the use of a conduit stripping tool to
prevent burrs and sharp protrusions at the cut edge of the conduit.
Use the supplied bushings to protect the cable at the armor strip point.
Armored cable installed beside outriggers
Ensure the minimum bend radius is not violated at the top of each outrigger.