4-102
FACSIMILE
6
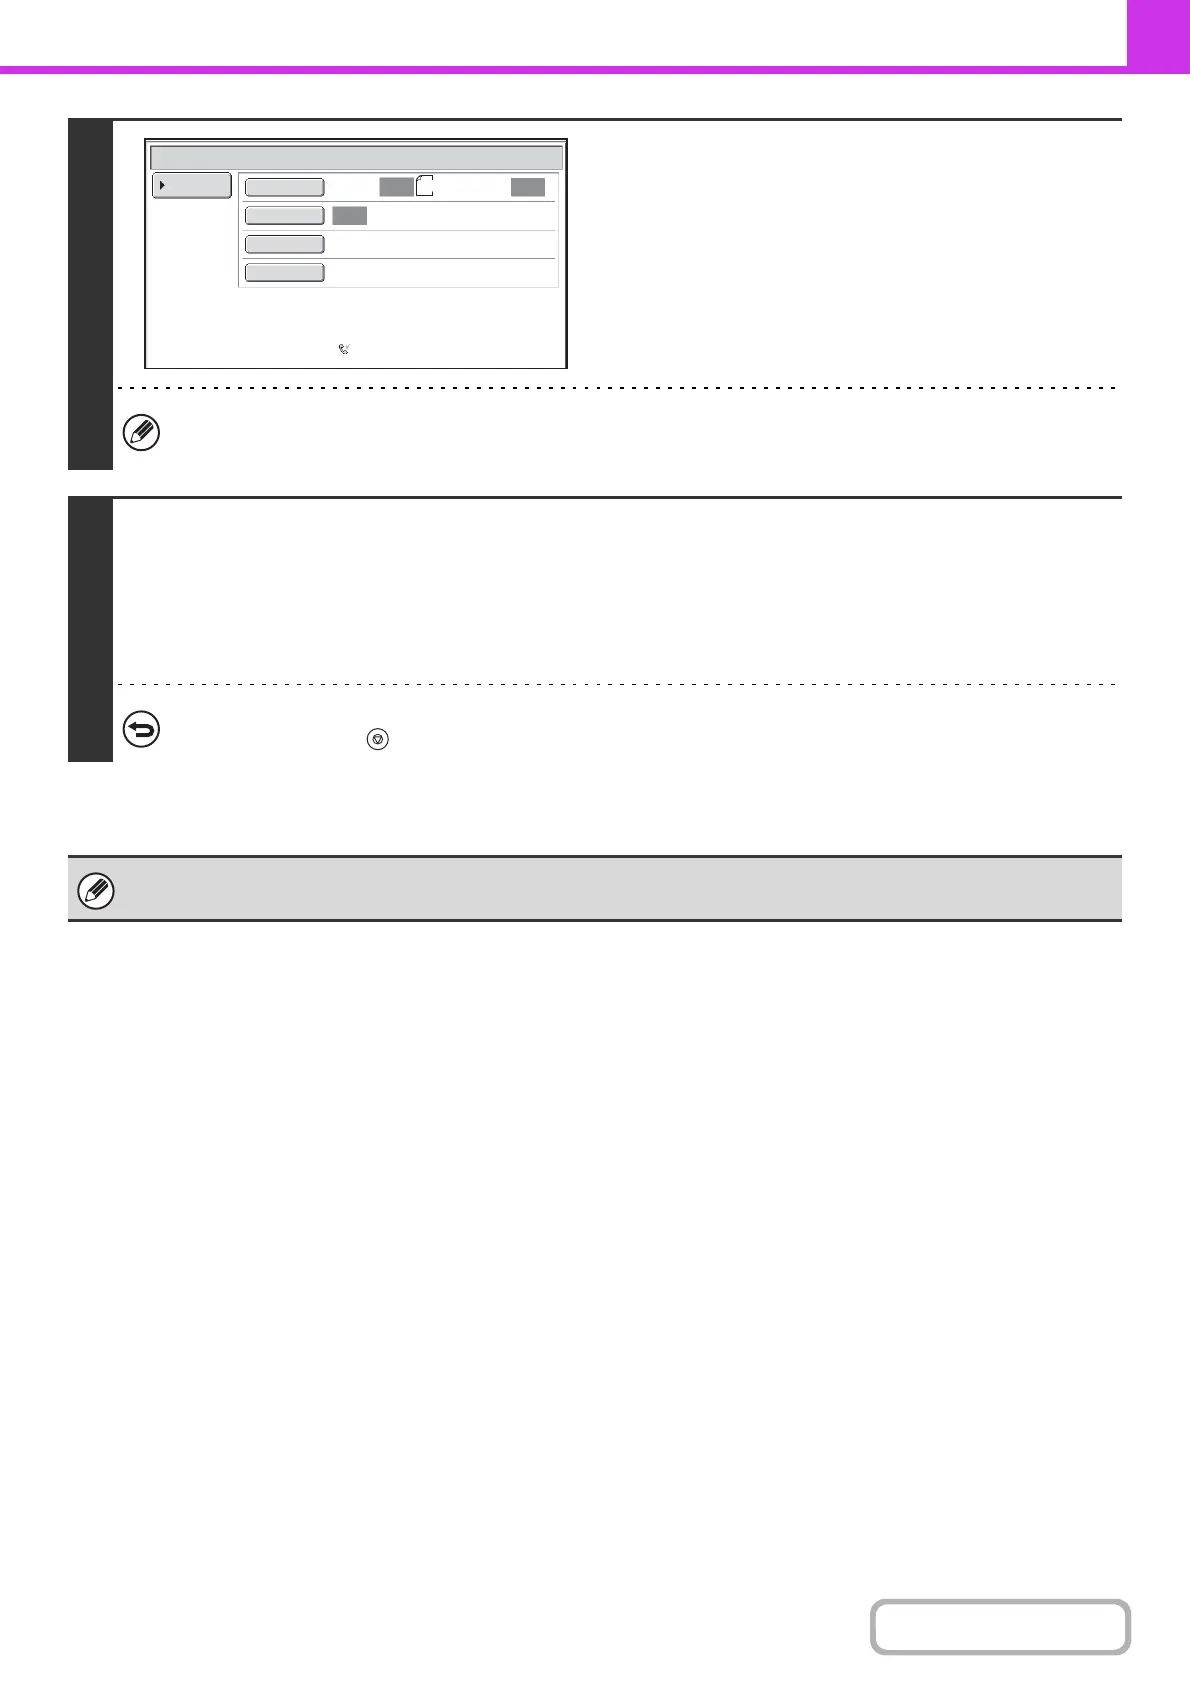
Select image settings and special
modes.
• A program, timer setting, transaction report, polling and document filing cannot be selected.
• To return to the screen of step 4, touch the [Memory Box List] key.
7
Press the [BLACK & WHITE START] key.
Scanning begins.
• If you inserted the original pages in the document feeder tray, all pages are scanned.
• If you are scanning the original on the document glass, scan each page one page at a time.
When scanning finishes, place the next original and press the [BLACK & WHITE START] key. Repeat until all pages have
been scanned and then touch the [Read-End] key.
To cancel scanning...
Press the [STOP] key ( ) while the original is being scanned.
If another document remains in the memory box (Public Box), the newly scanned document is added to the previous
document. In this case, the number of polling times will be the number set for the newly scanned document.
Standard
Auto Reception
Fax Memory:100%
Scan: Send:
Auto
Auto
Auto
Memory Box - Data Store
Memory Box
List
A4
Special Modes
Resolution
Exposure
Original