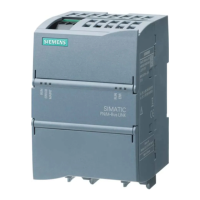
Network configuration of MindConnect IoT2040 requires information on the ethernet interfaces
for data acquisition (ethernet labeled with X2P1) and Industrial IoT (ethernet labeled with X1P1).
If your company uses a proxy server, it must also be configured to connect MindConnect
IoT2040 to Industrial IoT. Contact your IT administrator for details on your local network
settings.
After enabling the connection to the MindConnect Element you can edit the network
configuration. You can enter either a static IP address or use DHCP. The last option is possible, if
there is a DHCP server available in your company network.
Procedure
To configure the network setting, follow these steps:
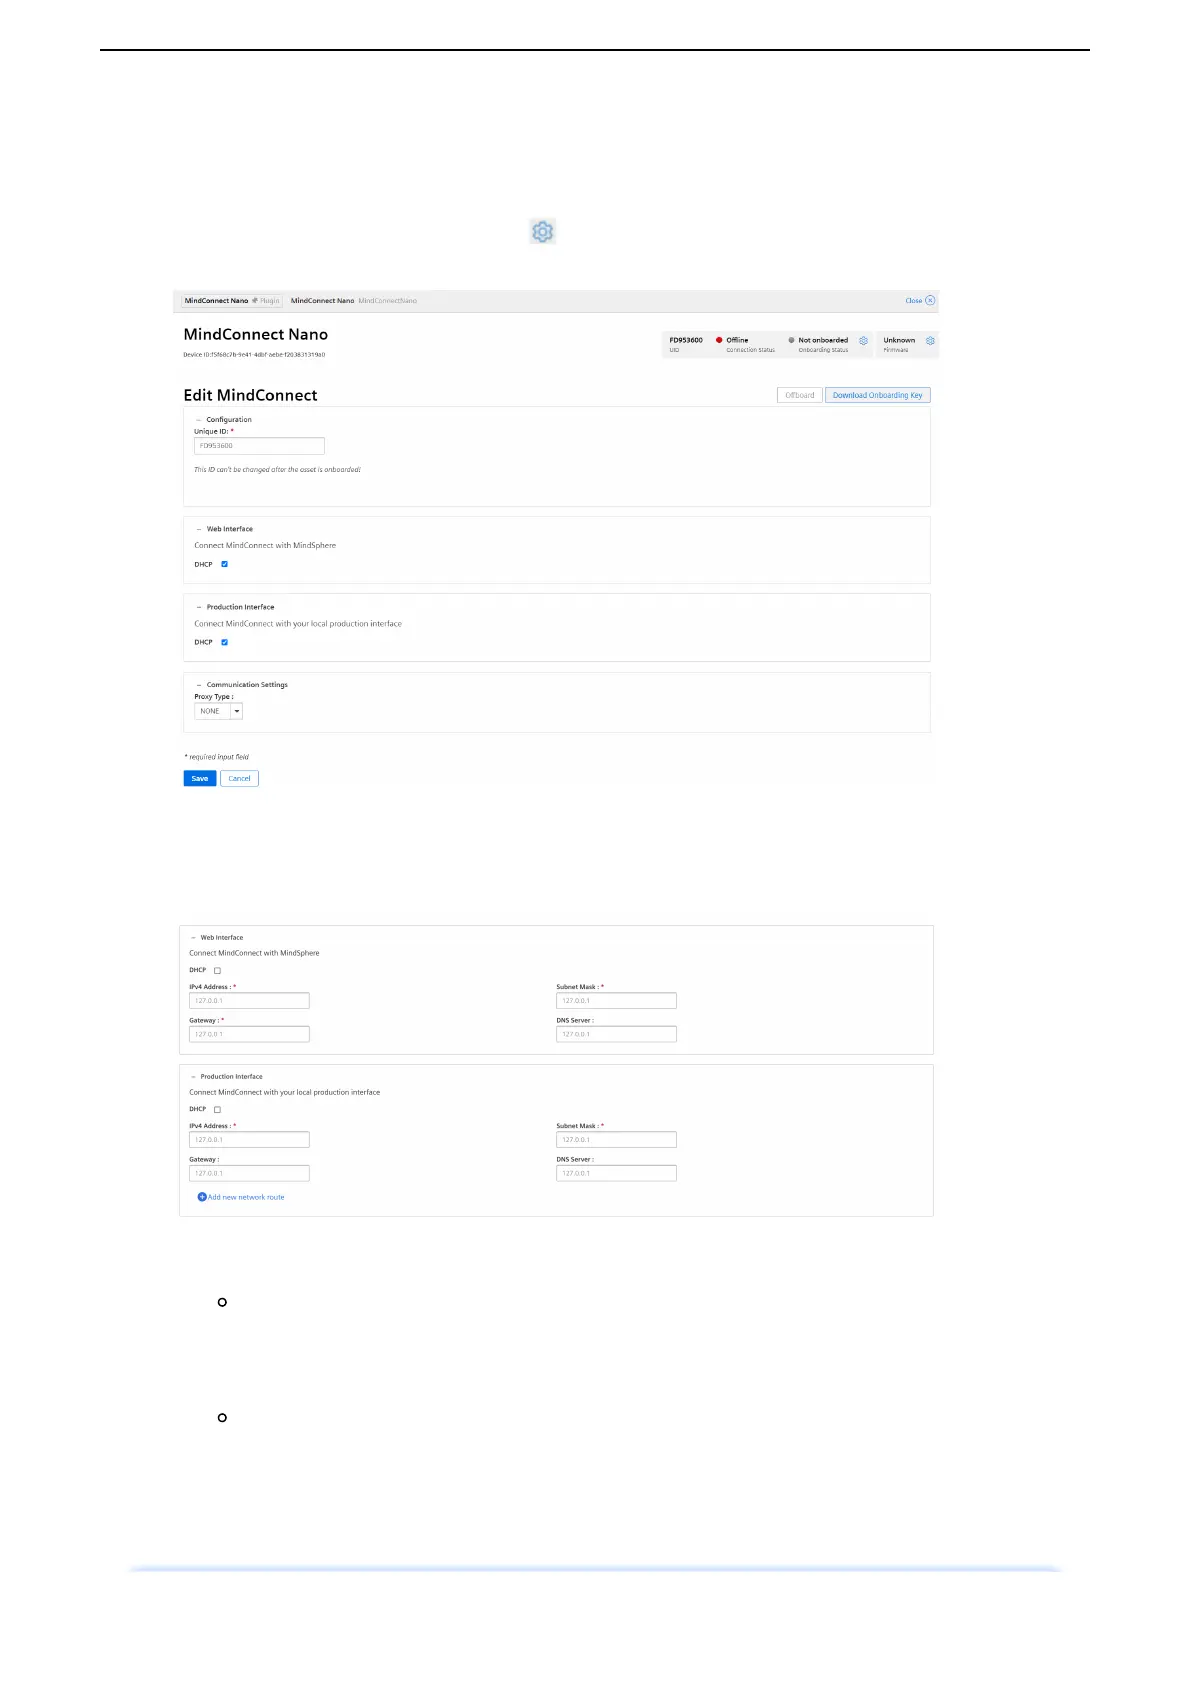
1. Select the asset in the "Asset" tab.
2. Click on the asset icon, e. g. "MindConnect IoT2040".
3. Click next to "Status" on the button .
The following graphic shows the "Edit MindConnect" screen:
4. Activate DHCP if a DHCP server is available in your company network or enter the respective
information for static IP address.
 Loading...