Wiring
6.6 Plugging the front connectors into modules
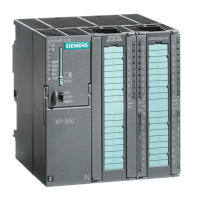
S7-300, CPU 31xC and CPU 31x: Installation
6-10 Operating Instructions, Edition 08/2004, A5E00105492-05
6.6 Plugging the front connectors into modules
Requirements
The front connectors are completely wired.
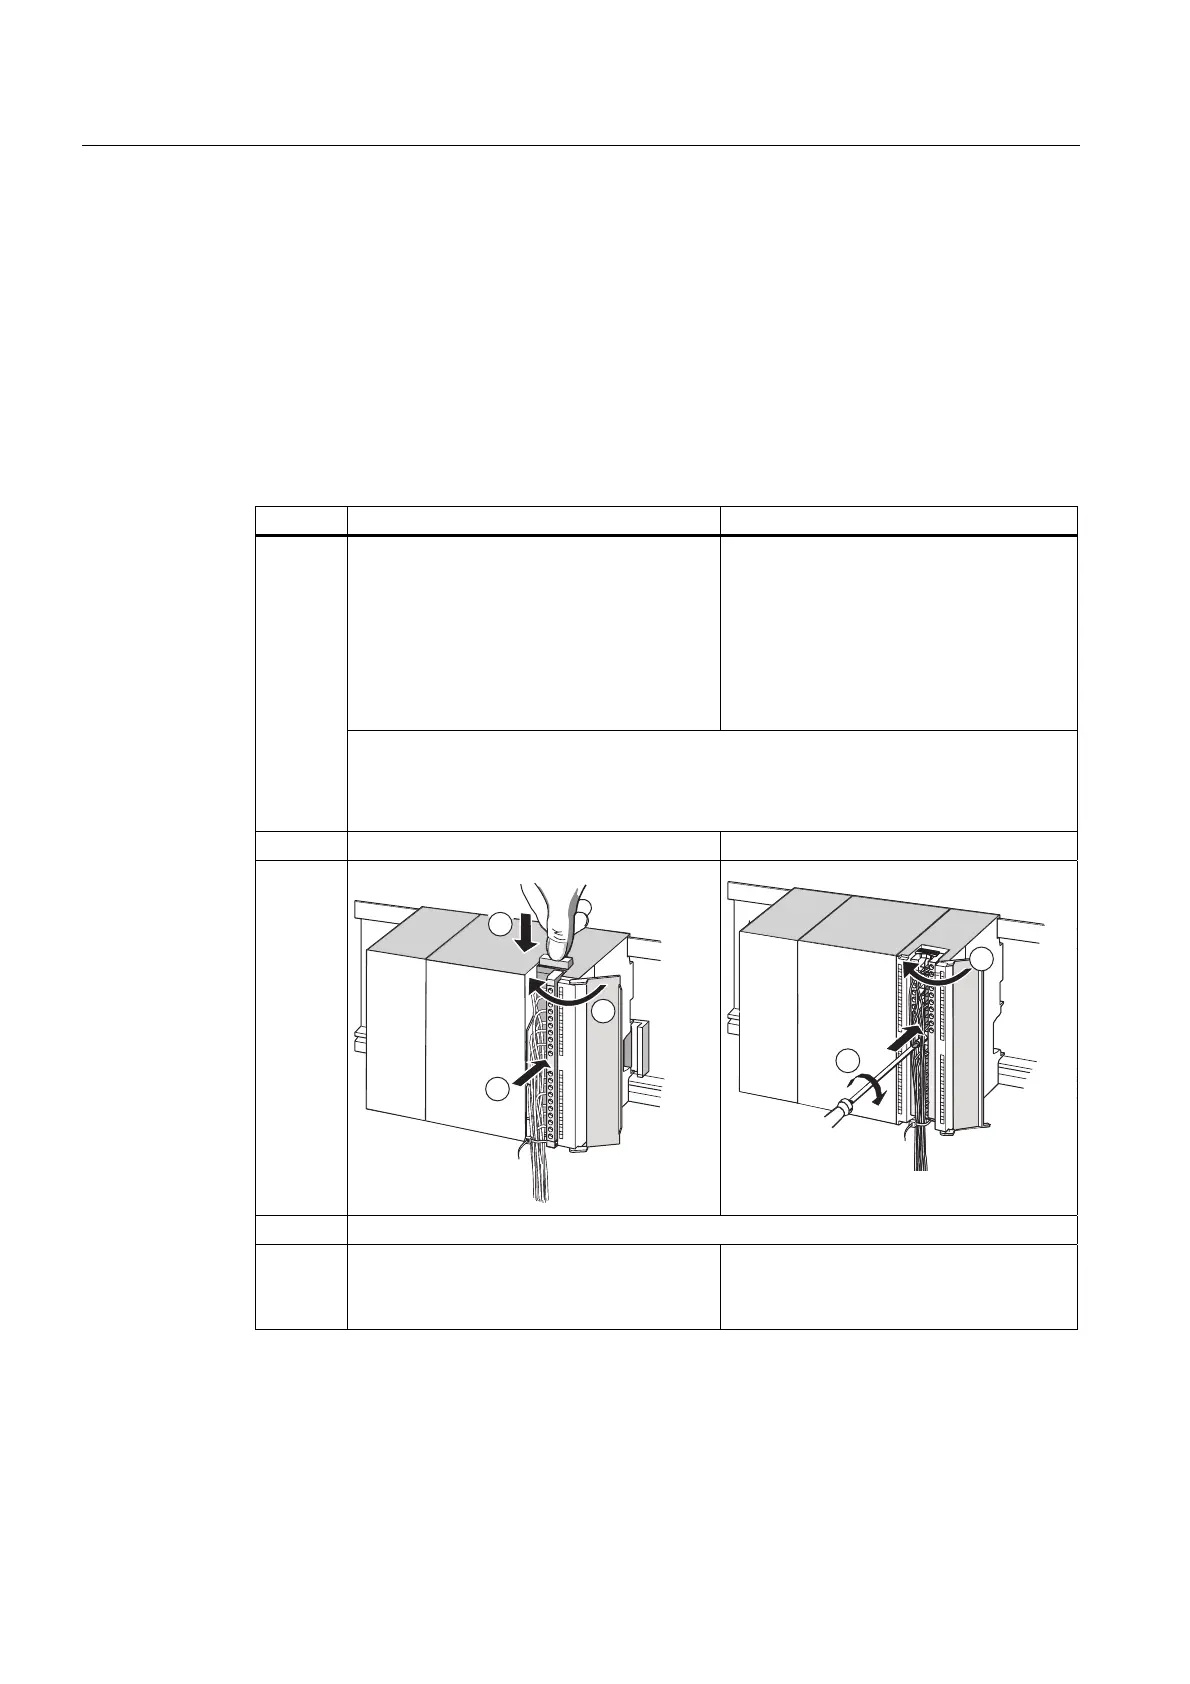
Front connectors plugging
Table 6-7 Inserting the front connector
Step 20pin front connector 40pin front connector
Push in the unlocking mechanism on top of
the module.
Keeping the locking mechanism pressed,
insert the front connector into the module.
Provided the front connector is seated
correctly in the module, the unlocking
mechanism automatically returns to the
initial position when you release it.
Tighten the mounting screw in the center
of the connector.
This pulls the front connector completely
into contact with the module.
1.
Note
When you insert the front connector into the module, an encoding mechanism engages in
the front connector, thus ensuring that the connector can only be inserted into modules of
the same type.
2. Close the front panel. Close the front panel.
CPU
PS
1
1
2
3
CPU
PS
1
1
1
2
The work step numbers are shown in the figure above
(1) Keep unlocking mechanism pressed.
(2) Insert front connector.
(3) You can now close the front panel
(1) Tighten mounting screw.
(2) You can now close the front panel
 Loading...