P R E P A R A T I O N
If manually running the driver installers did not work, make sure the driver files are located in their
respective folders and follow the instructions below.
You may manually install the drivers through the Windows device manager. On Windows 7 systems
with the device plugged in, click the Start Menu and Device and Printers. Find the FX3 unknown
USB 3.0 device and right click the icon and select Properties. From there select the Hardware tab and
then Properties. Select the Change Settings button. Hit the Update Drivers button and then Browse
My Computer for drivers. From there navigate to the BB60 application folder and select the folder
name drivers/x64. Hit OK and wait for the drivers to install.
If for some reason the drivers still did not install properly, contact Signal Hound.
Connecting Your Signal Hound 2.4
With the software and BB60 drivers installed, you are ready to connect your device. Plug in both the
male USB 3.0 and male USB 2.0 connections into your PCs respective USB ports, and plug the USB 3.0
Micro-B male connection into the BB60 device. Your PC may take a few seconds recognizing the device
and installing any last drivers. Wait for this process to complete before launching the BB60 software.
Running the Software for the First Time
2.5
Once the software and drivers are installed you can launch the software. You can do this through the
desktop shortcut created or the BBApp.exe found in the application folder. If the device is connected a
progress bar will indicate the device preparing. If no device is connected or found, the software will
notify you. At this point, connect the device and use the File->Connect Device menu option to open
the device.
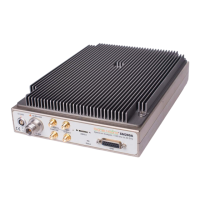
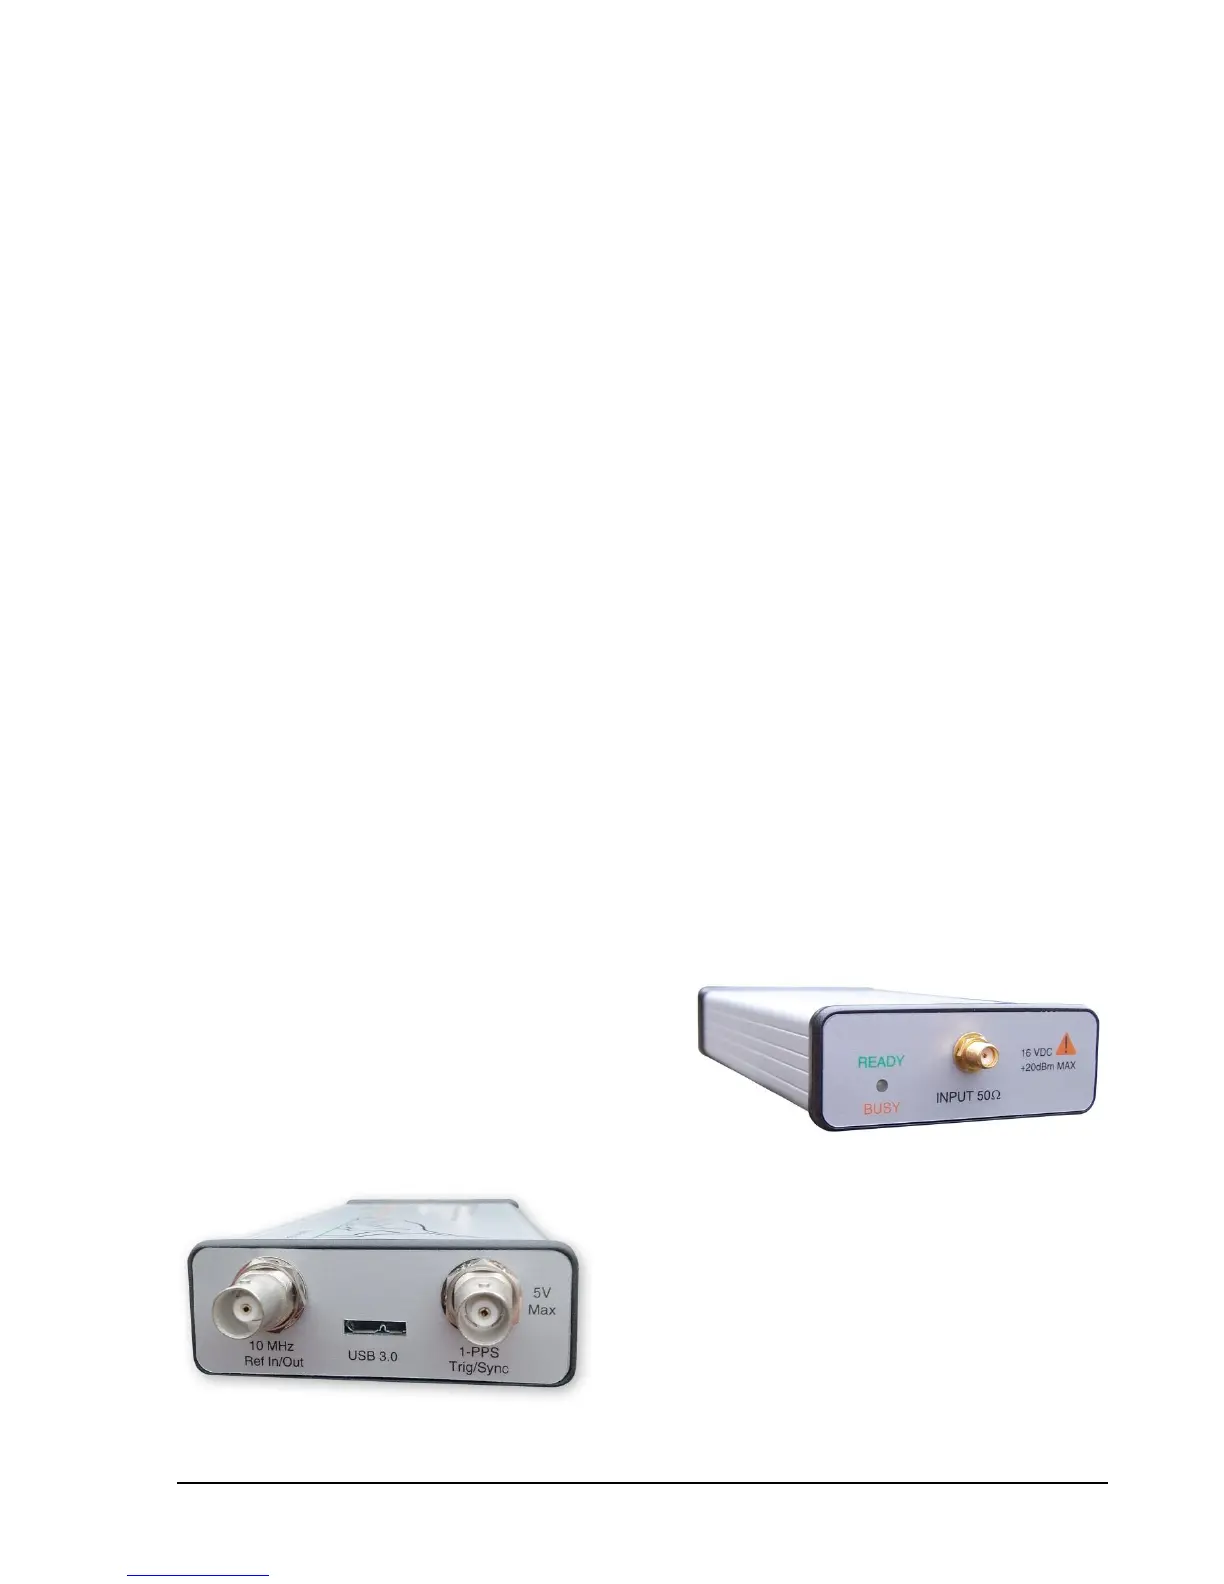
The BB60 Front and Rear Panels 2.6
The front panel includes a 50Ω SMA RF Input. Do
not exceed +20 dBm or damage may occur. A
READY/BUSY LED flashes orange each time a
command from the computer is processed.
The rear panel has three connectors:
1) 10 MHz Reference input / output. Use a
clean 10 MHz reference sine wave or square wave
with >0 dBm level. A +13 dBm sine wave input or
3.3V CMOS clock input is recommended.
2) A USB 3.0 Micro-B female connector. Use
the Y-cable provided to connect the device to your
 Loading...