Operation instructions
SIPOS SEVEN ECOTRON
Page 38 Y070.301/EN
5 Commissioning
5
Commissioning
Program closing direction
3. Select closing direction: Turn Drive
Controller.
In the display, the closing direction changes
– in our example from ccw to cw closing
direction (g. 3).
4. Accept selected closing direction: Press
Drive Controller.
The selected closing direction is saved and
the display changes to end position OPEN;
the OPEN symbol starts to ash (g. 4).
Adjust rst end position
5. Select end position to be adjusted rst:
– If end position OPEN is to be adjusted rst,
continue with step 6.
– If end position CLOSED is to be adjusted
rst, turn Drive Controller. The CLOSED
symbol starts to ash.
In our example, end position OPEN (g. 4) is
to be adjusted rst.
6. Conrm selected end position:
Press Drive Controller.
The display changes to cut-off mode ad-
justment for the selected end position. The
current cut-off mode ashes (g. 5):
= travel dependent
= torque dependent
7. Save cut-off mode:
– Accept displayed cut-off mode: Press
Drive Controller,
or
– change cut-off mode: First turn, then press
Drive Controller.
Different lines indicate the active cut-off
mode in the display (g. 5):
a = torque dependent
b = travel dependent
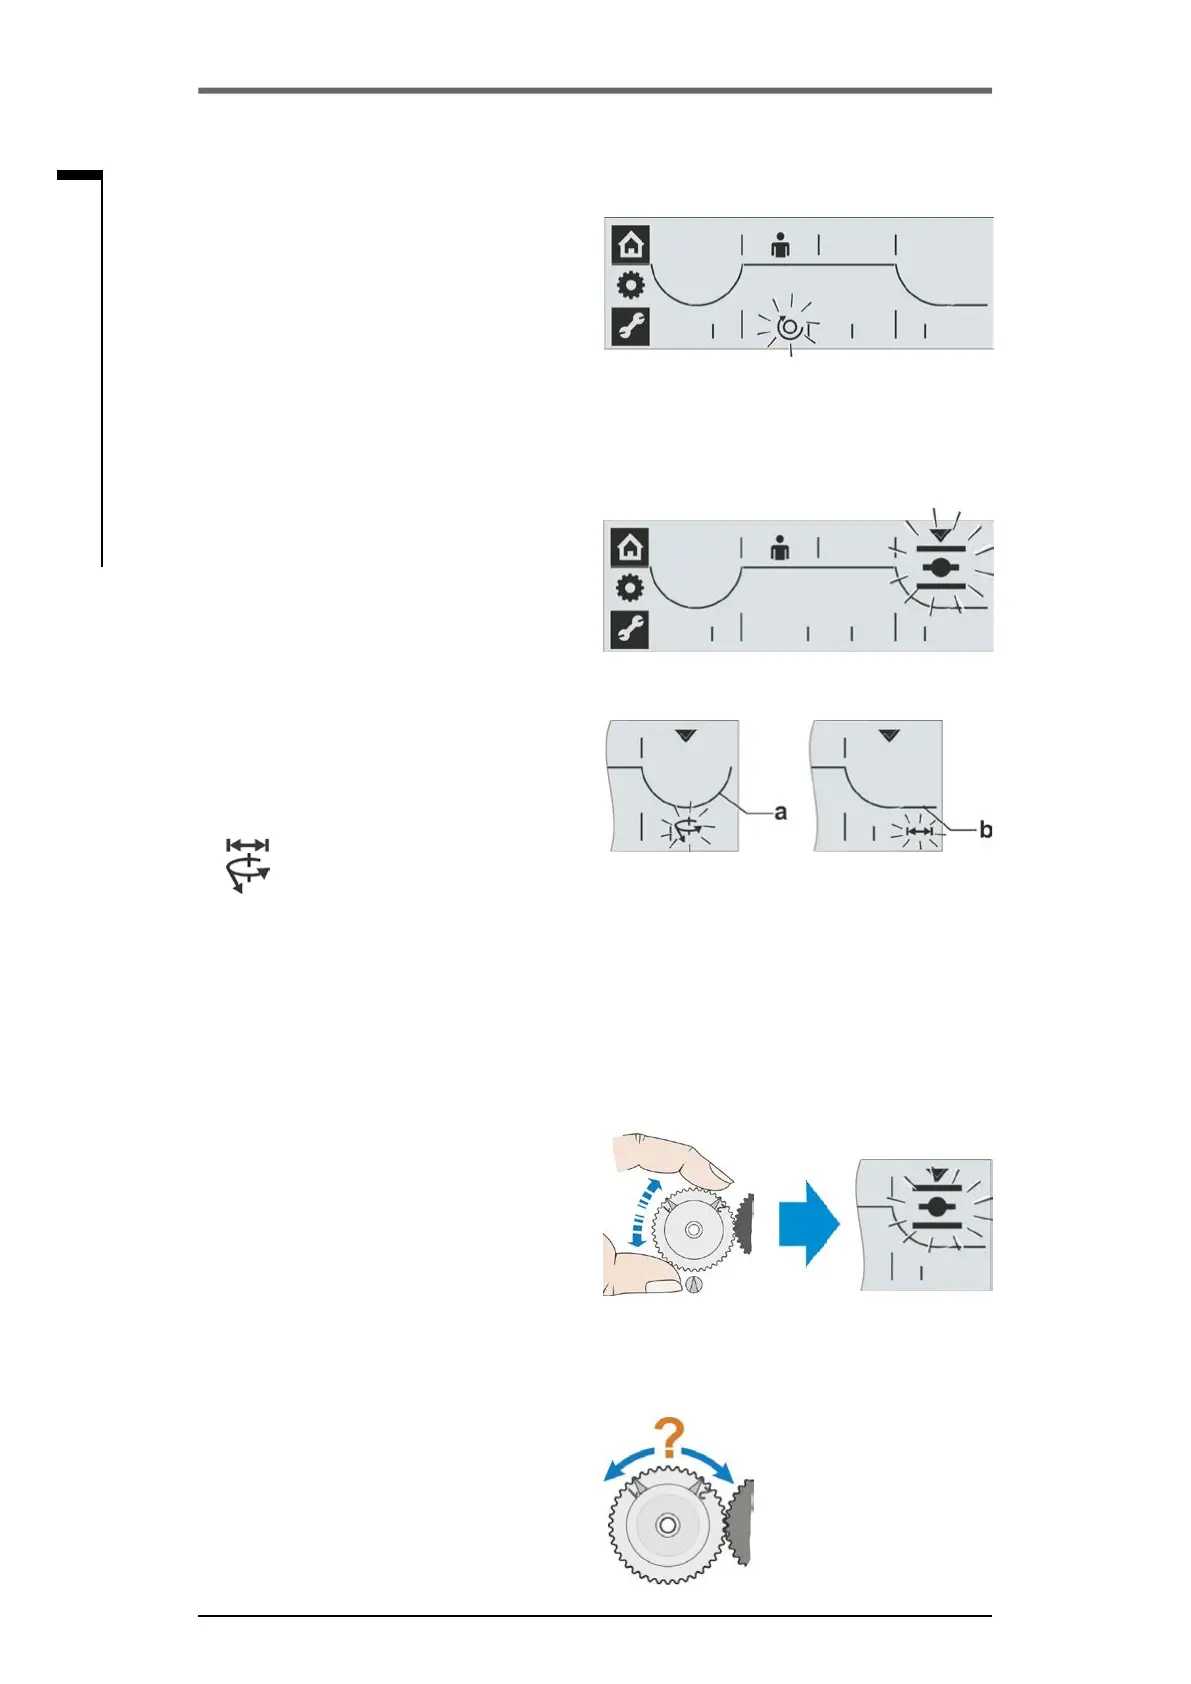
8. Signaling gear only: Turn central wheel at
signaling gear to mid position; markers 1
and 2 point in upward direction and the end
position symbol of the selected end position
starts to blink (g. 6).
9. Operate actuator to rst end position: Press
Drive Controller.
The end position symbol is blinking.
If you hold down the Drive Controller for
more than 3 sec., self-retaining starts.
Press Drive Controller once again to stop
operation.
Important: During operation
– heed valve position as well as
– Signaling gear only: heed direction of
rotation of the central wheel (g. 7), this is
important for step 10.
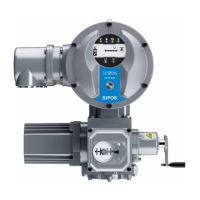
Fig� 3: End position menu active, cw closing
direction
Fig� 4: End position OPEN is selected
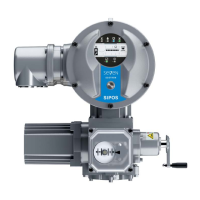
Fig� 5: Indication of active cut-off mode
a = torque dependent
b = travel dependent
Fig� 6: Turn central wheel to mid position
until end position symbol is ashing
Fig� 7: Monitoring direction
of rotation
 Loading...