With "RESISTOR"
displayed, pressing
the "RANGE/[
]"
keys steps through the
available measuring resistor values (or by
rotating the knob, on the front panel).
This, however, can
be
left
as
its default,
which
is "[auto]".
Now
press
ENTER.
The display will
now
change showing:
Key Press
Resulting Display
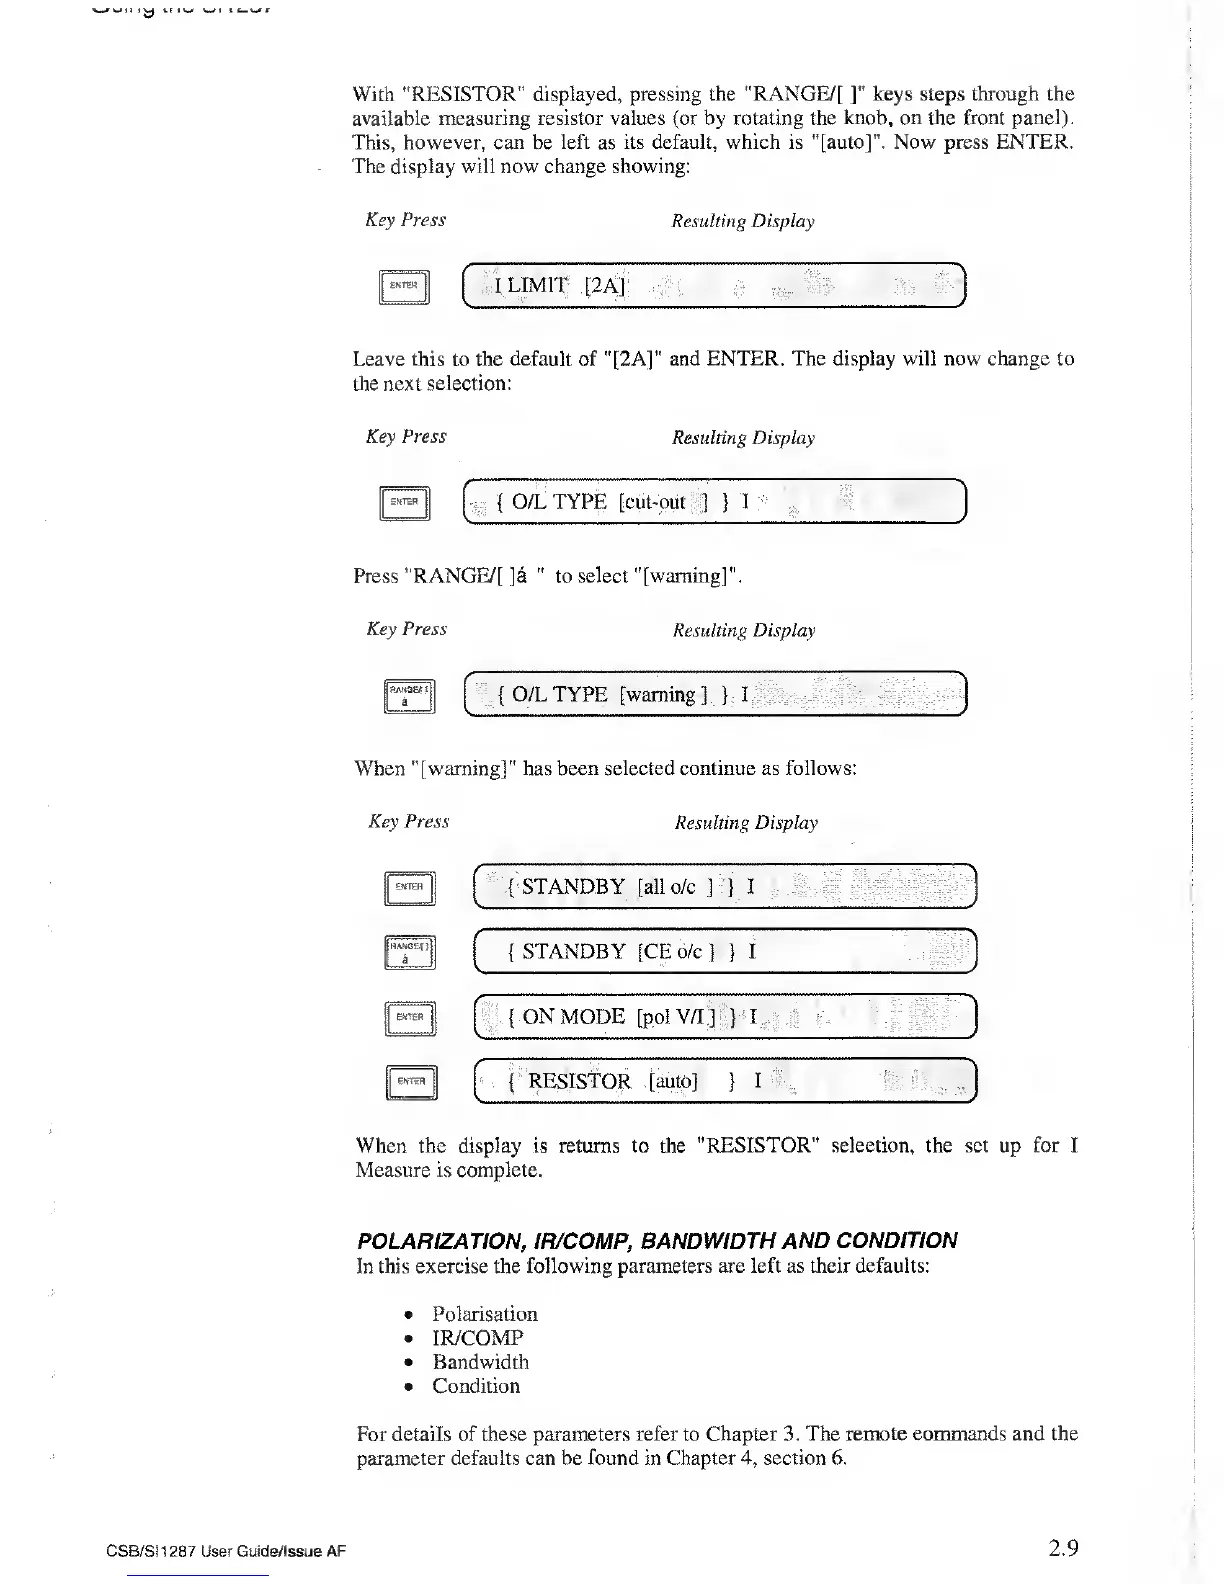
ENTER
I LIMIT [2A]
Leave this to the default of "[2A]” and
ENTER. The display will now change to
the next
selection:
Key Press
Resulting Display
{
O/L TYPE [cut-out
]
}
I
Press "RANGE/[ ]a
"
to
select "[warning]".
Key
Press
Resulting Display
IjRANG&nj
|j
a {
O/L TYPE [warning]
}
I
v
y
When "[warning]" has been selected
continue
as
follows:
Key
Press
Resulting Display
EKTER
ENTER
{
STANDBY [GE o/c]
}
I
"
'
{
ON
MODE [pol
V/I
J }
I
{
RESISTOR [auto]
}
I
/
When the display is returns to the
"RESISTOR” selection, the set up for I
Measure
is complete.
POLARIZATION, IR/COMP, BANDWIDTH AND
CONDITION
In this exercise the
following parameters are left as their defaults:
•
Polarisation
•
IR/COMP
•
Bandwidth
•
Condition
For details of these parameters refer to
Chapter
3.
The remote commands and the
parameter defaults can be found in Chapter
4,
section 6.
CSB/SI1287 User Guide/! ssue
AF
2.9