32
Mechanical Installation
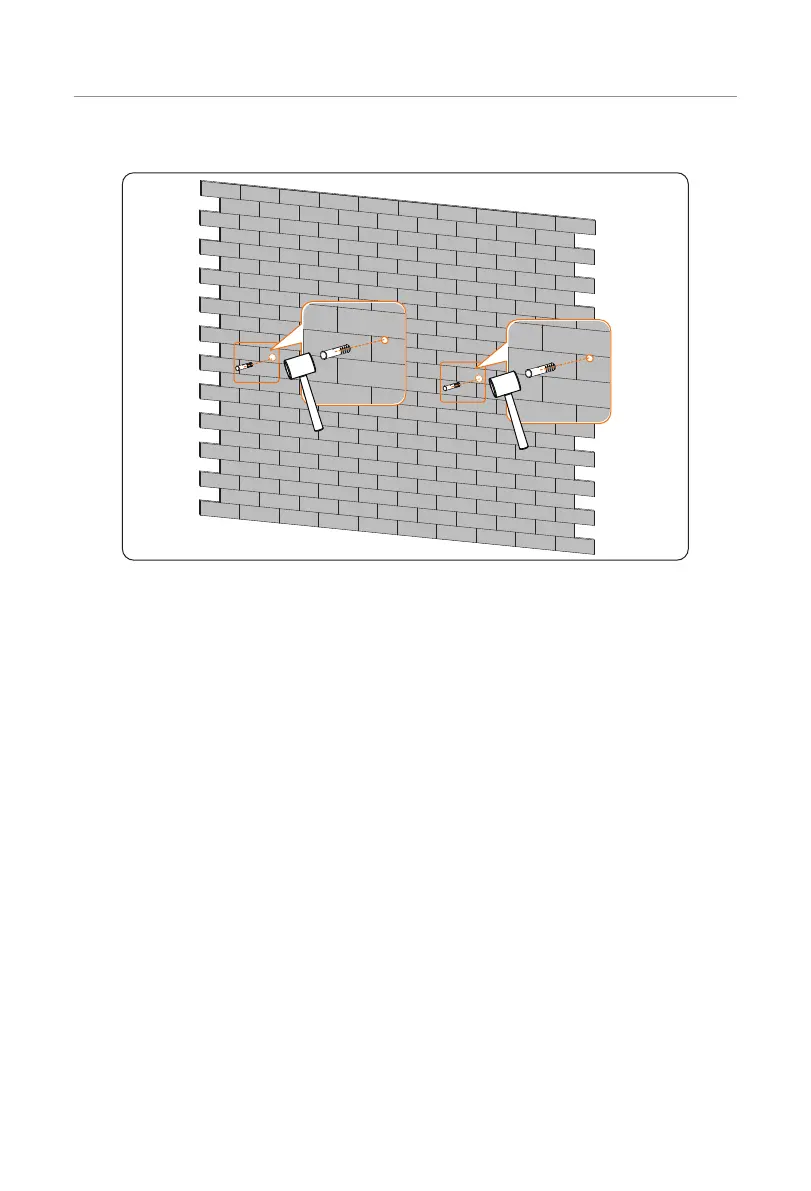
Step 5: Insert the expansion bolt (Part H) (× 2 pcs) into the two holes.
Figure 6-6 Inserting expansion bolts
Step 6: Gently move the battery module against the wall, and align the holes drilled
previously.
Correctly insert and tighten self-tapping screw (Part I) (× 2 pcs) to secure the
L-shaped wall bracket on both sides to the wall (Tightening torque: 6-8 N·m).
Fully tighten the M6*12 cross external hexagon screw (Part J) (× 2 pcs) on both
sides (Tightening torque: 4-5 N·m).

 Loading...


