Basic Menu
6-8 Setup Menu
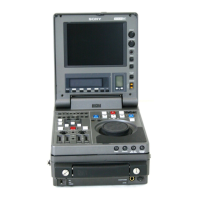
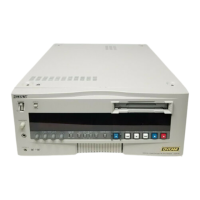
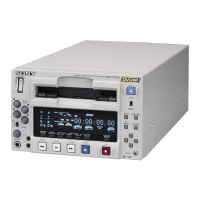
Chapter 6 Setup Menu
1 Select menu item 013.
The LCD monitor shows the
following display.
525/625 SYSTEM
SELECT
ITEM-013
OFF
2 Holding down the search button,
turn the jog or shuttle dial to
change the setting from “OFF” to
“ON”.
The display changes as follows.
525/625 SYSTEM
SELECT
ITEM-013
ON
Push SET button!!
3 Press the SET button.
The display changes as follows.
525
525/625 SYSTEM SELECT
If the 525/625 setting
is changed. Turn power
off and on again.
1 Set menu item B20 RESET
SETUP to ON.
“PUSH SET BTN” appears in the
sub LCD, and “Push SET button”
appears on the LCD monitor.
2 Press the SET button.
The current active menu settings
are reset to their factory default
settings.
3 Press the SET button again.
The settings are saved and the
menu display disappears.
Switching between 525/625
line systems (menu item 013)
Using the following procedure, you
can set basic menu item 013, 525/625
SYSTEM SELECT, to “ON”, and
then switch between 525 (NTSC) and
625 (PAL).
(The following procedure shows by
way of example how to switch from a
525 (NTSC) system to a 625 (PAL)
system.)
Note
After switching, playback of Betacam/
Betacam SP cassettes is also
performed in the selected mode.
However in 625 mode, only simple
viewing is allowed and the capstan
lock mode is fixed to 2FD.