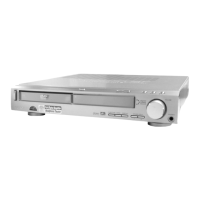
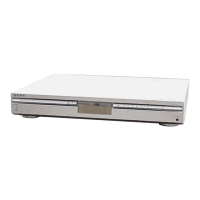
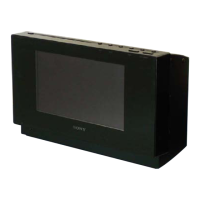
HCD-SX7/SX7B
12
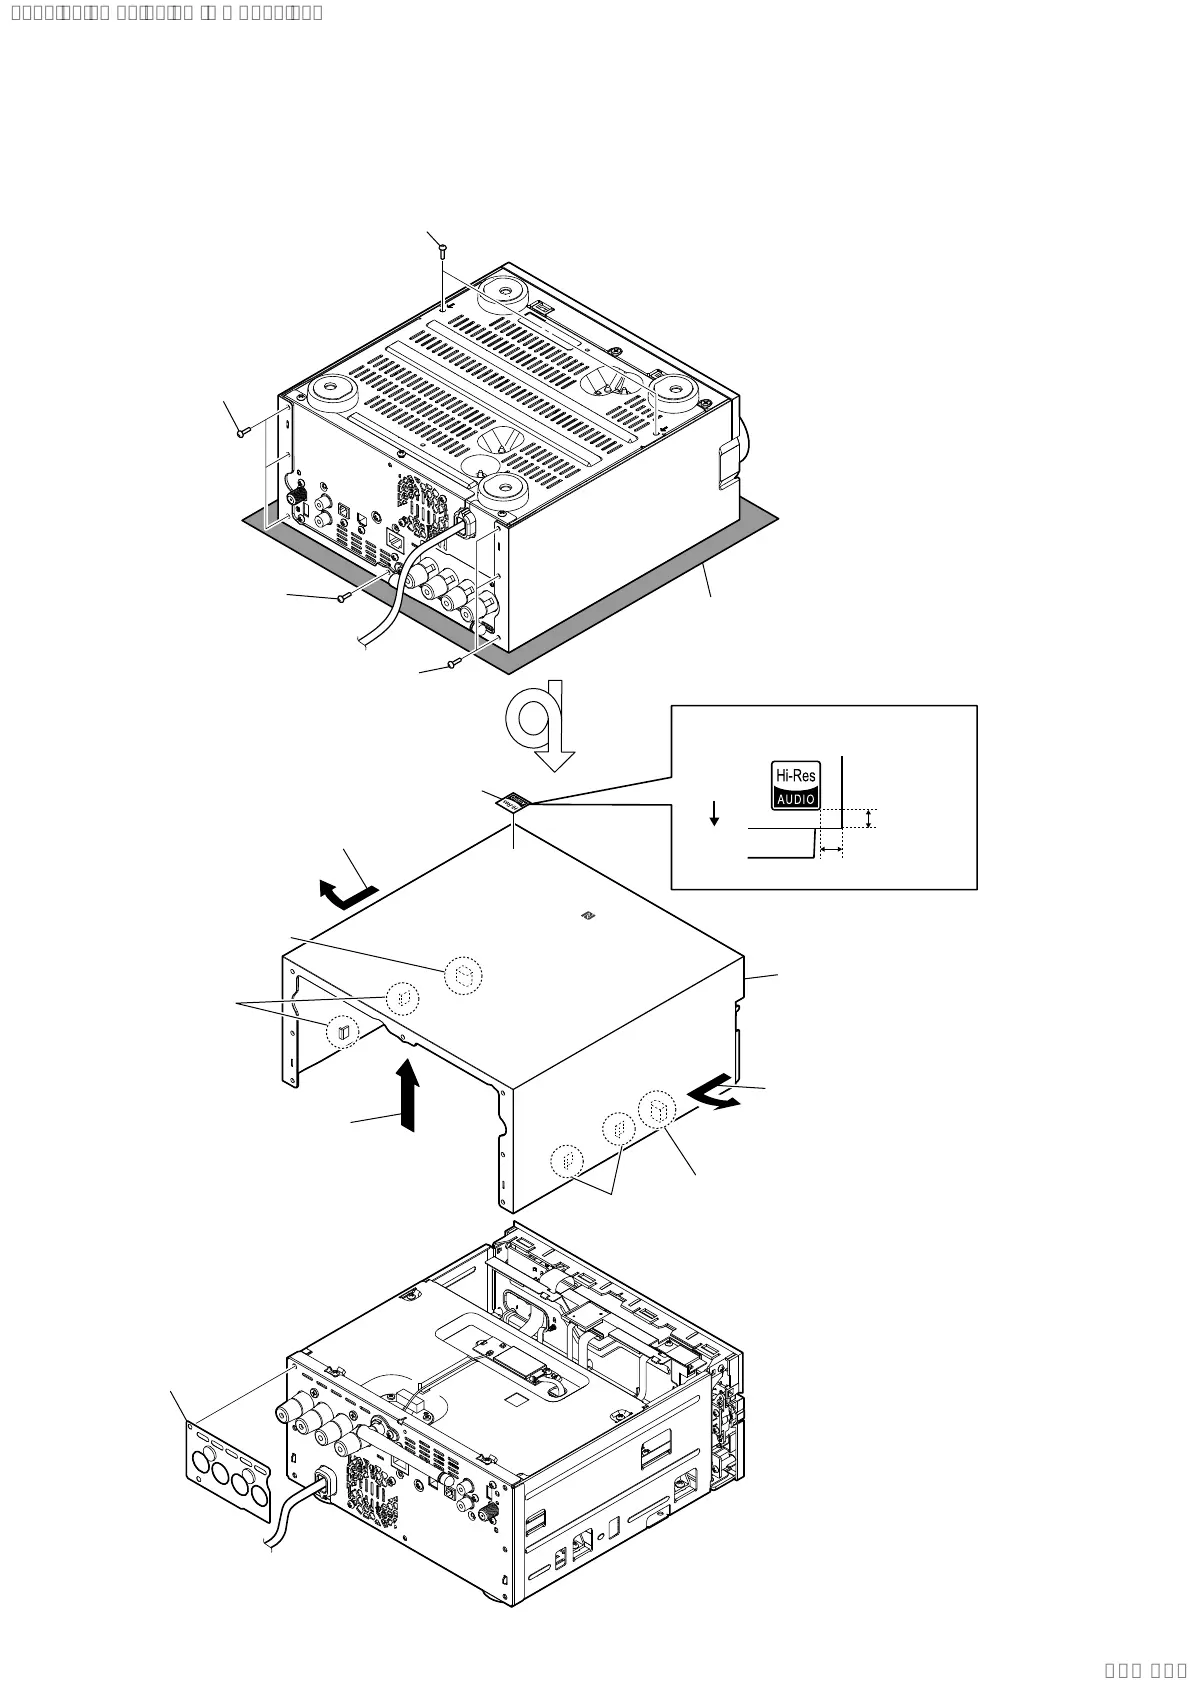
Note: Follow the disassembly procedure in the numerical order given.
2-2. PANEL (TOP)
7 panel (top)
6 Hi-Res label
5 sheet (SP jack)
1 two screws
(BV/ring)
(L=8 mm)
2 three screws
(BV/ring)
(L=8 mm)
2 three screws
(BV/ring)
(L=8 mm)
2 screw
(BV/ring)
(L=8 mm)
4 Remove the panel (top) block
in the direction of the arrow.
4 to 5 mm
4 to 5 mm
3DVWLQJSRVLWLRQRIWKH+L5HVODEHO
3 Slide the panel (top) block to unlock
the claw, and expand the panel (top)
block to remove the protuberance in
the direction of the arrow.
3 Slide the panel (top) block to unlock
the claw, and expand the panel (top)
block to remove the protuberance in
the direction of the arrow.
–5HDUERWWRPYLHZ–
–5HDUYLHZ–
Note:
Lay a soft piece of cloth under the unit
to avoid damaging the panel (top).
Front
side
claw
protuberance
protuberance
claw
SYSSET
2020/02/2722:53:44(GMT+09:00)


 To Next Page