16
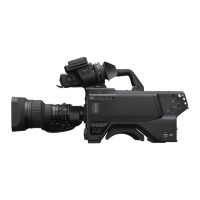
To adjust the position forward or backward
1
Set the viewfinder front-rear positioning lever to the
unlocked position.
2 Slide the viewfinder towards the front or rear of the
camera to move it into a good viewing position.
3 Set the viewfinder front-rear positioning lever to the
lock position to secure the viewfinder.
Detaching the viewfinder
Loosen the viewfinder left-right positioning ring, pull the
viewfinder stopper, then pull out the viewfinder by sliding
it in the direction opposite to that when attached.
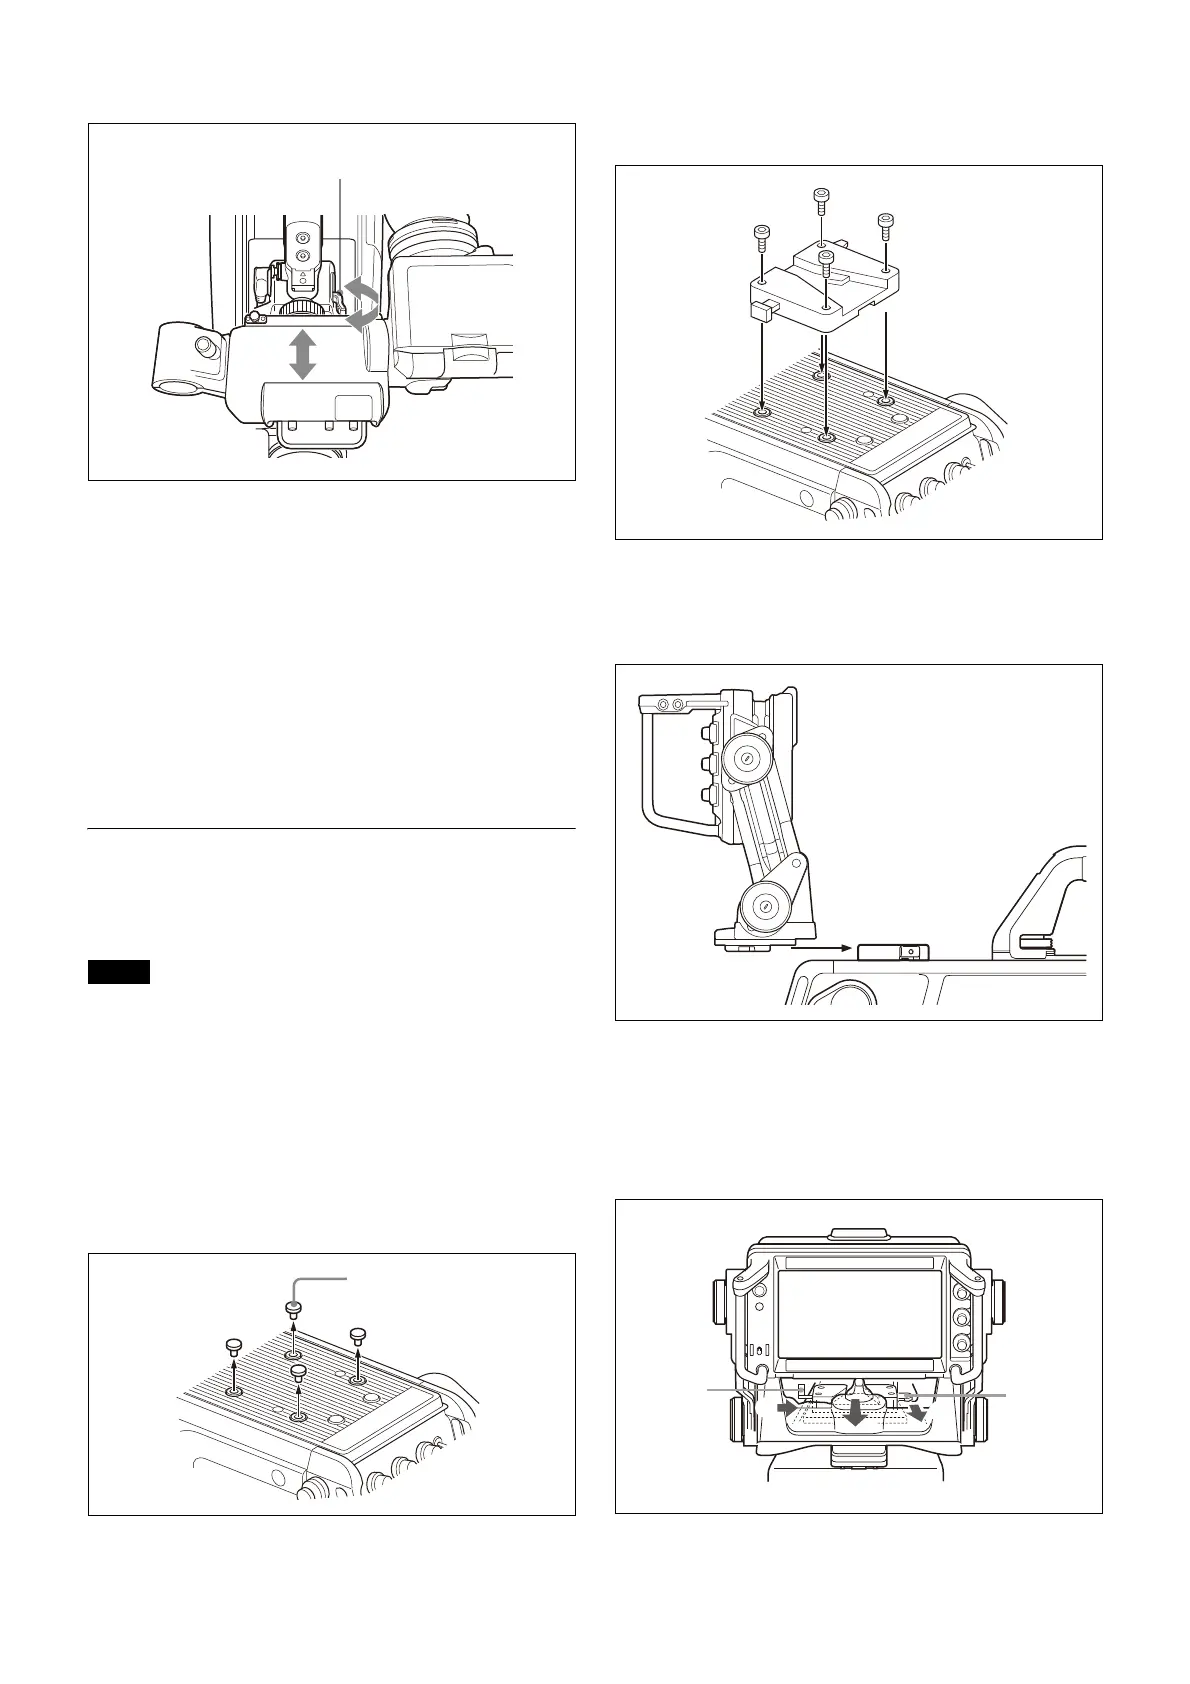
Attaching an Electronic Viewfinder
Attach the V-wedge shoe attachment (supplied with the
viewfinder) to the camera and attach the viewfinder to the
attachment.
• When attaching the viewfinder to the camera or
removing it from the camera, be sure to lock the
viewfinder in its standard position.
• When removing the viewfinder from the camera, be sure
to secure the tripod with its tilt-lock mechanism and hold
the viewfinder firmly. Be careful not to fall or drop the
viewfinder and camera.
• When attaching the V-wedge shoe attachment, be sure
to use the supplied hexagonal screws.
1
Remove the four plastic caps from the camera.
2 Attach the V-wedge shoe attachment to the camera
using the supplied hexagonal wrench and four
hexagonal screws (4×12).
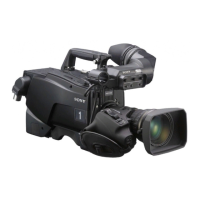
3 Insert the viewfinder firmly into the V-wedge shoe
attachment.
There is an audible click when the viewfinder snaps into
the attachment.
4 Connect the camera connector of the viewfinder to
the VF connector of the camera.
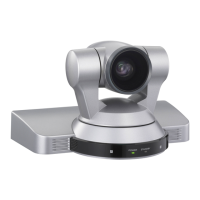
Detaching the viewfinder
Pull the lever and push down the button while pulling the
viewfinder toward you, as shown in the figure below.
Notes
Viewfinder front-rear
positioning lever