4
GB
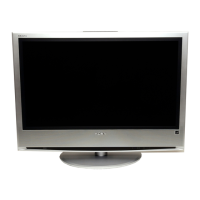
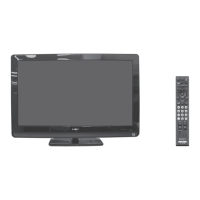
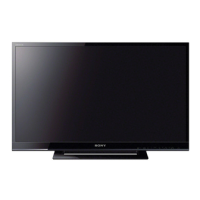
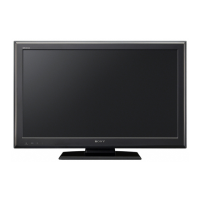
KLV-32/26/19T400A/26/19T400G/19T400W
4-110-401-11(1)
Start-up Guide
Checking the
accessories
Stand (1) and screws (4)
3D WOOFER (1) and screws (4) (KLV-19T400W)
Remote RM-GA013 (1)
Size AA batteries (R6 type) (2)
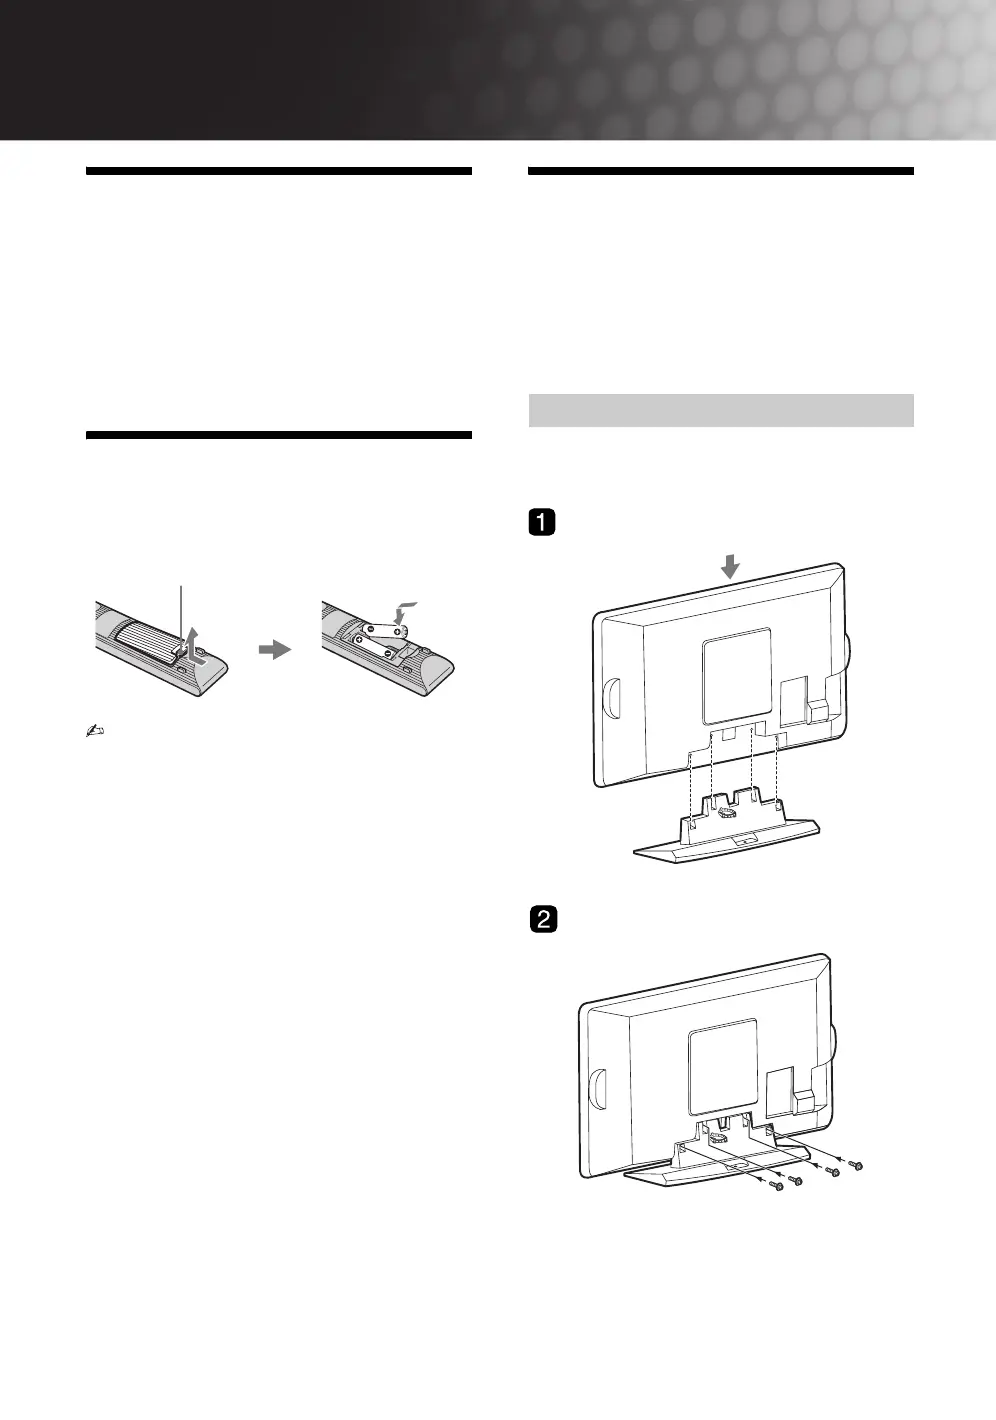
Inserting batteries into
the remote
• Observe the correct polarity when inserting
batteries.
• Do not use different types of batteries together or
mix old and new batteries.
• Dispose of batteries in an environmentally
friendly way. Certain regions may regulate the
disposal of batteries. Please consult your local
authority.
• Handle the remote with care. Do not drop or step
on it, or spill liquid of any kind onto it.
• Do not place the remote in a location near a heat
source, a place subject to direct sunlight, or a
damp room.
1: Attaching the 3D
WOOFER and stand
Please ensure the AC power cord is away from the
3D WOOFER/stand installation location before you
attach below 3D WOOFER/stand.
3D WOOFER is only available for KLV-19T400W.
– Except for KLV-19T400W
B KLV-32T400A
Push and lift the cover to open.
Attaching the stand
010COV.book Page 4 Thursday, June 19, 2008 9:17 AM